
Gather your truffle chocolate tools
Success starts with having the right equipment ready before you begin. Truffle chocolate requires precise temperature control and accurate measurements to achieve that signature creamy texture. If you skip prep work, you risk seizing the chocolate or ending up with a grainy ganache that won't set properly.
You need a digital kitchen scale for accuracy. Volume measurements like cups are unreliable for chocolate because density varies by brand and bean origin. A small bowl for weighing your chocolate and another for your heavy cream keeps the process organized. Use a rubber spatula that can scrape the sides of the bowl to ensure no chocolate is wasted or left unmelted.
The most critical decision is choosing your chocolate. Avoid chocolate chips, which contain stabilizers designed to keep their shape in cookies. These additives prevent proper melting and can make your truffle chocolate grainy or stiff. Instead, buy high-quality baking chocolate bars or couverture chocolate. Chop the bar into uniform pieces so it melts evenly. If you must use melts, choose high-quality compound coating or real chocolate melting wafes, but understand the texture will differ from fresh ganache.
A double boiler or a heatproof bowl set over a saucepan of simmering water is ideal for melting. Direct heat scorches chocolate easily. Keep a thermometer handy if you want precision, but visual cues—smooth, glossy, and fluid—are usually enough for home truffles.
Melt the chocolate carefully
Melting chocolate is the foundation of good truffles. The goal is smooth, fluid chocolate without scorching or seizing. Use a double boiler or a heatproof bowl over simmering water. Ensure the bottom of the bowl does not touch the water. Add chopped chocolate and stir gently until melted. Remove from heat immediately once smooth.
Fill a saucepan with an inch of water and bring to a simmer. Place a heatproof bowl on top, ensuring it doesn't touch the water.
Add chopped high-quality chocolate to the bowl. Let it sit for a minute to soften before stirring.

Stir gently with a dry spatula until the chocolate is completely melted and glossy. Remove from heat.
Create the ganache filling
The heart of any truffle chocolate is the ganache—a smooth emulsion of melted chocolate and warm cream. Getting the ratio right ensures the center sets firmly enough to roll without losing its creamy, melt-in-your-mouth texture.
Choose your ratio
The standard ratio for classic truffles is two parts chocolate to one part heavy cream by weight. This 2:1 ratio creates a firm ganache that holds its shape when rolled into balls. If you prefer a softer, more spreadable center, reduce the chocolate to one part and increase the cream to one part (1:1). For a firmer ganache that holds intricate shapes, use three parts chocolate to one part cream (3:1).
Heat the cream
Pour heavy cream into a small saucepan and warm it over medium heat. You are looking for a gentle simmer, not a rolling boil. Small bubbles should form around the edges, and steam should rise steadily. Remove the pan from the heat as soon as it reaches this stage. Overheating the cream can cause it to separate or scorch, which will ruin the smooth texture of your truffle chocolate.
Melt the chocolate
Place your chopped chocolate in a heatproof bowl. Pour the hot cream directly over the chocolate. Let it sit undisturbed for five minutes. This resting period allows the heat from the cream to melt the chocolate evenly without the need for immediate stirring, which helps prevent air bubbles from forming.
Stir until glossy
After the resting period, use a spatula or wooden spoon to gently stir the mixture from the center outward. The chocolate and cream will begin to combine into a thick, glossy paste. Continue stirring until the ganache is completely smooth and homogenous. If you added butter or flavorings, fold them in now. The ganache should look shiny and uniform, with no streaks of unmelted chocolate.
Warm heavy cream in a saucepan until it just begins to simmer. Do not let it boil vigorously.

Pour the hot cream over chopped chocolate in a bowl. Let it sit for five minutes to melt the chocolate.
Stir gently from the center out until the mixture is smooth, glossy, and fully combined.
Chill to set
Cover the bowl with plastic wrap, pressing it directly onto the surface of the ganache to prevent a skin from forming. Refrigerate for at least two hours, or until the ganache is firm to the touch. This chilling step is essential for making your truffle chocolate easy to handle and roll into perfect spheres.
Chill and roll the truffles
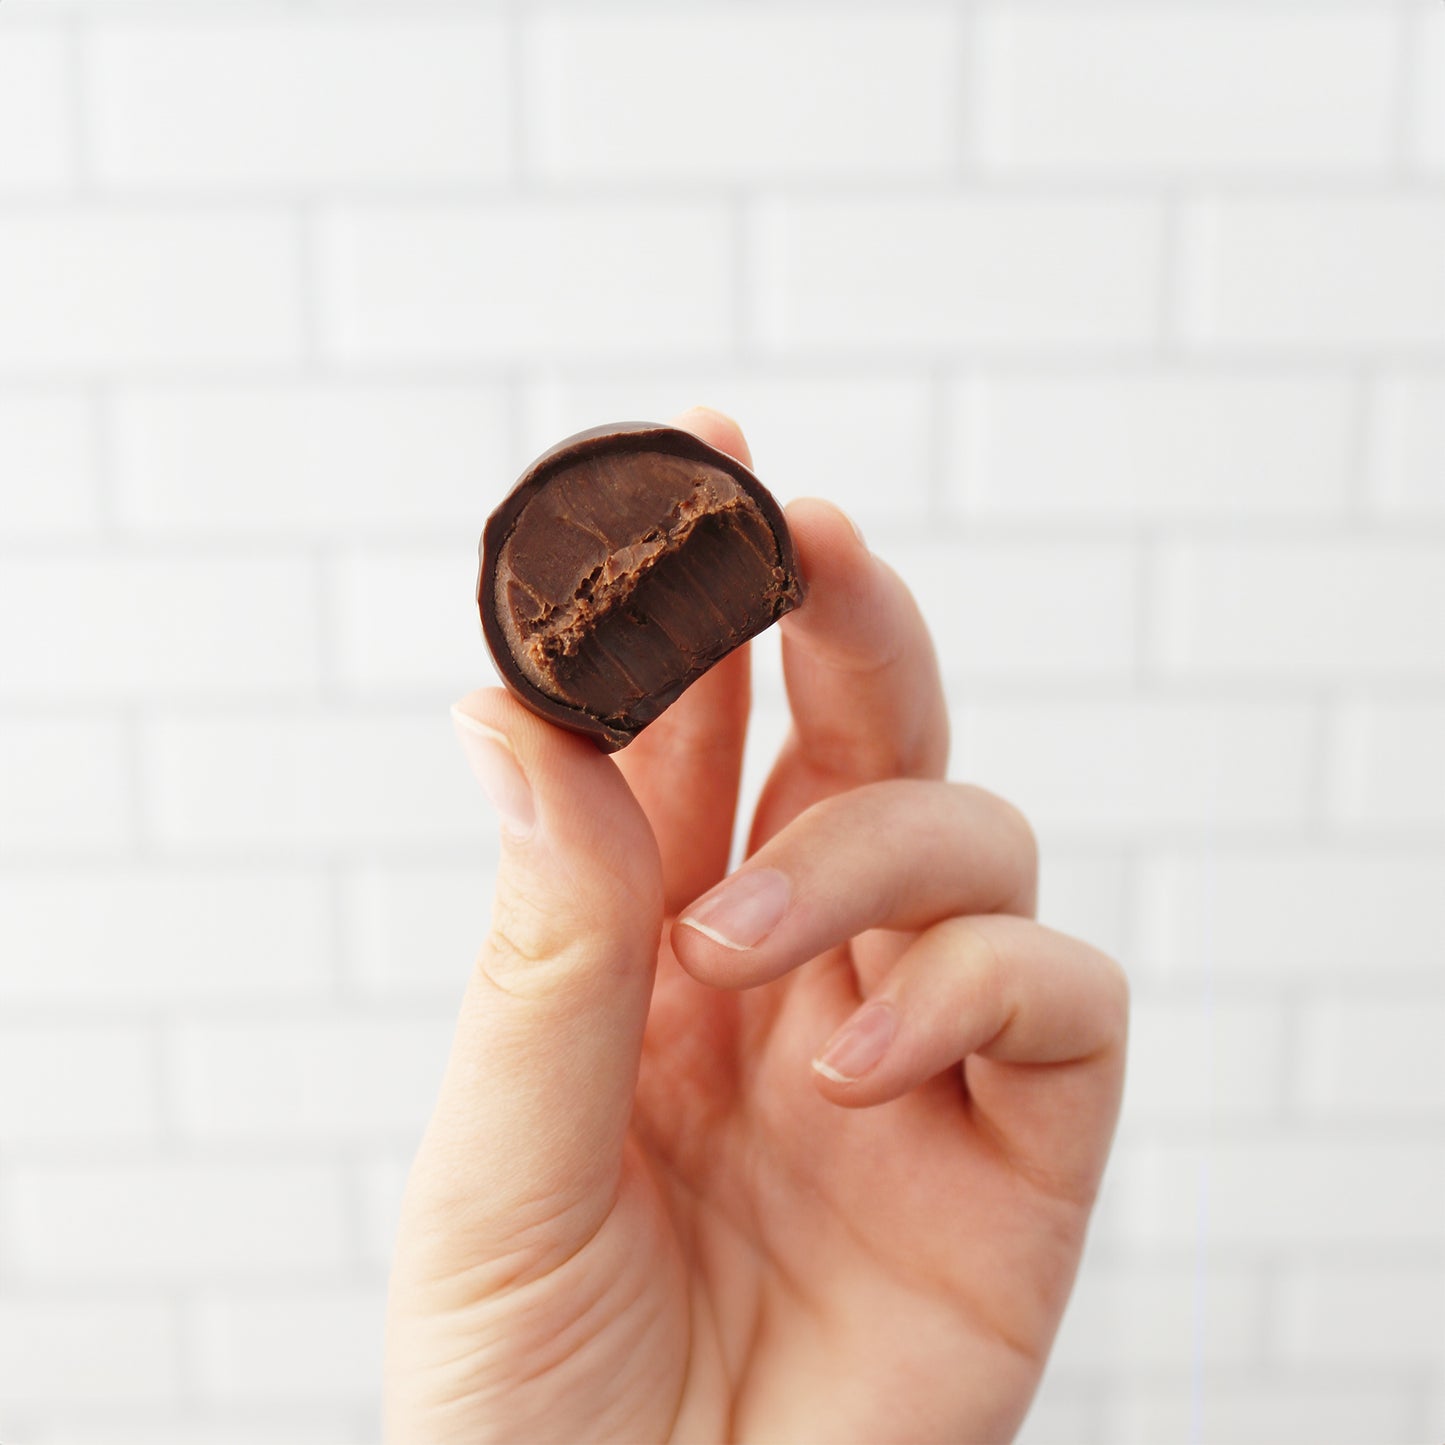
The ganache must be firm enough to hold its shape when pressed, but not so cold that it cracks under your fingers. This transition from liquid to solid is the most critical phase in making truffle chocolate at home. If the mixture is too warm, the truffles will smear; if it is too cold, they will crumble. Aim for a consistency similar to thick cookie dough.
Chill the ganache properly
Spread the ganache into a flat, even layer in a shallow bowl or tray. This increases the surface area and speeds up cooling. Cover the bowl tightly with plastic wrap, pressing the wrap directly onto the surface of the ganache to prevent a skin from forming. Refrigerate for 1 to 2 hours, or until the center is firm to the touch. You can speed this up by placing the bowl in the freezer for 15–20 minutes, but check frequently to avoid freezing the ganache solid.
Scoop and roll into spheres
Once the ganache is set, use a small melon baller or a teaspoon to scoop out uniform portions. Roll each portion gently between your palms. The heat from your hands will help smooth out any cracks and create a perfectly round sphere. Work quickly but gently; if the ganache becomes too soft and sticky, place the balls back in the refrigerator for a few minutes to firm up again.
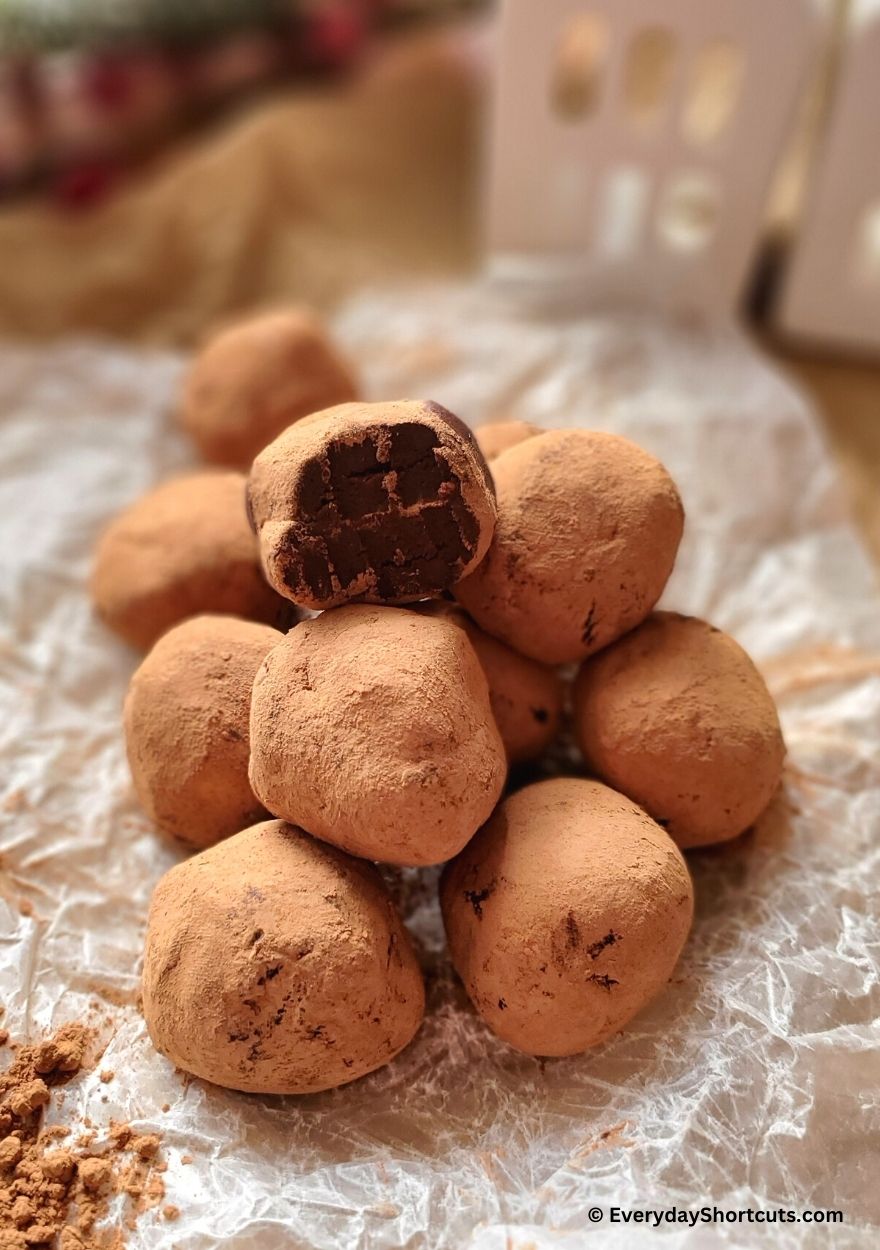
Coat the truffles
Roll the shaped truffles in your chosen coating. Cocoa powder works best for classic truffle chocolate, while crushed nuts or sprinkles add texture. Place the coated truffles on a parchment-lined tray. They can be served immediately or stored in an airtight container in the refrigerator for up to two weeks.
Fix common truffle mistakes
Even experienced chocolatiers run into texture issues when making truffle chocolate. The difference between a silky ganache and a gritty mess usually comes down to temperature control and emulsion timing. Here is how to rescue your batch before it sets.
Grainy or gritty texture
Graininess happens when the chocolate isn't fully melted or when sugar crystals form during cooling. If your ganache feels sandy, gently warm it over a double boiler while whisking constantly. The heat dissolves the crystals, restoring a smooth, glossy consistency. Once smooth, let it cool back to room temperature before proceeding.
Soft or runny centers
If your truffles won't hold their shape, the ganache likely didn't set firmly enough. This often occurs if the cream-to-chocolate ratio is off or if the mixture was too warm when rolled. Place the ganache in the refrigerator for 15-20 minutes to firm up. If it remains too soft, add a small amount of finely chopped, melted chocolate to increase the solid fat content.
Split or oily ganache
A separated ganache looks curdled, with visible pools of fat. This is a broken emulsion, usually caused by adding cream that is too hot or whisking too aggressively. Tip: If your ganache splits, add a teaspoon of warm cream and whisk vigorously to bring it back together. The fresh liquid helps rebind the fat and cocoa solids into a unified mixture.
Warm the mixture gently over a double boiler while whisking until smooth. Let it cool completely before shaping.
Chill the ganache for 15-20 minutes. If still too soft, fold in a little melted chocolate to increase structure.
Whisk in a teaspoon of warm cream to re-emulsify the fat and cocoa solids into a smooth paste.
Check caffeine content in chocolate
Before you serve your truffle chocolate, check the caffeine content in the cocoa you used. Chocolate naturally contains caffeine, and the amount depends on the type of chocolate you chose for your ganache.
Dark chocolate has significantly more caffeine than milk chocolate. A standard 1-ounce serving of dark chocolate can contain around 20-30 milligrams of caffeine, depending on its cocoa percentage. Milk chocolate contains much less, often under 10 milligrams per ounce, because it has more milk solids and sugar diluting the cocoa.
If you are making truffles for children or sensitive individuals, stick to milk chocolate or use a small amount of dark chocolate mixed with white chocolate to lower the total caffeine load. Remember that the coating or dusting (like cocoa powder) adds a tiny bit more, but the ganache center is where most of the caffeine lives.
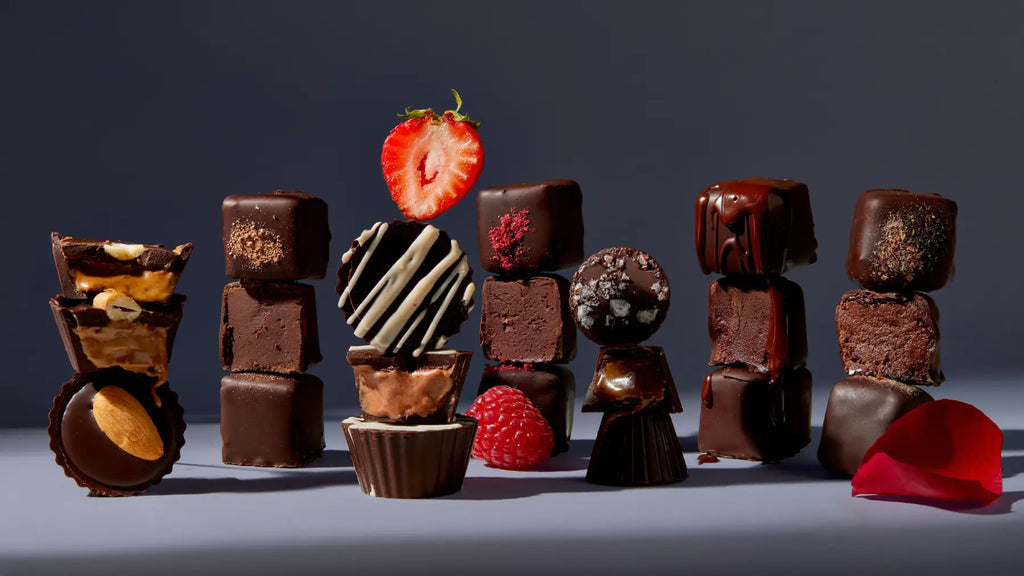
Watch a pro truffle demo
Visual references clarify the tactile nature of truffle chocolate. Watching an expert handle the ganache reveals the subtle shifts in temperature and texture that are difficult to describe in text alone. This section provides a direct look at the rolling and coating techniques.
Truffle chocolate prep checklist
Before you start melting, verify you have everything ready. Truffle chocolate comes together quickly, so missing an ingredient or tool mid-process will slow you down.
- Chocolate: High-quality bars or chips, chopped if using bars.
- Cream: Heavy cream for a rich ganache center.
- Butter: Unsalted butter for extra creaminess.
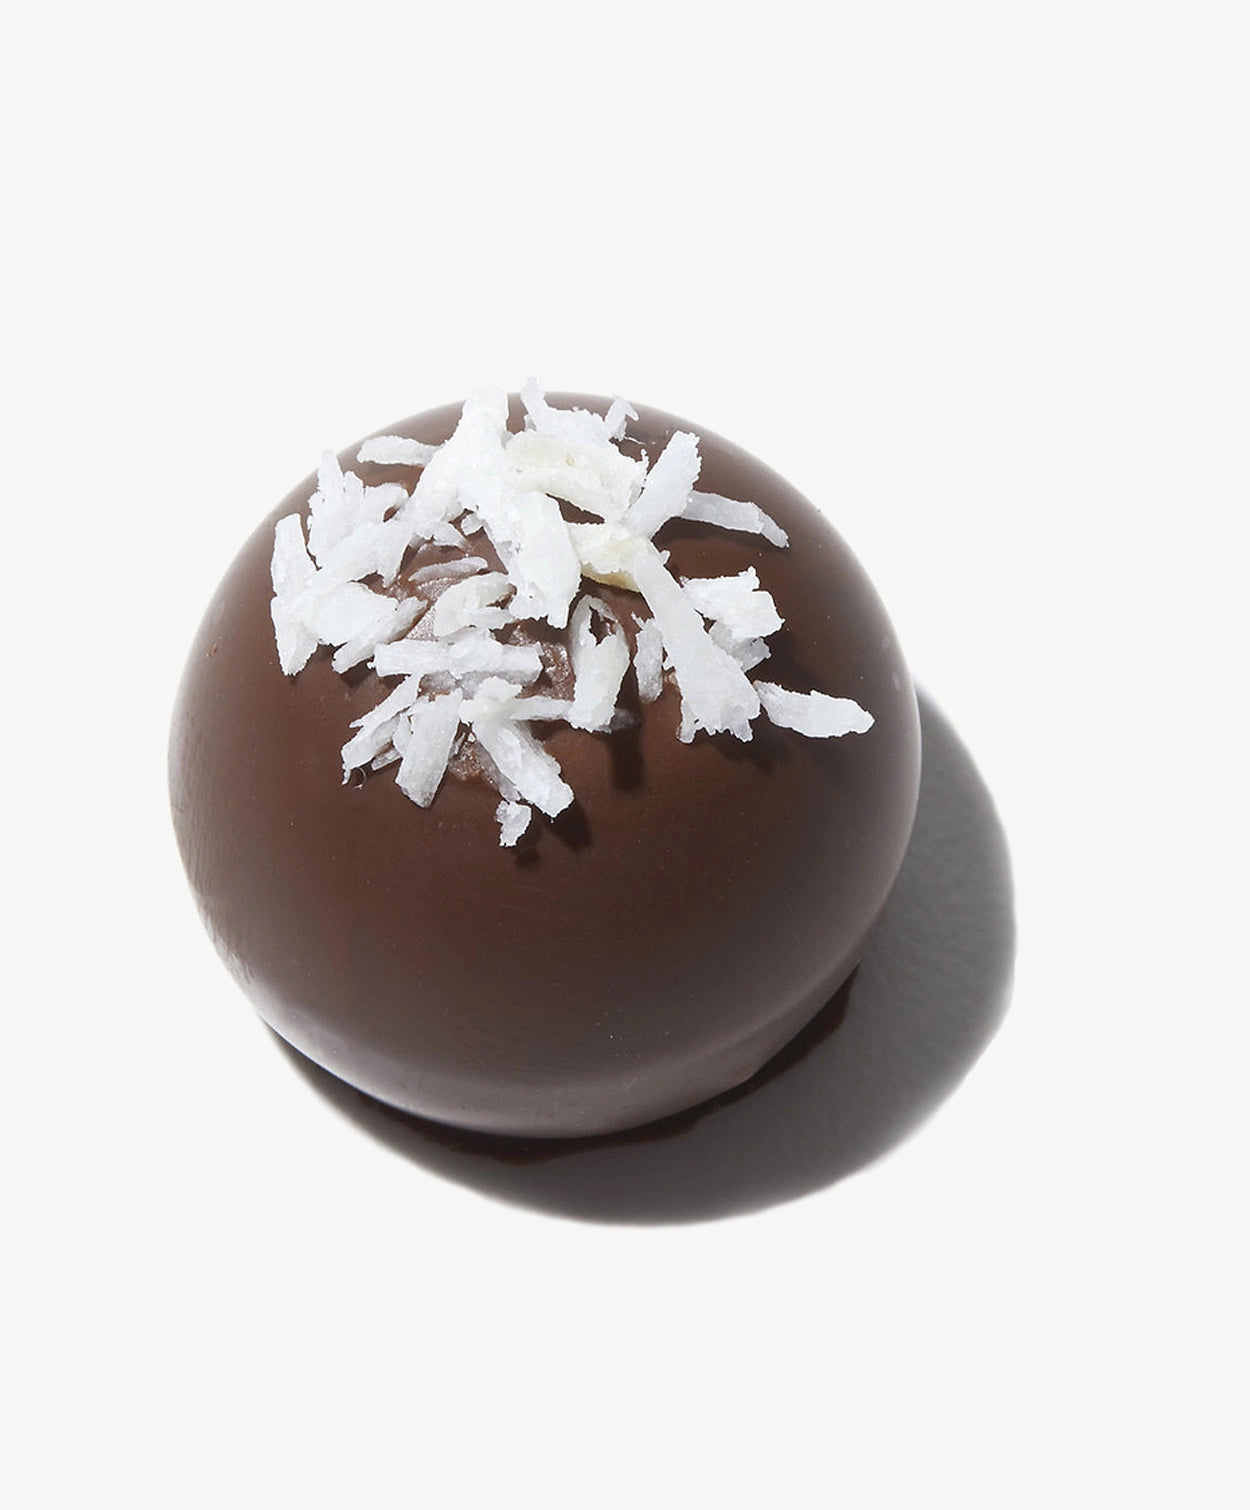
- Coatings: Cocoa powder, chopped nuts, or coconut flakes.
- Tools: Saucepan, heatproof bowl, spatula, and a baking sheet lined with parchment paper.
Keep your workspace clean and your tools dry. Even a drop of water can seize the chocolate.
No comments yet. Be the first to share your thoughts!