
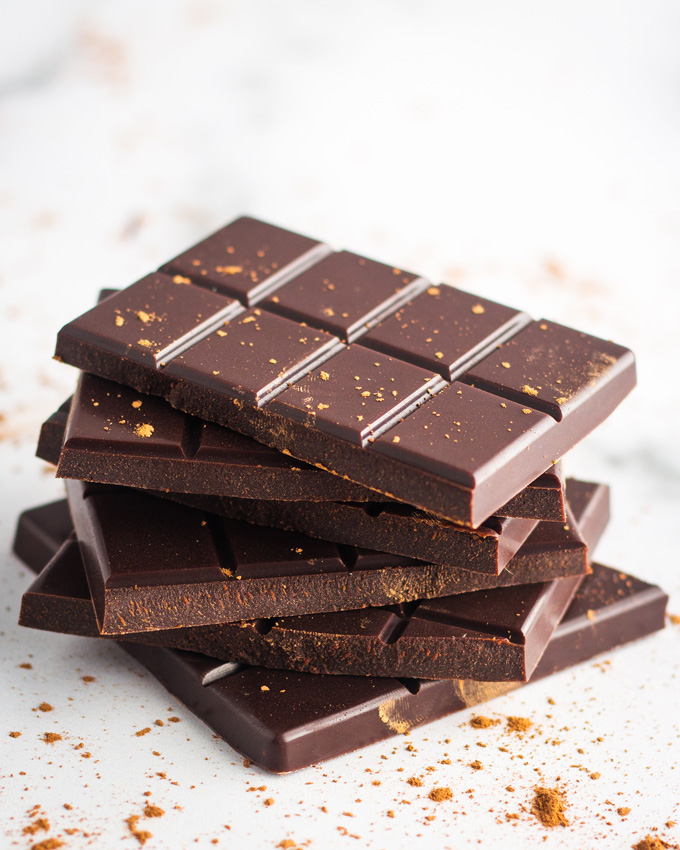
Choosing the right chocolate
Selecting the correct chocolate is the first step in any recipe. The difference between a smooth ganache and a grainy mess often comes down to whether you use couverture or baking chips. Understanding these categories helps you match the ingredient to the task.
Couverture vs. Baking Chips
Couverture contains a higher percentage of cocoa butter than standard chocolate. This extra fat allows it to melt smoothly and coat molds evenly, making it ideal for truffles and professional tempering. It requires more skill to work with but yields a superior finish. Baking chips, by contrast, contain stabilizers like vegetable oil to keep their shape in the oven. They do not melt as fluidly, which makes them better for cookies than for glossy coatings.
Reading the Label
The percentage on a chocolate bar indicates the total cocoa content, including both cocoa solids and cocoa butter. A 70% bar means 30% is sugar and other ingredients. Higher percentages generally mean less sweetness and more intense chocolate flavor. For beginners, a 50–60% dark chocolate offers a balanced entry point that is not overly bitter. Milk chocolate typically ranges from 10% to 40% cocoa content and relies on milk powder or condensed milk for texture.
Cocoa Butter and Texture
Cocoa butter is the natural fat extracted from the cocoa bean. It melts at body temperature, creating that distinct "melt-in-your-mouth" sensation. When cocoa butter is removed, the result is cocoa powder. Replacing it with vegetable oils in chips changes the mouthfeel, often leaving a waxy residue. For recipes where texture is critical, such as mousse or ganache, pure chocolate with real cocoa butter is essential.
Couverture for trufflesHow to melt chocolate chips
Melting chocolate requires patience and temperature control. Chocolate is sensitive to heat and moisture; even a small amount of water can cause it to seize into a grainy, unusable mass. The goal is to melt the cocoa butter evenly without scorching the cocoa solids.
We recommend using the double boiler method for the most consistent results. This method uses indirect steam heat, which is gentler than direct microwave radiation. It gives you full control over the temperature, reducing the risk of burning the chocolate.
Fill the bottom pot with about one inch of water. Ensure the water level stays below the bottom of the top bowl. Bring the water to a gentle simmer over medium heat. Do not let the water boil vigorously, as excessive steam can overwhelm the chocolate.
Place finely chopped chocolate or chips into a heatproof bowl. Finely chopped chocolate melts more evenly than large chunks. Set the bowl over the simmering water. Ensure the bowl fits snugly so that steam cannot escape around the edges.
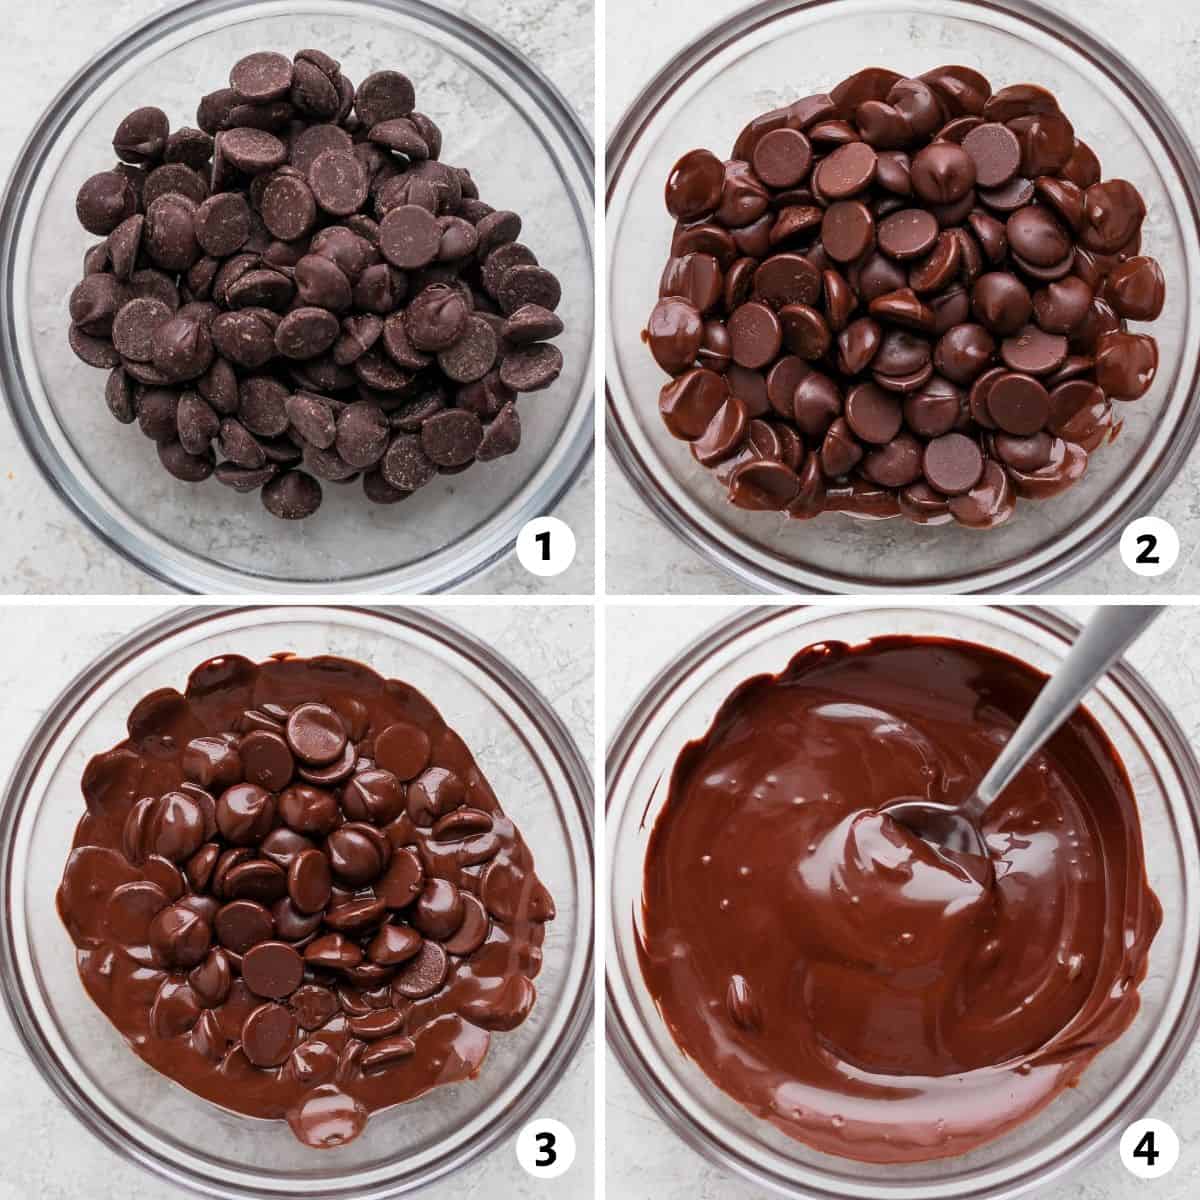
Use a dry silicone spatula or wooden spoon to stir the chocolate constantly. The residual heat from the steam will melt the chocolate. Remove the bowl from the heat source when there are still a few small unmelted bits. The residual heat will finish the job. Stirring distributes the heat evenly and prevents scorching.
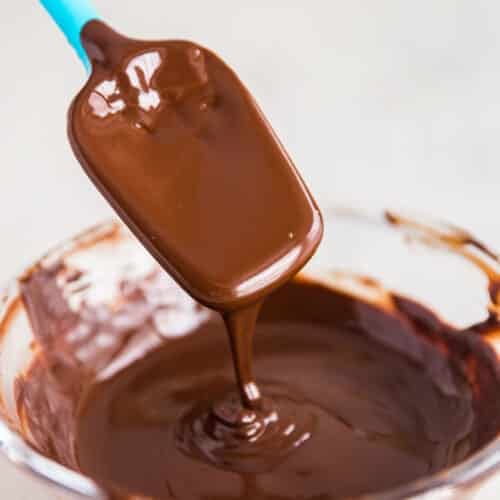
Once melted, the chocolate should be glossy and fluid. If it looks thick or grainy, it may have seized. Add a teaspoon of warm water or milk and stir vigorously to bring it back together. If it remains grainy, the chocolate is likely ruined for dipping but can still be used in baking.
If you must use a microwave, use extreme caution. Microwave the chocolate in 30-second intervals at 50% power. Remove and stir thoroughly between each interval. This method is faster but requires constant attention to prevent hot spots that can burn the chocolate. For most home cooks, the double boiler method remains the reliable standard for achieving a smooth, professional finish.
Caffeine content in chocolate
The amount of caffeine in a bar of chocolate is directly tied to its cacao percentage. Because caffeine is a natural compound found in the cacao bean, the higher the concentration of cacao solids, the higher the caffeine content. This relationship holds true regardless of whether the chocolate is dark, milk, or white.
Dark chocolate contains significantly more caffeine than milk chocolate. A standard 1.55-ounce (44g) bar of 70–85% dark chocolate typically contains between 25 and 50 milligrams of caffeine. In contrast, the same weight of milk chocolate, which has a lower cacao percentage and higher milk content, usually contains only about 5 to 10 milligrams. White chocolate contains virtually no caffeine, as it is made from cocoa butter and sugar without the inclusion of cacao solids.
This difference matters if you are monitoring your daily intake or are sensitive to stimulants. For perspective, a single bar of dark chocolate may provide roughly half the caffeine of an 8-ounce cup of brewed coffee. If you are consuming chocolate in the evening, choosing a lower-percentage variety or avoiding chocolate entirely can help prevent sleep disruption.
For precise tracking, check the nutrition label on your specific brand. While the general rules above apply to most commercial chocolates, recipes and bean varieties can vary. The U.S. Department of Agriculture (USDA) FoodData Central database provides detailed nutritional information for various chocolate types, including caffeine content, which can serve as a reliable reference point for planning your consumption.
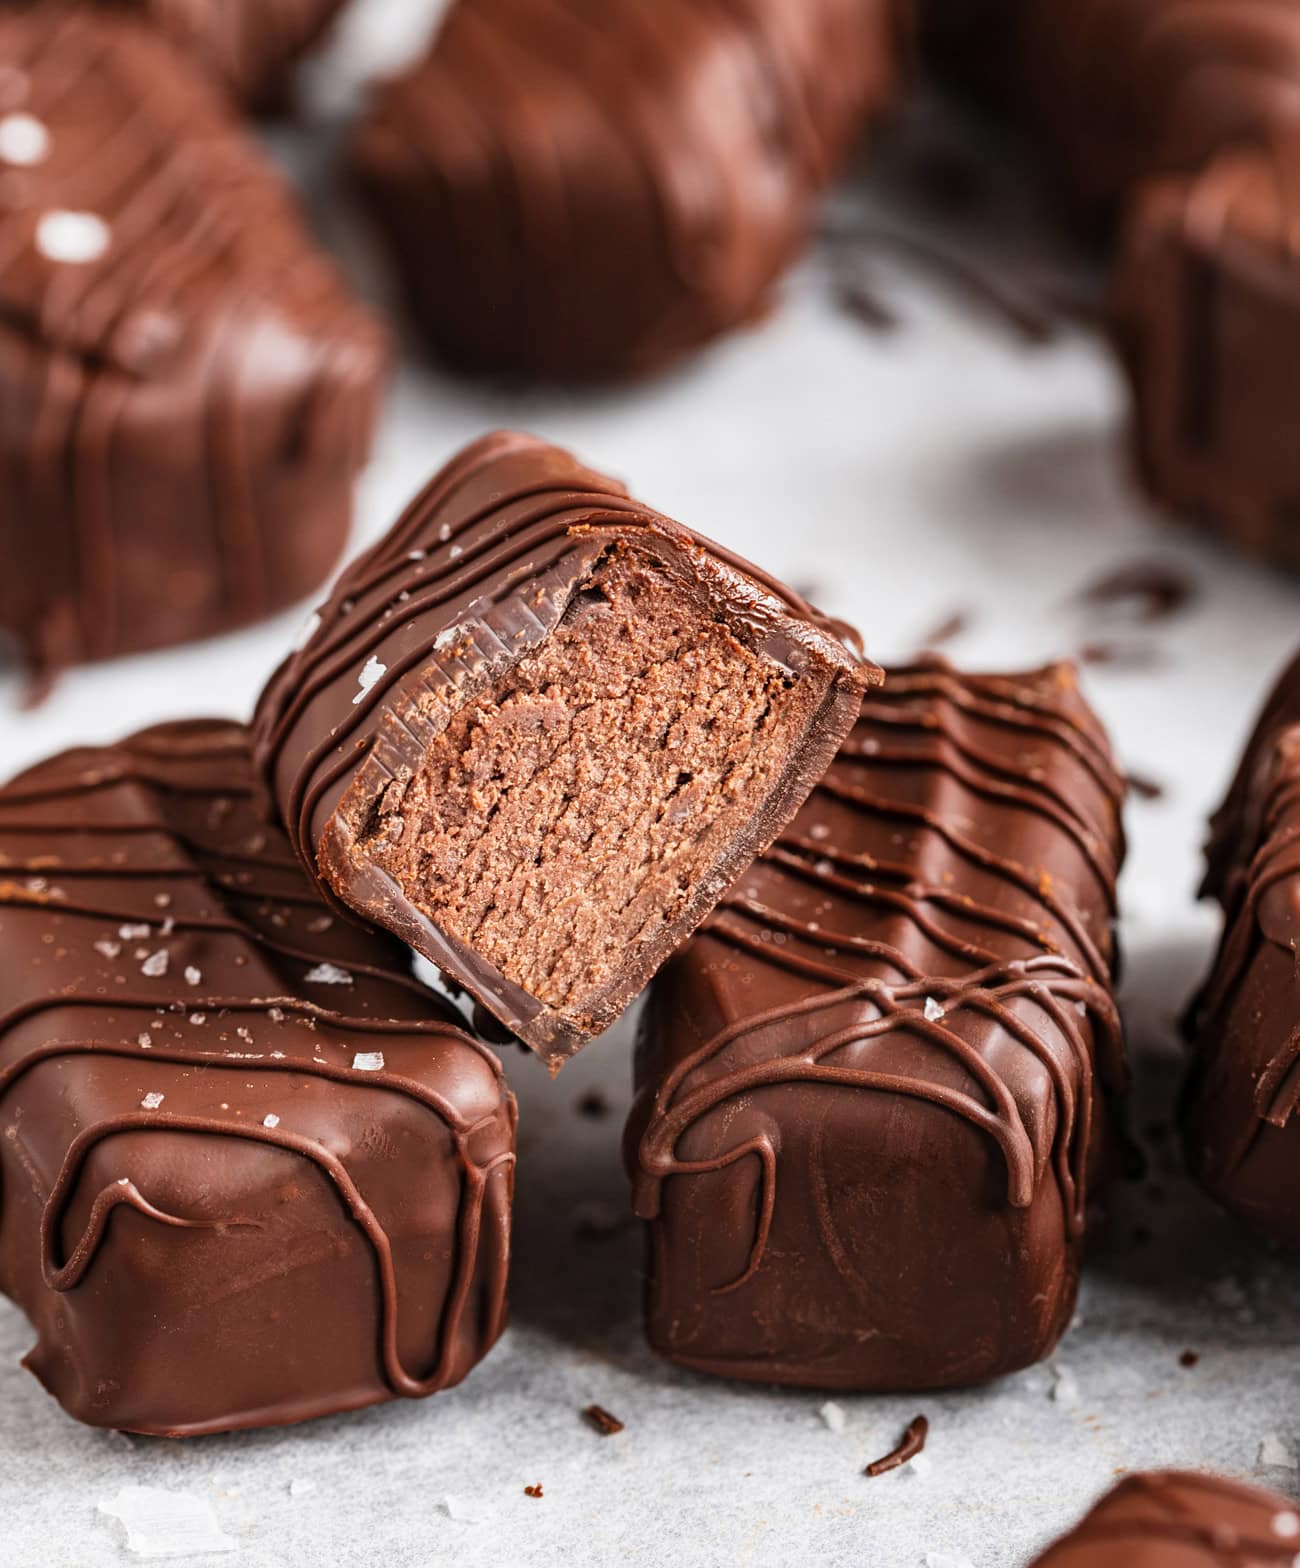
Making perfect truffles
Truffles are the final test of chocolate technique. They require precise temperature control and a steady hand to create a smooth ganache that sets properly. If the chocolate seizes or the filling becomes grainy, the texture suffers. This process builds directly on the melting and selection steps you just completed.
Prepare the ganache
Start with high-quality couverture chocolate. Chop it finely to ensure even melting. Heat heavy cream until it just begins to simmer, then pour it over the chocolate. Let it sit for two minutes before stirring gently from the center outward. This creates a smooth, emulsified ganache without incorporating too much air. If you added butter or flavorings, fold them in now.
Chill and firm the mixture
Cover the ganache with plastic wrap, pressing the wrap directly onto the surface to prevent a skin from forming. Refrigerate for at least two hours, or until firm enough to scoop. The consistency should be similar to soft play-dough. If it is too soft, chill it longer. If it becomes too hard, let it sit at room temperature for a few minutes.
Shape the centers
Use a small melon baller or a teaspoon to scoop portions of the ganache. Roll each portion quickly between your palms to form smooth spheres. Work efficiently to keep the chocolate from melting in your hands. Place the finished truffles on a parchment-lined baking sheet. Return them to the refrigerator for 15 minutes to set completely before coating.
Coat and finish
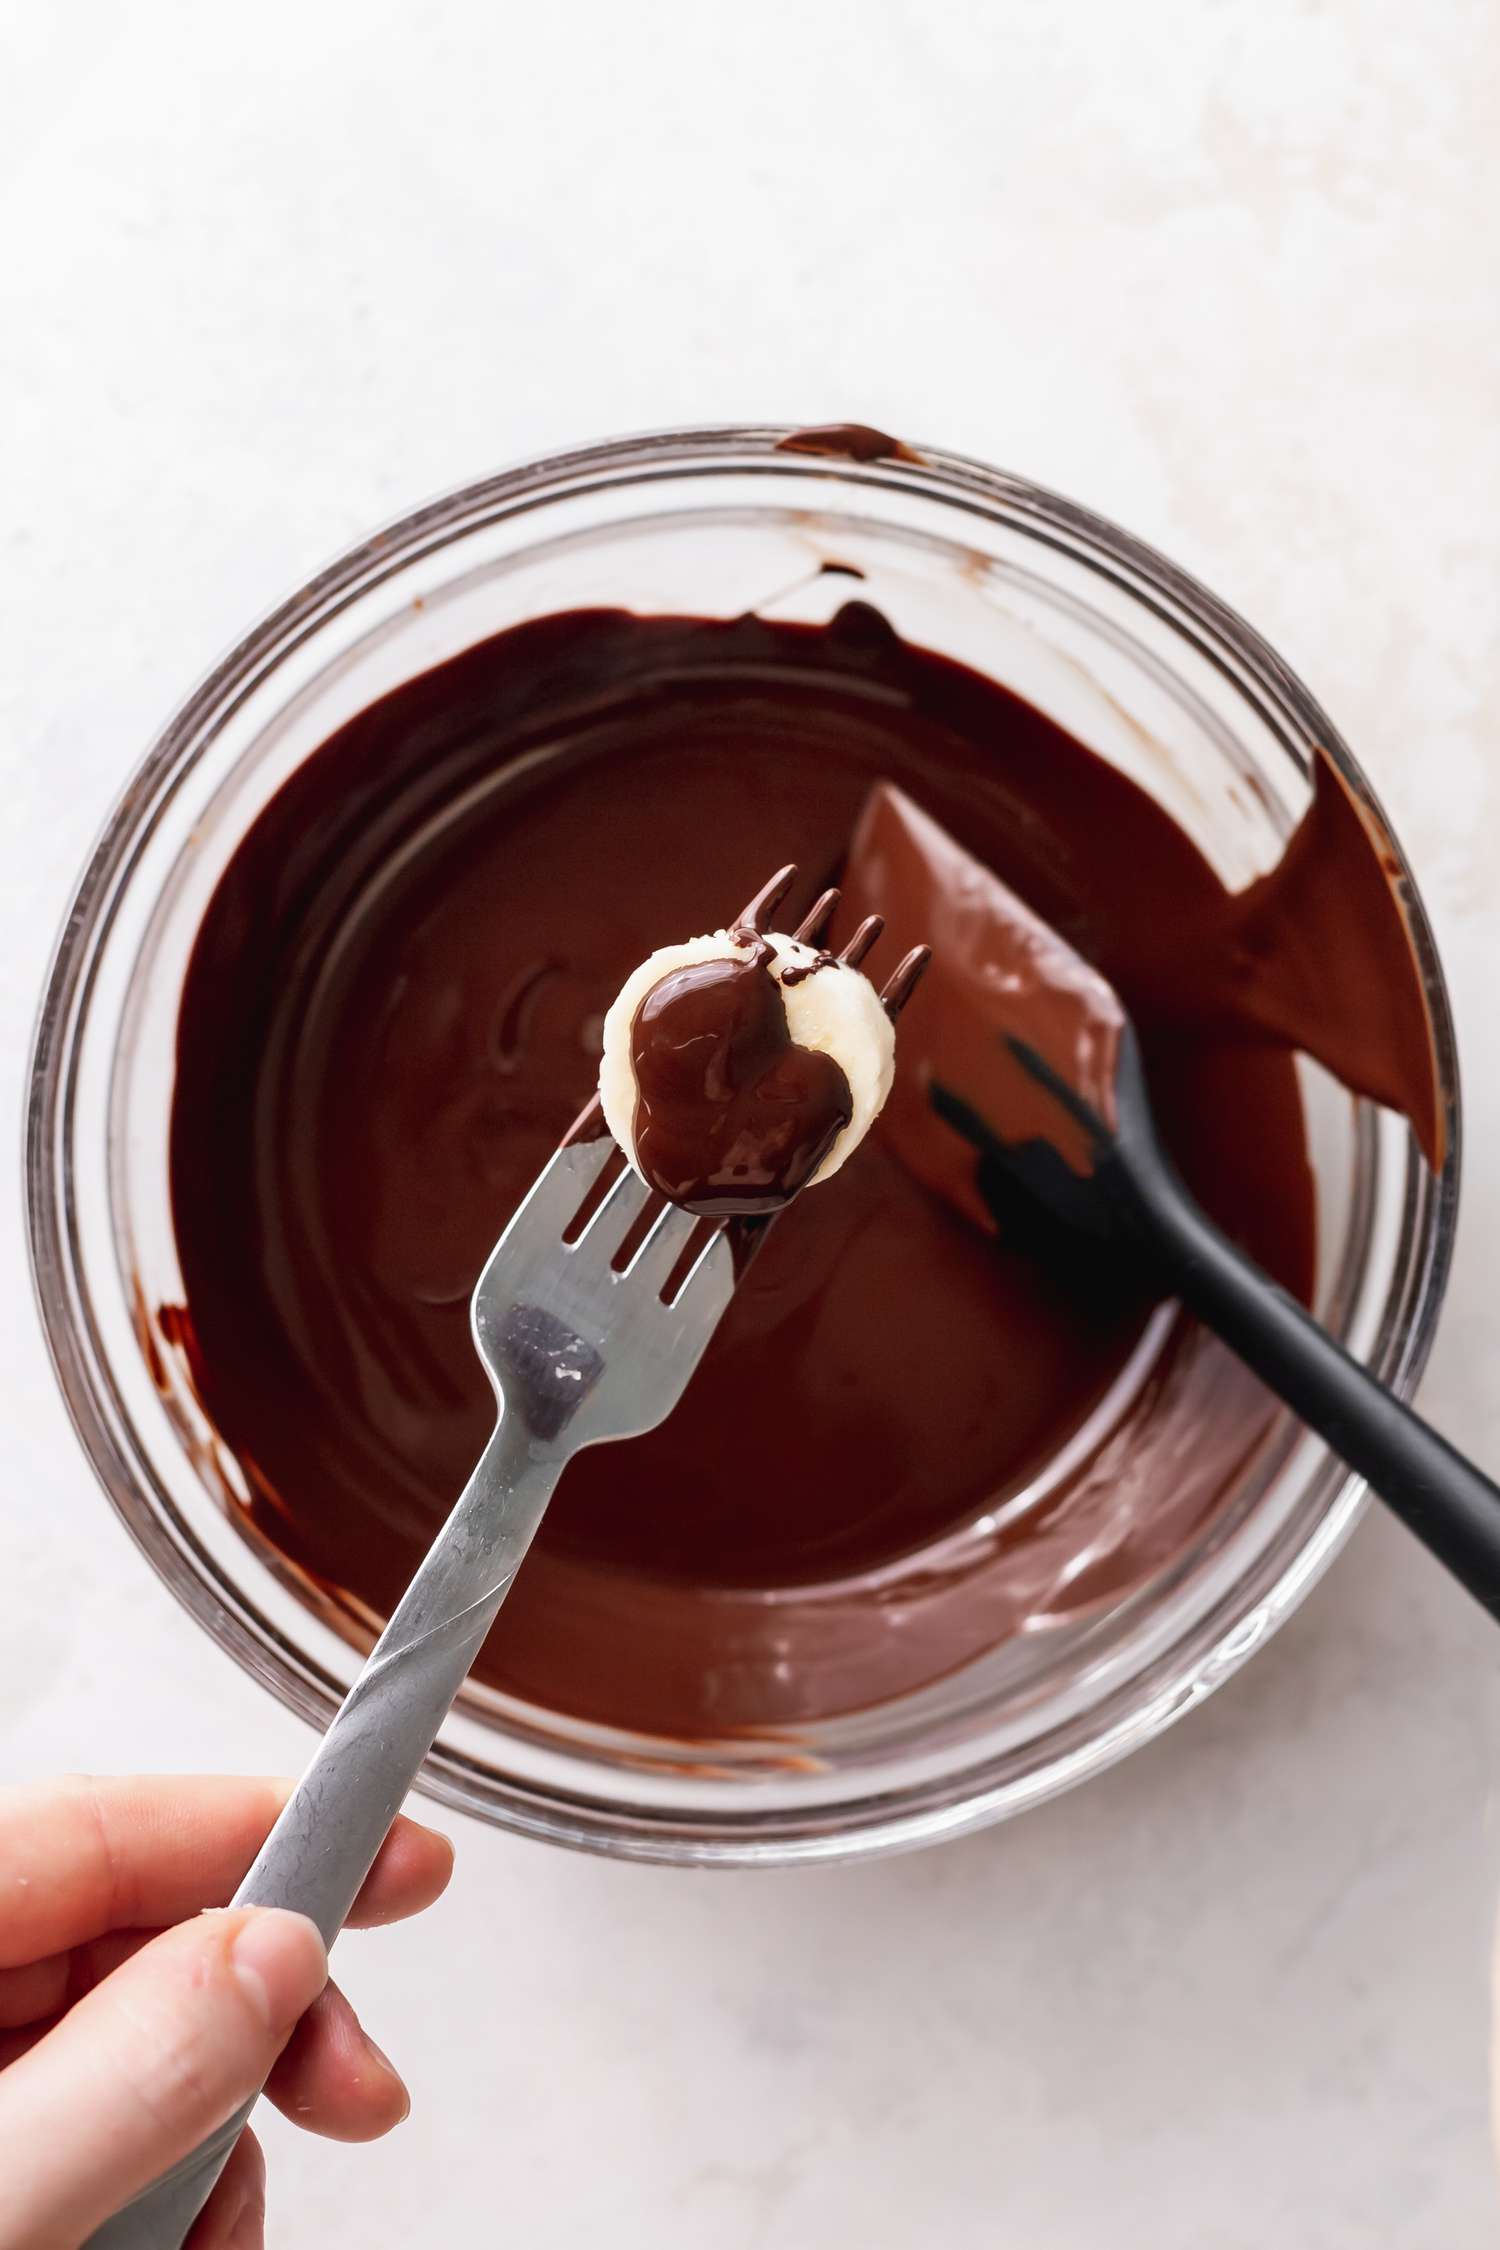
Dip each truffle into tempered chocolate or cocoa powder. Use a fork to lift them out, tapping gently to remove excess coating. Place them back on the parchment sheet. For a professional finish, you can roll them in crushed nuts, gold dust, or cocoa powder while the coating is still wet. Let them set at room temperature until the chocolate hardens.
Common melting mistakes
Even experienced bakers run into texture issues when heating chocolate. The two most frequent problems are seizing and graininess, both of which stem from how heat and moisture interact with cocoa solids.
Seizing
Chocolate seizes when it turns into a thick, lumpy mass. This almost always happens when a tiny amount of water touches the chocolate. Even steam from a hot bowl or a wet spoon can trigger the reaction. The cocoa particles clump together instantly.
To fix seized chocolate, add warm cream or milk one teaspoon at a time while stirring. This turns the grainy mass into a smooth ganache. You cannot return seized chocolate to its original tempered state for dipping.
Grainy Texture
Grainy chocolate usually results from overheating. If chocolate gets too hot, the cocoa butter separates from the solids. The result is a gritty, dull finish rather than a glossy snap. High heat also burns the delicate flavors.
Always melt chocolate gently. Use a double boiler or microwave in short bursts, stirring frequently. Keep the temperature low and steady. If the texture feels rough, it is likely already damaged and best used in baked goods where texture matters less.
Frequently asked: what to check next
Can I melt chocolate in the microwave?
Yes, but it requires caution. Microwave heat is uneven and can scorch chocolate instantly. Use short intervals of 15 to 30 seconds, stirring thoroughly between each burst. This method works best for small quantities or when tempering is not required.
Does dark chocolate have more caffeine than milk chocolate?
Generally, yes. Caffeine content correlates with cocoa solids. A standard 1-ounce (28g) square of dark chocolate contains roughly 10 to 20 mg of caffeine, while milk chocolate contains significantly less. White chocolate contains no caffeine because it lacks cocoa solids.
How do I fix seized chocolate?
Chocolate seizes when water contacts it, causing cocoa particles to clump. To rescue it, stir in one tablespoon of warm water or heavy cream for every 4 ounces of chocolate. The added liquid re-emulsifies the fats, restoring a smooth consistency suitable for sauces or ganache.
No comments yet. Be the first to share your thoughts!