
Choose the right chocolate for melting
The foundation of a smooth truffle is the chocolate you start with. Standard baking chips are engineered to hold their shape in a hot oven, not to flow in a bowl. When you melt them, the stabilizers keep the mixture thick and grainy, which ruins the silky texture required for ganache.
Look for couverture chocolate or high-quality melting wafers. Couverture contains a higher percentage of cocoa butter, which lowers the viscosity as it heats. This allows the chocolate to coat the palate evenly and blend seamlessly with cream or butter.
If you are making a simple ganache, semi-sweet or dark chocolate bars labeled "for melting" or "baking" work best. Check the ingredient list: it should list cocoa butter, not vegetable oil or hydrogenated fats. These oils prevent the chocolate from setting firmly, leaving your truffles soft and sticky even after chilling.
Melt chocolate using the double boiler method
Melting chocolate requires patience and gentle heat. Direct contact with a hot pan will scorch the cocoa butter, turning your chocolate grainy and dull. The double boiler method creates a buffer of steam that melts the chips evenly without burning them. This technique is essential for achieving the smooth, glossy texture needed for truffles.
Prevent Seizing by Keeping Water Away
Chocolate seizing happens when even a single drop of water meets the cocoa butter and sugar crystals in your bowl. The water causes the sugar to dissolve instantly, turning the smooth emulsion into a thick, grainy, and unworkable mass. This is a common fear for home cooks, but it is entirely preventable with one simple rule: total dryness.
Before you melt a single chip, inspect your equipment. Your mixing bowl and spatula must be bone dry. Even residual humidity from a washed bowl or a damp counter can trigger the reaction. Wipe everything down with a clean towel if you are unsure. If you are using a double boiler, ensure the bottom of the bowl does not touch the simmering water. Steam rising from the pot can also condense and drip into the chocolate, so keep the heat low and steady.
If you accidentally get water in your chocolate, do not throw it away. The fix depends on what you are making. For ganache or truffles, you can rescue seized chocolate by stirring in a tablespoon of warm heavy cream or hot water. The extra liquid re-emulsifies the fat, restoring a smooth texture. For dipping or coating, the chocolate is likely too thick to recover, so start over with fresh, dry ingredients.
Fix Seized Chocolate
If your chocolate has already seized, act quickly to save your batch. The goal is to reintroduce fat or liquid to bind the loose sugar crystals back into a smooth emulsion.
- Add Fat for Ganache: If you are making a filling, stir in one tablespoon of warm heavy cream at a time. Mix vigorously until the chocolate loosens. The fat coats the sugar particles, preventing them from clumping.
- Add Liquid for Dipping: If you need a thinner consistency for dipping strawberries, add a small amount of warm water or corn syrup. Use only a teaspoon at a time to avoid making the mixture too runny.
- Start Over: If the chocolate is too thick to stir, it is better to discard it and begin again. Forcing the issue can result in a lumpy, uneven texture that will not set properly.
When to Start Over
Sometimes, seizing is beyond repair. If the chocolate has seized multiple times or turned into a solid, dry clump, it is best to start fresh. Attempting to fix severely seized chocolate often results in a grainy texture that will not melt smoothly again. In these cases, use the chocolate for baking instead of dipping or coating. Melted seized chocolate works well in brownies, cookies, or chocolate chips where texture is less critical.
Can I fix seized chocolate with butter?
Yes, adding a tablespoon of softened or melted butter can help re-emulsify seized chocolate. The fat helps bind the sugar crystals, restoring a smoother consistency suitable for ganache or truffles.
Why does steam cause chocolate to seize?
Steam condenses on the surface of the chocolate and drips into the bowl. Even a small amount of water disrupts the delicate balance of cocoa butter and sugar, causing the mixture to clump and seize instantly.
Can I use seized chocolate for baking?
Absolutely. Seized chocolate is still safe to eat and has full flavor. It is perfect for baking in brownies, cookies, or cakes where the texture will be masked by other ingredients.
How do I know if my chocolate is fully melted?
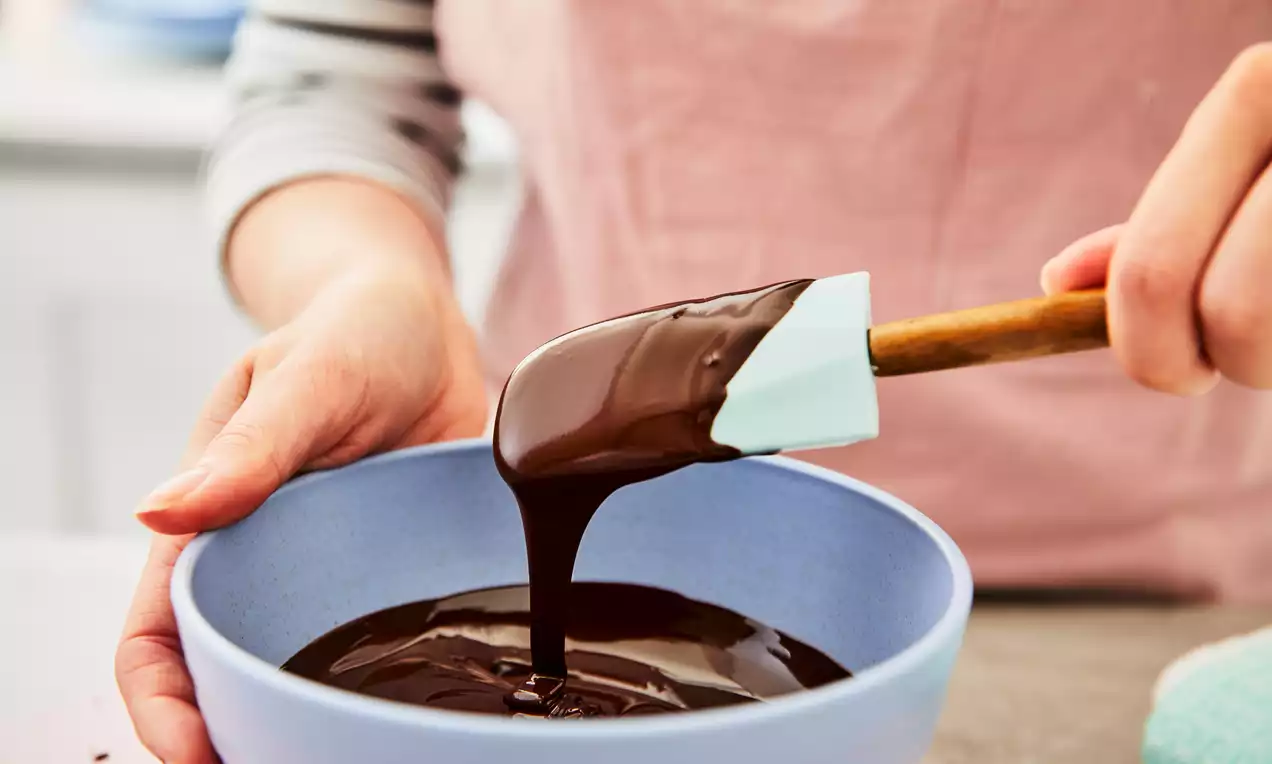
Fully melted chocolate should be glossy, fluid, and uniform in color. If you see any unmelted chunks or a matte finish, continue stirring gently over low heat. Do not rush the process, as overheating can also damage the chocolate.
Create smooth truffle ganache
The foundation of any good truffle is the ganache—a simple emulsion of chocolate and cream. Getting this base right determines whether your truffles are firm enough to roll or too soft to handle. The process is straightforward: heat the cream, pour it over chopped chocolate, and let the heat do the work.
Once the ganache has set, you can proceed to rolling your truffles. If the mixture is too soft, refrigerate it for another 15 minutes. If it becomes too hard, let it sit at room temperature for a few minutes to soften slightly before handling.
Shape and coat your truffles
Once the ganache has set into a firm, scoopable consistency, it is time to form the truffles. Use a small melon baller or a teaspoon to portion the ganache, then roll each piece between your palms to create smooth spheres. If the ganache feels too sticky to handle, chill the balls briefly in the refrigerator for ten minutes to firm them up.
Coating adds texture and visual appeal. For a classic finish, roll the balls in Dutch-process cocoa powder. For a crunchier exterior, coat them in finely chopped hazelnuts or pistachios. If you prefer a glossy shell, dip each truffle into tempered chocolate using a fork, letting the excess drip off before placing it on parchment paper.
Shaping the ganache
Keep your hands clean and dry to prevent melting the chocolate. Work in small batches to maintain control over the temperature of the ganache.
Choosing your coating
Cocoa powder offers a traditional, bitter contrast. Nuts add a savory crunch. Tempered chocolate provides a professional snap and shine.
Setting the final product
Allow coated truffles to set at room temperature or in the refrigerator for thirty minutes. Store them in an airtight container in the fridge for up to two weeks.
Checklist for perfect chocolate results
Before you melt a single chip, run through this pre-flight list. Skipping these steps is the most common reason for seized or grainy truffles.
- Dry tools: Ensure bowls and utensils are completely dry. A single drop of water can cause chocolate to seize instantly.
- Chill the bowl: Place your mixing bowl in the freezer for 10 minutes before tempering or whipping.
- Quality matters: Use couverture or high-cacao chocolate. Standard chips contain stabilizers that resist proper melting.
- Room temp ganache: Let chocolate ganache sit at room temperature for 24 hours before shaping to ensure firm centers.
Common questions about melting chocolate
Getting the temperature right is the difference between glossy truffles and a grainy mess. These answers address the most frequent hurdles when melting chocolate for coatings or fillings.
No comments yet. Be the first to share your thoughts!