
What makes Choco Harvest different
Choco Harvest operates as a Michigan-based craft chocolate maker, focusing on bean-to-bar production. This approach means the entire process, from sourcing cacao beans to the final tempering, happens in-house. Unlike large commercial manufacturers that rely on standardized industrial recipes, small-batch makers prioritize flavor nuance and ingredient purity. This distinction matters significantly when you are learning how to melt Choco Harvest chocolate, as these bars often contain higher cacao butter content and fewer stabilizers than mass-market brands.
The brand’s identity is built on thoughtfully sourced ingredients and seasonal releases. Their product line includes snacking chocolate, tea-infused bars, and gift sets, all crafted to highlight the specific terroir of the cacao. Because these chocolates are designed for flavor complexity rather than long shelf-life stability, they can be more sensitive to heat. Understanding this craft-oriented foundation helps you adjust your melting technique to preserve the delicate notes the makers intended.
How to melt Choco Harvest chocolate
Melting craft chocolate requires more care than melting mass-produced bars. Choco Harvest bars often contain pure cocoa butter and fewer stabilizers, which means they can seize if water gets in or burn if the heat is too aggressive. Treat the chocolate like a delicate emulsion that needs gentle, consistent warmth.
Use a double boiler or a microwave in short, controlled bursts. The goal is to lower the chocolate to a smooth, glossy liquid without breaking its structure. Follow this sequence to ensure a successful melt every time.
Start with completely dry tools. Even a single drop of water can cause Choco Harvest chocolate to seize, turning it into a grainy, unusable mess. Use a dry glass or stainless steel bowl and a dry spatula. If you are using a microwave-safe bowl, make sure it is free of moisture.
Break the Choco Harvest bar into small, uniform pieces. Smaller chunks melt more evenly and reduce the risk of hot spots. Aim for pieces that are roughly the same size so they all reach the same temperature at the same time. This step is critical for craft chocolate, which lacks the emulsifiers found in commercial brands.
Fill a saucepan with a few inches of water and bring it to a simmer, then reduce the heat to low. Place your bowl of chopped chocolate over the water, ensuring the bottom of the bowl does not touch the water. Stir occasionally. The steam provides gentle, indirect heat that preserves the cocoa butter’s texture.
Continue stirring the chocolate as it melts. This distributes the heat evenly and prevents the bottom layer from scorching. Stop heating when about 10-20% of the chocolate still has small unmelted bits. The residual heat will finish melting the rest as you continue to stir. Do not overheat.
Craft chocolate is ready when it is smooth, glossy, and has reached a temperature between 88°F and 90°F (31°C-32°C) for dark chocolate. If you are dipping or drizzling, it should be fluid but not hot to the touch. Use immediately for your recipe, or let it cool slightly to thicken for dipping.
Making truffles with Choco Harvest
Transforming your melted Choco Harvest chocolate into truffles is a straightforward process that hinges on two things: the chocolate-to-cream ratio and proper tempering. A well-made truffle has a smooth, glossy shell and a rich, fluid ganache center. Follow this sequence to get the texture right every time.
Gather your tools
Before you start, ensure you have a heatproof bowl, a silicone spatula, a digital thermometer, and a whisk or small electric mixer. You will also need a baking sheet lined with parchment paper or a silicone mat for setting the truffles. Having everything within reach prevents the chocolate from cooling too quickly while you are measuring ingredients.
Melt the chocolate carefully
Place your chopped Choco Harvest chocolate in a dry, heatproof bowl. Use a double boiler or a microwave in 20-second intervals, stirring between each burst. The goal is to melt the chocolate evenly without introducing any water or steam, which can cause it to seize. Stop heating when the chocolate is mostly melted and stir until it is completely smooth. For dark chocolate, aim for a temperature of 115°F (46°C) before cooling.
Create the ganache
Heat heavy cream until it just begins to simmer. Pour the hot cream over the melted chocolate. Let it sit for one minute to allow the heat to soften the chocolate, then whisk gently from the center outward until the mixture is glossy and homogeneous. This 1:1 ratio by weight creates a balanced ganache that is firm enough to hold its shape but soft enough to be creamy. If you prefer a firmer truffle, increase the chocolate ratio to 2:1.
Temper the chocolate for coating
Tempering aligns the cocoa butter crystals, giving your truffles a professional snap and shine. Cool the melted coating chocolate to 82°F (28°C) by spreading it on a marble slab or adding finely chopped tempered chocolate. Then, gently reheat it to 88–90°F (31–32°C) for dark chocolate. Test the temperature by dipping a knife tip; it should set within three minutes at room temperature with a glossy finish.
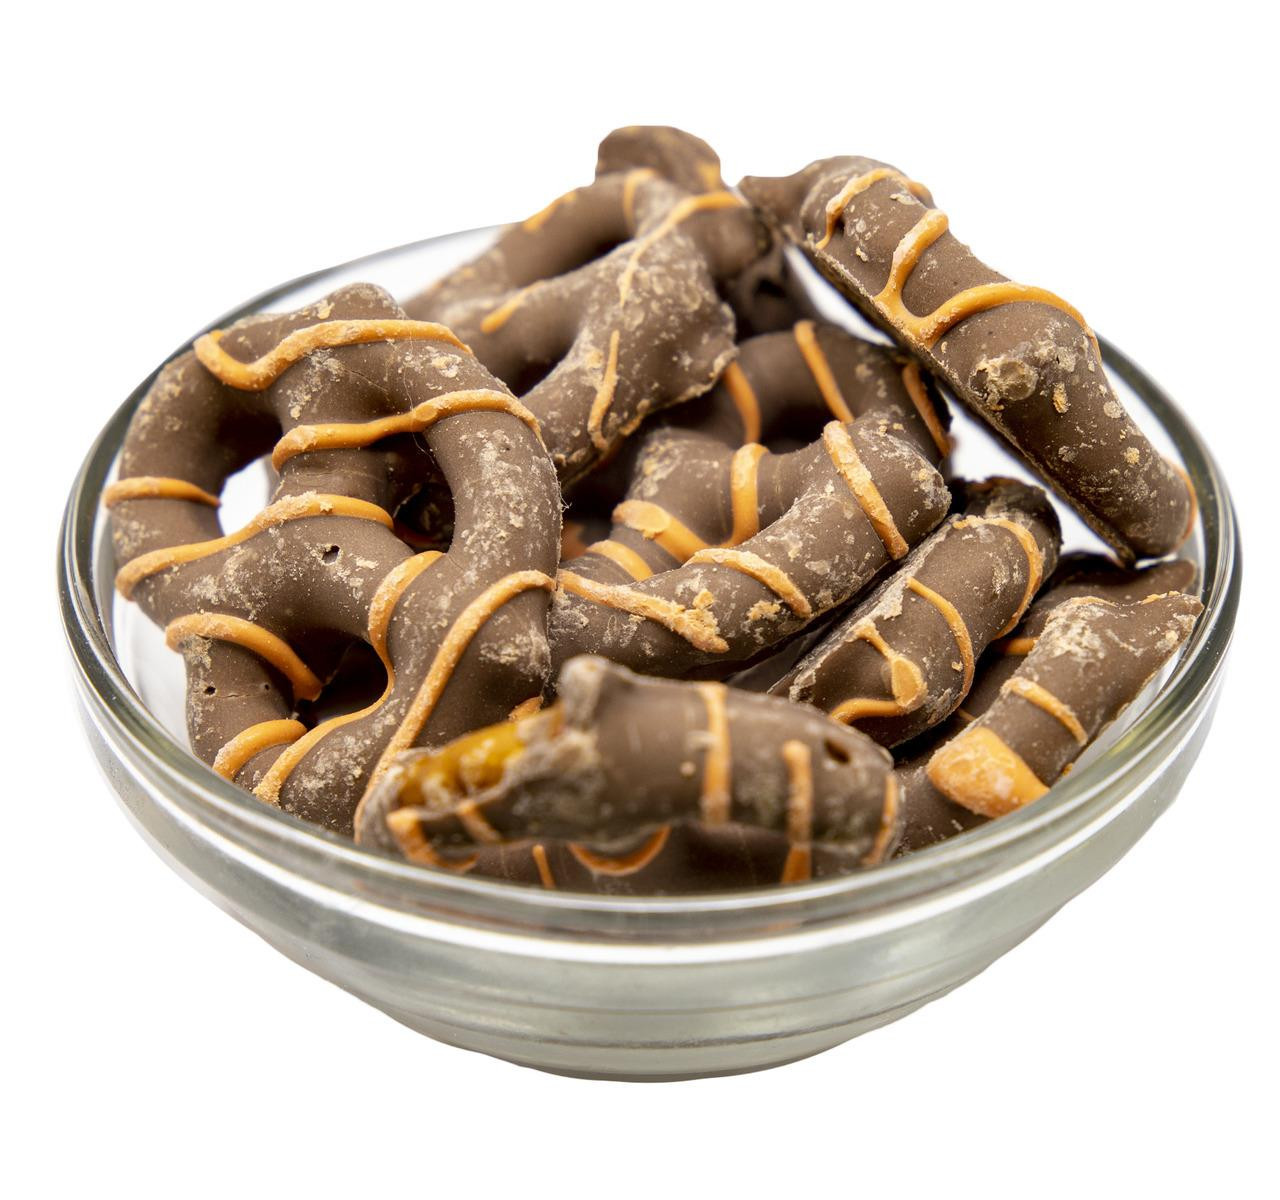
Roll and coat the truffles
Scoop small portions of the chilled ganache and roll them into balls between your palms. Dip each ball into the tempered chocolate using a fork, letting the excess drip off. Tap the fork gently against the bowl’s edge to smooth the coating. Place the truffles back on the parchment-lined sheet. Let them set at room temperature or in the refrigerator for 15 minutes until the shell is firm. Dust with cocoa powder or edible gold leaf if desired.
Caffeine content in chocolate bars
Choosing between dark and milk chocolate from Choco Harvest depends largely on your caffeine tolerance. The difference is straightforward: dark chocolate contains significantly more caffeine because it has a higher concentration of cacao solids. Milk chocolate dilutes this concentration with milk powder and sugar, resulting in a milder stimulant effect.
If you are sensitive to caffeine or planning to eat chocolate late in the day, stick to milk chocolate varieties. For a stronger energy boost, choose their darker bars. The table below compares the typical ranges found in these products.
| Chocolate Type | Caffeine Level | Cacao Content | Best For |
|---|---|---|---|
| Dark Chocolate | Moderate to High | 70%+ | Energy boost |
| Milk Chocolate | Low | 10-40% | Evening treat |
When to buy Choco Harvest gifts
Choco Harvest operates on a seasonal production cycle, meaning availability shifts with the harvest calendar. Most craft chocolate makers release limited-edition bars tied to specific crop windows or holidays. Buying during these windows ensures you get the freshest beans and the full range of flavors before stock runs out.
The brand typically introduces new seasonal bars in the fall and early winter, aligning with the primary cocoa harvest months. These limited runs often include holiday-themed bundles or single-origin releases that are not restocked once sold out. If you are looking for a specific tasting experience, checking the shop during these peak periods is your best bet.
For gifting, the brand offers curated gift sets that pair well with the current seasonal offerings. These bundles are often available year-round, but the included bars change to reflect what is currently fresh. Subscribing to the brand’s newsletter is the most reliable way to know when new batches drop.
If you miss a seasonal release, the brand usually restocks core items like their signature bars and standard gift boxes. However, unique single-harvest editions may not return. For the most current inventory and upcoming release dates, visit Harvest Chocolate directly.
No comments yet. Be the first to share your thoughts!