

Gather your chocolate making tools
Start making chocolate at home by defining your primary constraint: space, budget, or skill level. Let that constraint dictate your equipment choices. For most beginners, a double boiler setup, a digital thermometer, and silicone molds are sufficient. Skip industrial tools like tempering machines or melangers unless you plan to grind whole beans.
Melt chocolate chips gently
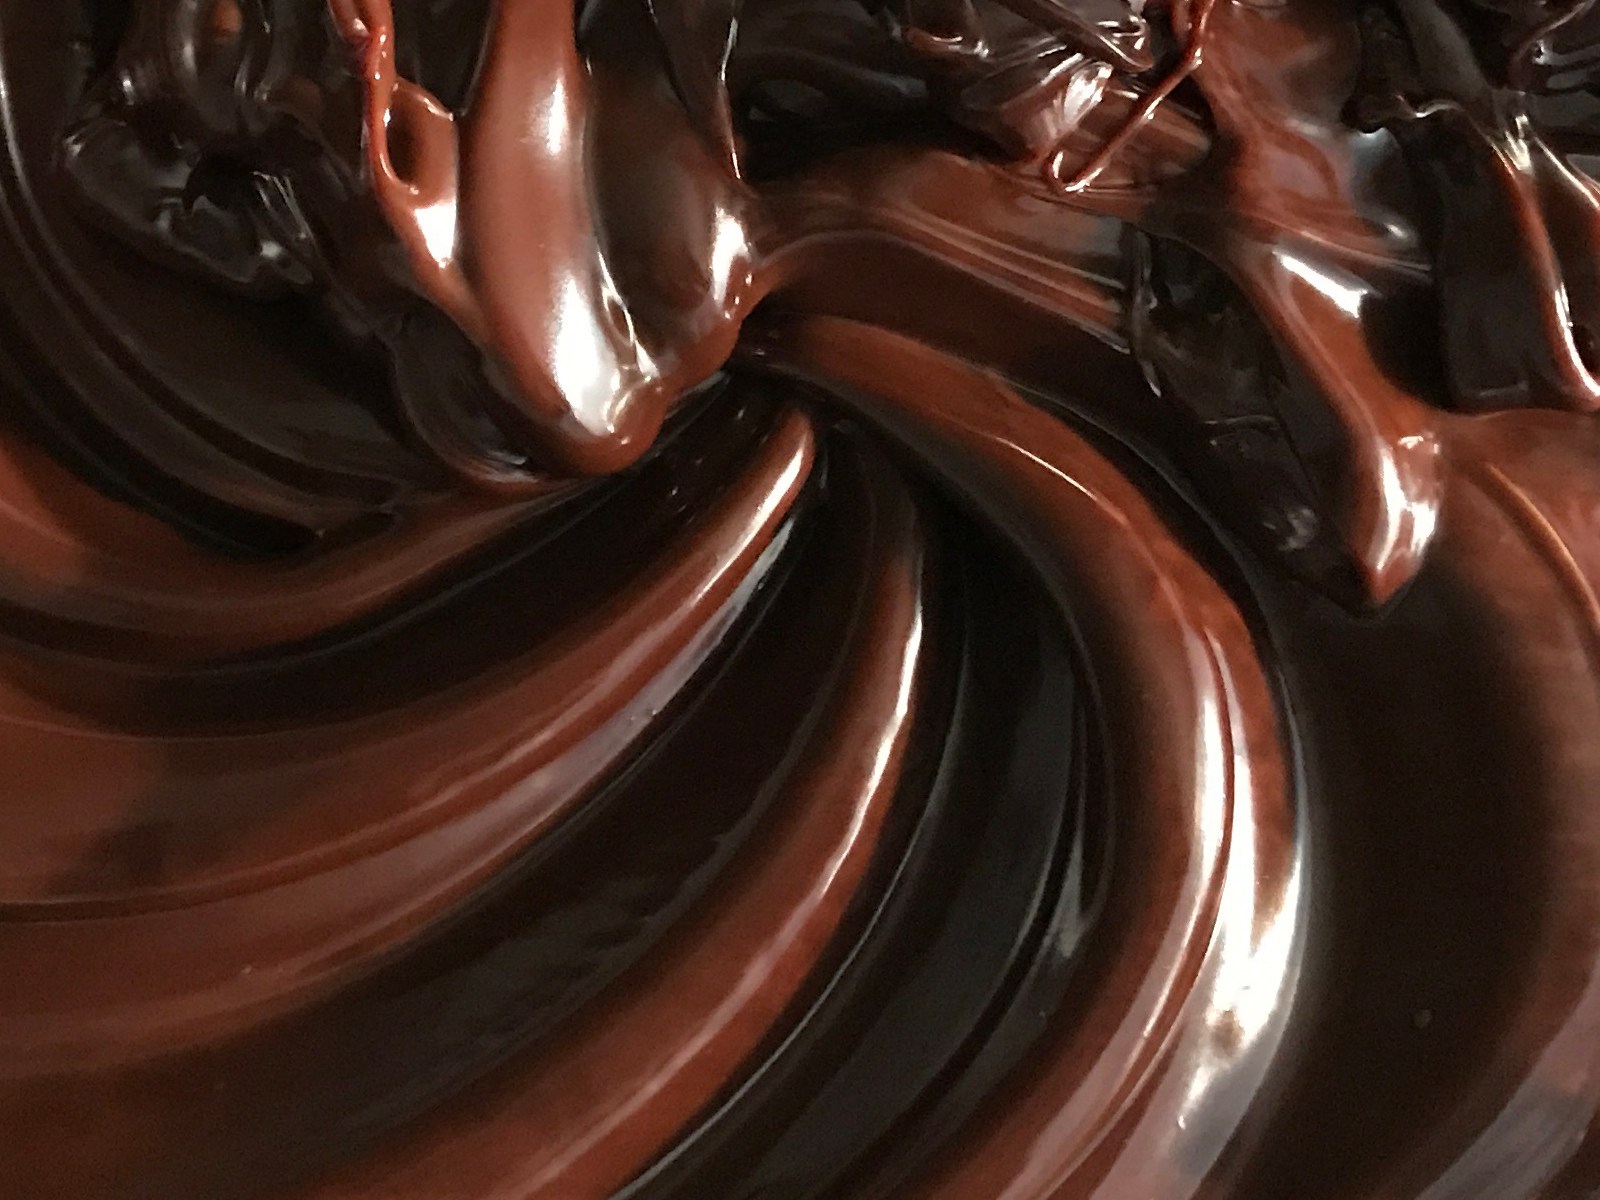
Melting chocolate is the first hurdle. Chocolate is sensitive; overheating causes cocoa butter to separate from solids, resulting in a grainy, oily mess. Use a double boiler to maintain indirect heat.
Why not the microwave?
While the microwave is faster, it is unforgiving. Chocolate heats unevenly in spurts, making it easy to create hot spots that burn the chocolate while the rest remains solid. If you must use a microwave, use 15-second bursts at 50% power, stirring between each. However, for consistent results and better control, the double boiler method remains the gold standard for home chocolatiers.
Temper chocolate for a glossy finish
Tempering stabilizes cocoa butter crystals, ensuring your chocolate has a satisfying snap and mirror-like shine. Without this step, chocolate will look dull and melt instantly.
Place your chopped chocolate in a heatproof bowl over a pot of simmering water (double boiler). Ensure the bottom of the bowl does not touch the water. Stir gently until the chocolate is completely melted and smooth. Remove from heat immediately once melted to avoid burning.
Pour about two-thirds of the melted chocolate onto a clean, cool marble slab or silicone mat. Use a scraper to spread it out and then gather it back together repeatedly. This action cools the chocolate quickly and encourages the formation of stable crystals. Continue until the chocolate thickens and reaches approximately 80°F (27°C).
Add the remaining one-third of warm chocolate back into the cooled mass. Stir continuously to combine. This raises the temperature slightly to the working range of 88–90°F (31–32°C) for dark chocolate. For milk or white chocolate, aim for 86–88°F (30–31°C). This step ensures all crystals are stable and the texture is smooth.
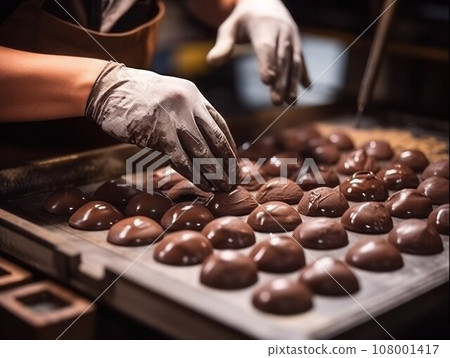
Dip a knife tip or a small piece of parchment paper into the chocolate and set it aside at room temperature. Properly tempered chocolate will set within 3–5 minutes, showing a uniform, glossy finish with no streaks. If it stays soft or looks blotchy, the temper is off; reheat and cool slightly more to correct it.
The seeding method described above is the most reliable technique for home makers because it gives you visual control over the crystal formation. While the tabling method (cooling on marble) is traditional, it requires more space and cleanup. The key is temperature precision; using a digital thermometer is essential for success.
Once tempered, you can dip strawberries, coat molds, or create chocolate shards. Keep the chocolate warm in a bowl over a very low heat source if you are working in a cool room, but do not overheat it again, or you will lose the temper you just worked so hard to achieve.
Pour molds and add truffle fillings
This stage defines the final look and texture. Working quickly prevents the chocolate from setting too early in the bowl. Grab your silicone molds—flexible silicone is easier to pop than rigid polycarbonate for beginners—and a small offset spatula.
Pouring the shell
Pour the chocolate into the mold cavities, filling them about two-thirds full. If you are making solid bars, fill the entire mold. Tap the mold firmly against the counter three or four times to release trapped air bubbles, which can leave unsightly holes in your finished chocolate. Use the spatula to scrape the excess chocolate off the surface, ensuring an even layer.
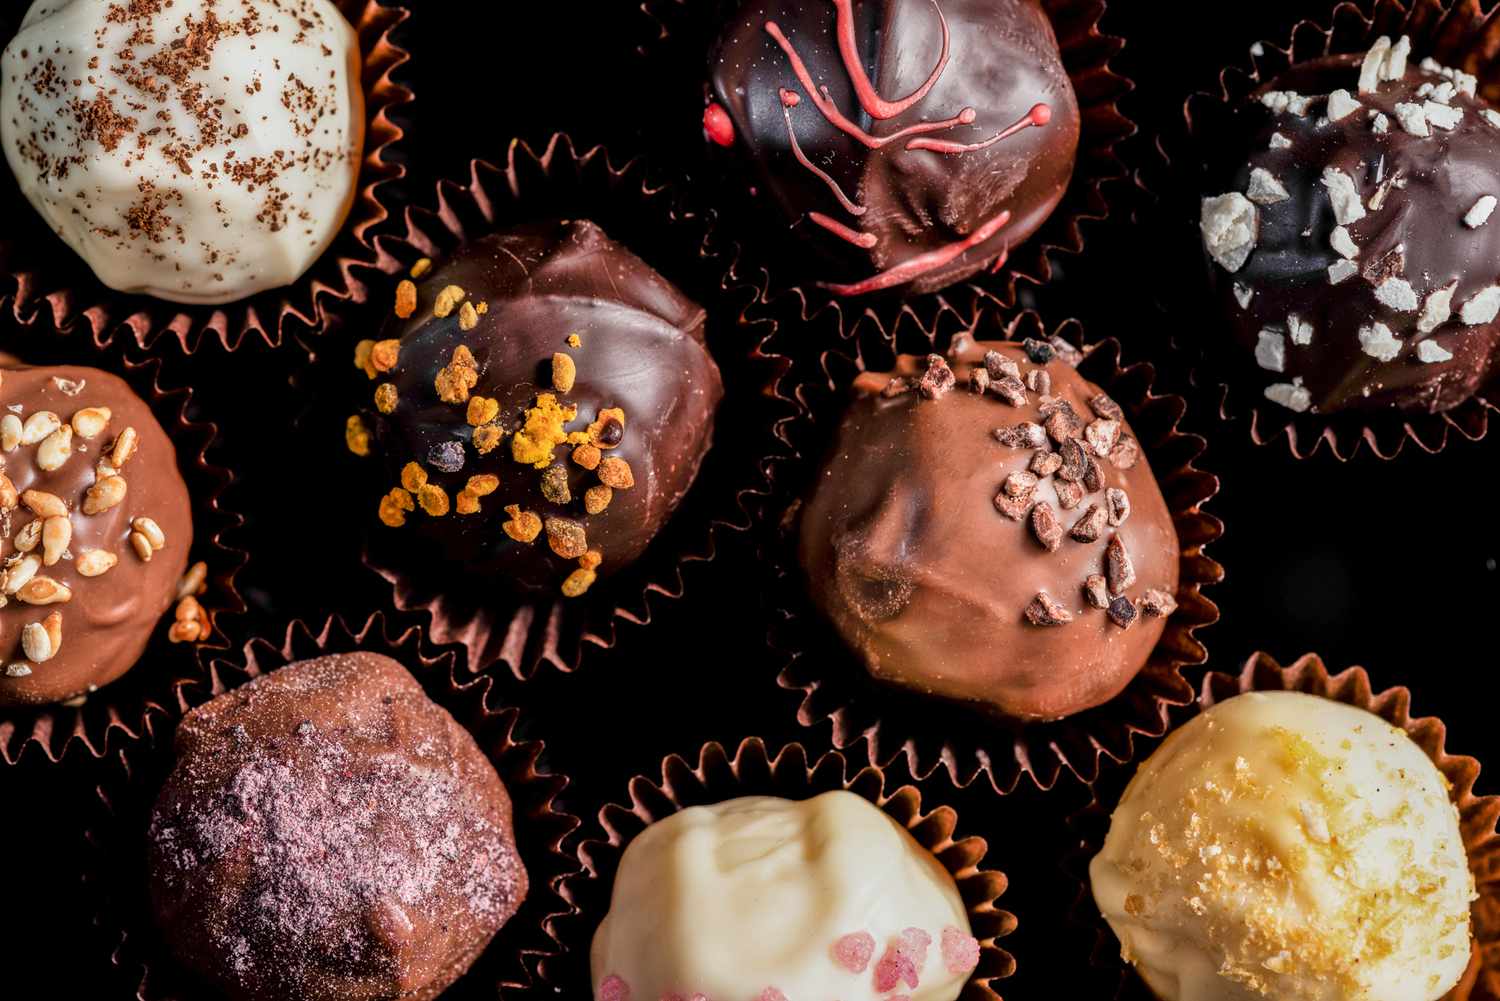
If you are making filled truffles, you will need to create a hollow center. Pour a thin layer into the mold, tilt it to coat the sides evenly, and then pour the excess back into your bowl. This creates a shell. Let this shell set for about five minutes until it is no longer liquid but still slightly tacky. This prevents your filling from melting the chocolate when you add it.
Adding truffle fillings
While the shells set, prepare your fillings. Simple ganache is the most accessible option for home makers. Heat heavy cream until it just begins to simmer, then pour it over chopped chocolate or cocoa powder. Let it sit for a minute before stirring until smooth. For a firmer filling that holds its shape, add a tablespoon of butter at the end.
Spoon a small amount of filling into the center of each chocolate shell, leaving a tiny gap at the top. Do not overfill, or the chocolate will overflow when you seal the bottom. If you are making solid chocolates, simply fill the mold completely and skip this step.
Sealing and setting
Pour a final layer of chocolate over the filling to seal the truffle. Use the spatula to smooth the top flat. For a professional finish, you can sprinkle sea salt, crushed nuts, or cocoa powder on top immediately before the chocolate sets. Place the molds in the refrigerator for 15 to 20 minutes. The chocolate is ready when it pulls away slightly from the edges of the silicone and feels firm to the touch.
Ensure your silicone molds are clean and completely dry. Any moisture will cause the chocolate to seize and become grainy. Lay them on a flat, stable surface.
Pour the tempered chocolate into the molds, filling them partially. Tap the mold against the counter to release air bubbles and scrape off the excess for an even surface.
Once the shell is tacky, add your ganache or truffle center. Use a small spoon to place the filling carefully in the center, leaving room for the top seal.
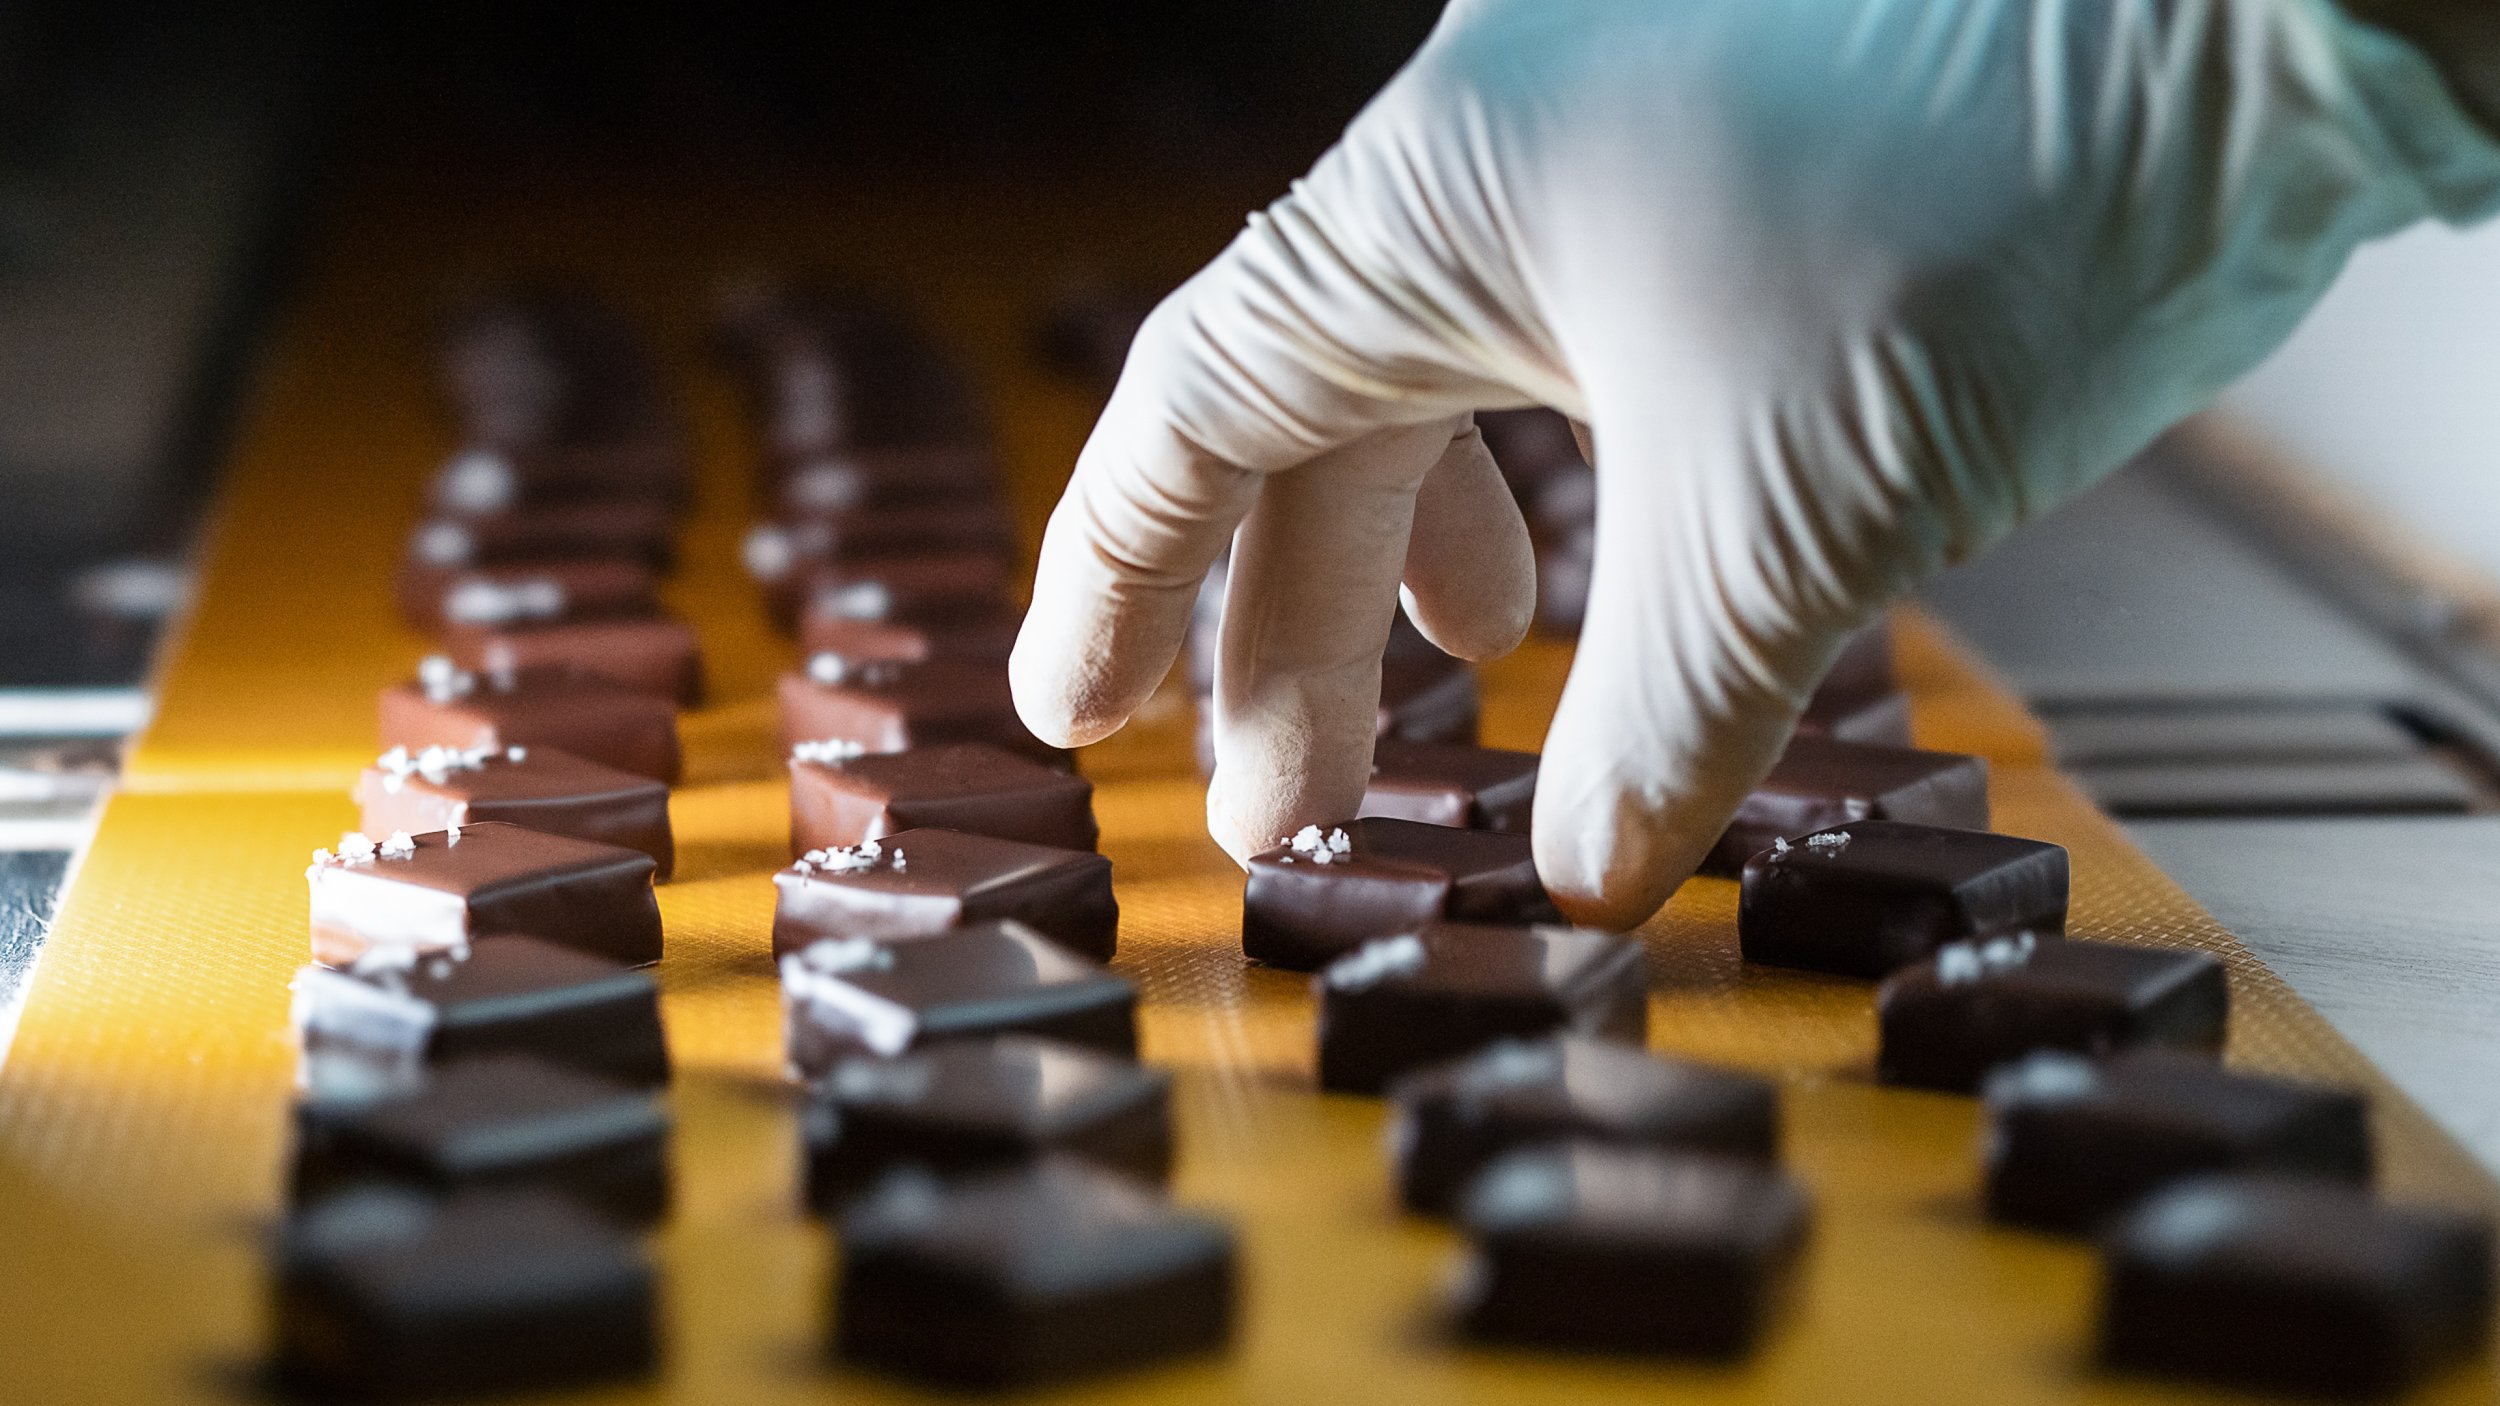
Cover the filling with a final layer of chocolate. Smooth the top and refrigerate for 15–20 minutes until firm before popping them out.
Fix common chocolate making mistakes
Even careful makers hit snags. Here’s how to spot and correct the most frequent issues so your home-made chocolate stays smooth, shiny, and crisp.
Grainy texture
Graininess usually means sugar didn’t fully dissolve or the chocolate was overheated. Keep the heat low and stir constantly. If you’re refining with a melanger, extend the milling time until the mixture feels like silk between your fingers. A quick test: rub a small amount between your thumb and forefinger. If you feel grit, keep going.
Chocolate bloom
Bloom appears as white streaks or spots on the surface. It happens when cocoa butter or sugar rises to the top due to temperature swings or improper storage. To fix it, re-melt the chocolate gently and temper it properly before setting. Store finished bars in a cool, dry place away from direct sunlight and strong odors. Proper tempering locks the cocoa butter crystals in place, preventing bloom.
Poor snap
A soft or crumbly bar often results from under-tempering or incorrect crystal formation. Ensure your chocolate reaches the right temperature range during cooling. If your bar bends instead of snapping, it likely needs a more precise tempering cycle. Use a thermometer to monitor the temperature closely as you cool and reheat the chocolate.
Before pouring, test the texture. Rub a small amount between your fingers. If it feels gritty, continue refining or adjust your heating method.
Use a digital thermometer to ensure your chocolate stays within the correct temperature range during tempering. This prevents graininess and bloom.
Once set, break a small piece. A proper snap indicates good crystal formation. If it’s soft, re-melt and re-temper.
Store homemade chocolate properly
Homemade chocolate lacks the industrial stabilizers of store-bought bars, making it more sensitive to temperature and humidity. Proper storage is the only way to keep your batch from turning gray, grainy, or soft.
Cool and dry is best
The ideal storage spot is a pantry or cupboard away from direct sunlight and heat sources. Keep the temperature between 60°F and 68°F (15°C–20°C). If it gets too warm, the cocoa butter will migrate to the surface, creating unsightly white streaks known as fat bloom. While fat bloom isn’t harmful, it changes the texture and appearance.
Seal it tight
Moisture is chocolate’s biggest enemy. Even a small amount of humidity can cause sugar bloom, where moisture dissolves surface sugar and then recrystallizes into a rough, sandy coating. Wrap your chocolate tightly in plastic wrap or place it in an airtight container. If you’re storing different flavors together, keep them separated to prevent odor transfer, as chocolate easily absorbs surrounding smells.
Refrigerator storage
If your kitchen is consistently warm or humid, the refrigerator is a viable option. However, you must be meticulous with sealing. Place the chocolate in an airtight container, then wrap that container in plastic wrap to create a double barrier against condensation. When you take it out, let it come to room temperature while still wrapped before opening. This prevents condensation from forming directly on the chocolate surface.
Shelf life
Properly stored homemade chocolate typically lasts 2–3 weeks at room temperature. In the refrigerator, it can last up to 2 months. For longer storage, you can freeze it for up to 6 months. Always thaw frozen chocolate slowly in the refrigerator overnight to minimize condensation risks.
Common questions about chocolate making
Making chocolate at home involves specific chemical processes that can be tricky the first time. Here are answers to the most frequent hurdles beginners face.
No comments yet. Be the first to share your thoughts!