
There's something inherently delightful about customizing your own chocolate creations. Whether it's for a special occasion or just to satisfy a sweet tooth, making homemade chocolate molds allows for a personal touch that can't be bought in stores. In this guide, we'll explore the tips and tricks that will transform you into a master chocolatier, crafting personalized sweets that are as unique as they are delicious.
Understanding Chocolate Molding Basics
Before diving into the depths of creativity with chocolate molds, it's essential to grasp the basics. Chocolate molding involves melting chocolate and pouring it into forms to set. The key is to use high-quality chocolate and temper it correctly to achieve that glossy finish and satisfying snap when broken. If you're new to this, don't fret; our step-by-step guide can help you nail the process.
Unmolding Chocolates Like a Pro


Choosing the Right Materials for Your Molds
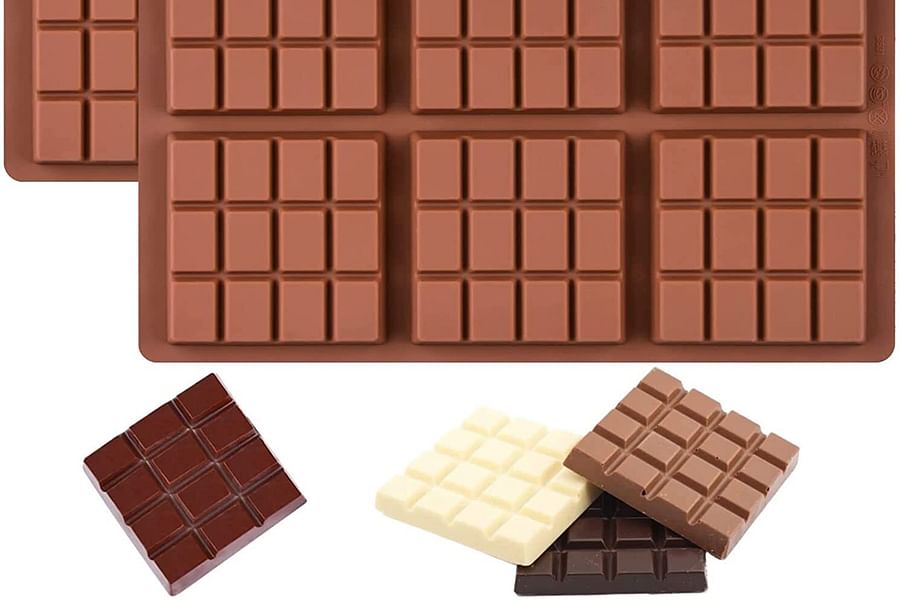
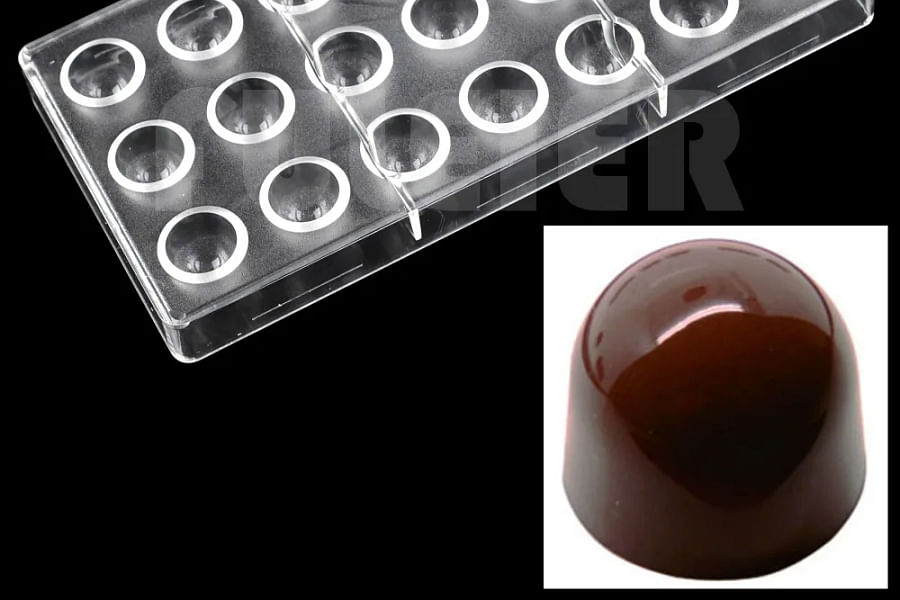
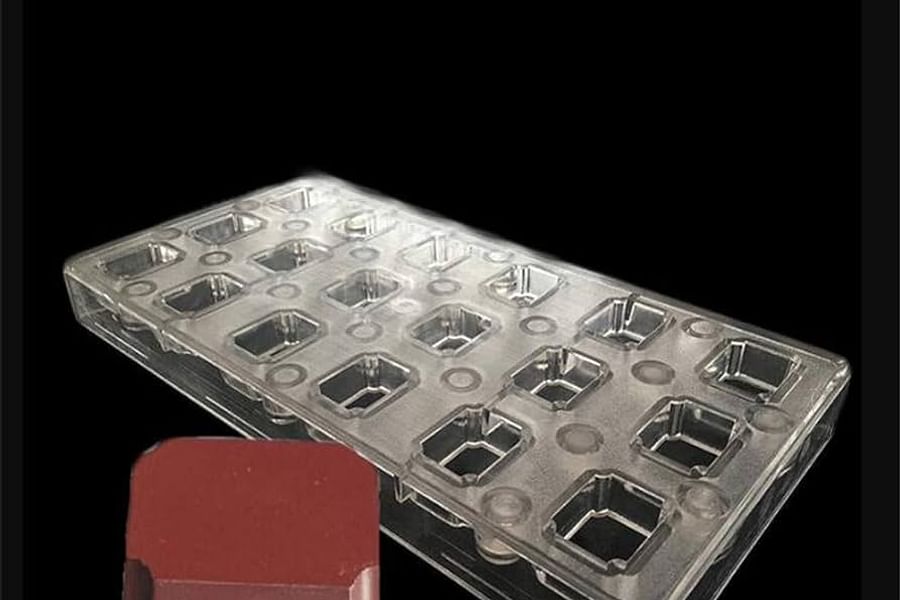
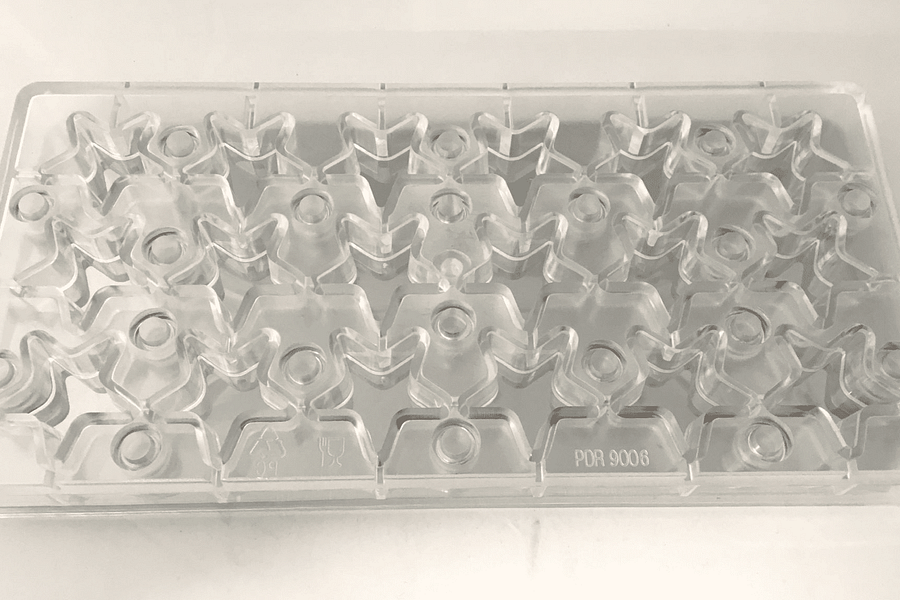
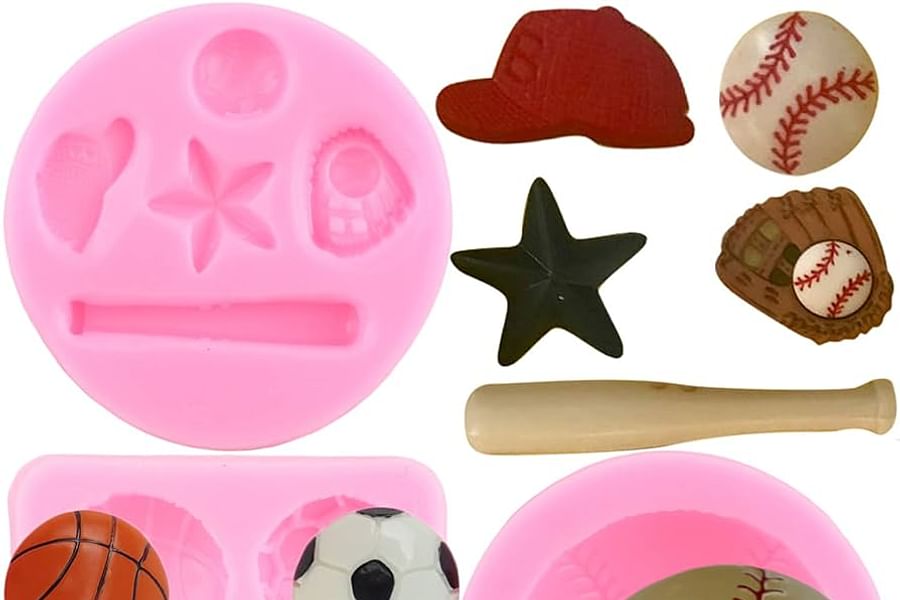
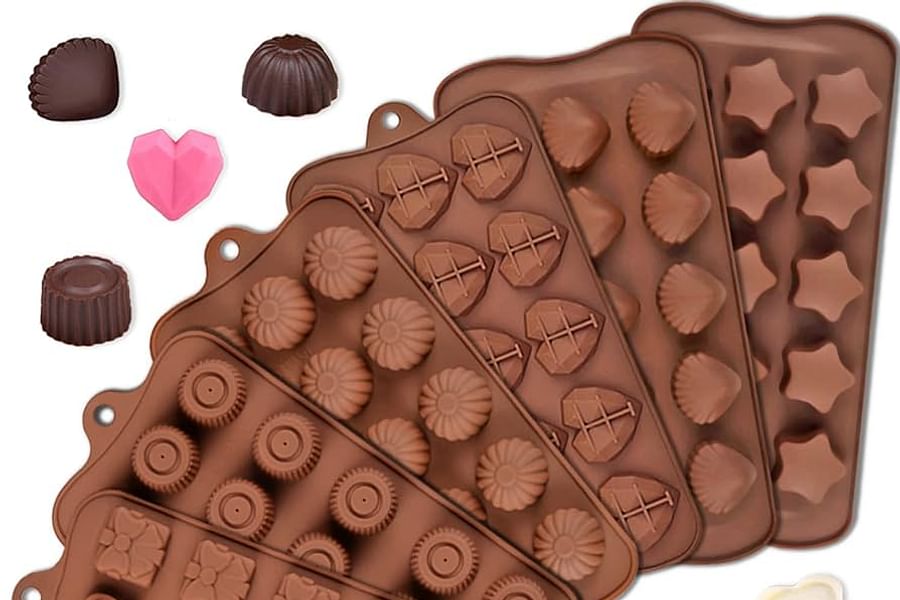
Selecting the proper materials for your molds is crucial for success. Silicone and polycarbonate molds are popular choices due to their flexibility, durability, and non-stick properties. Silicone molds come in various shapes and sizes, making them perfect for custom designs. Meanwhile, polycarbonate molds offer a professional touch with their clear, rigid structure that produces chocolates with a shiny exterior.
Top Chocolate Molds
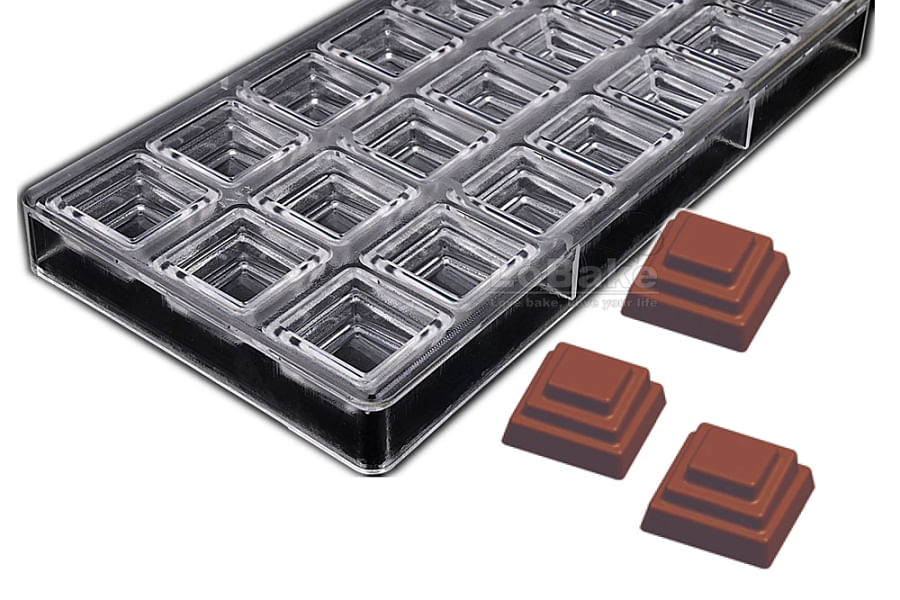
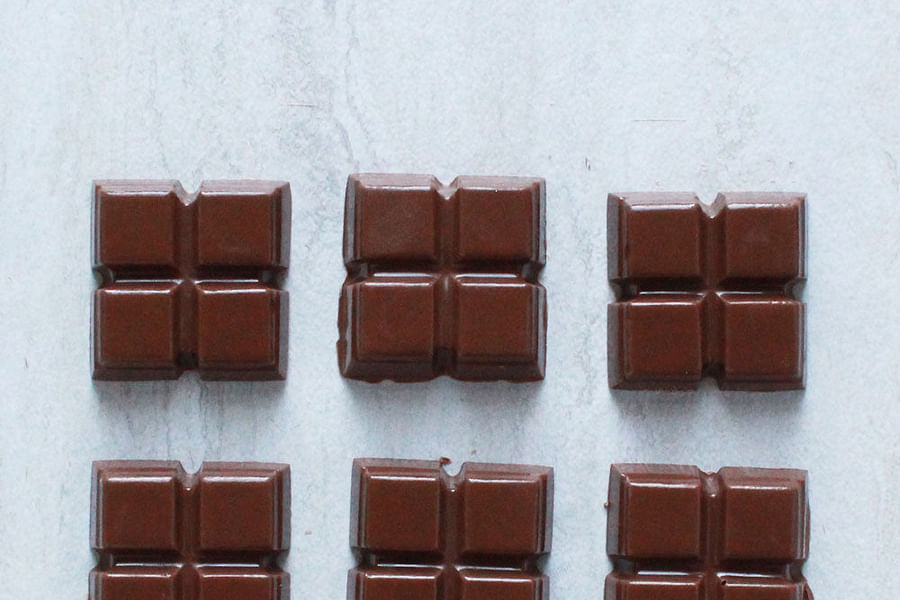
- Classic Bar Mold - Perfect for creating traditional chocolate bars with a professional finish.
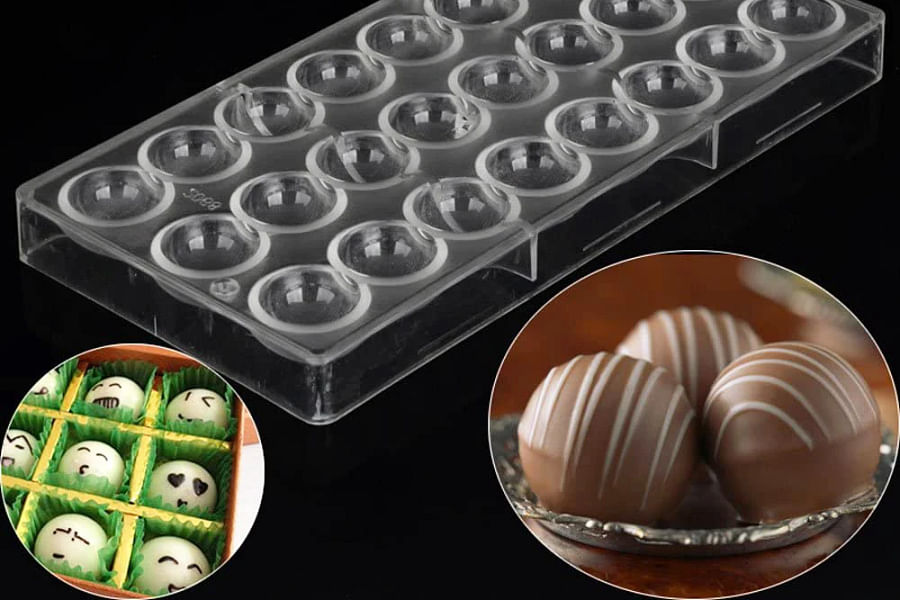
- Bonbon Mold - Ideal for bite-sized chocolates with a glossy appearance, thanks to its polished cavities.
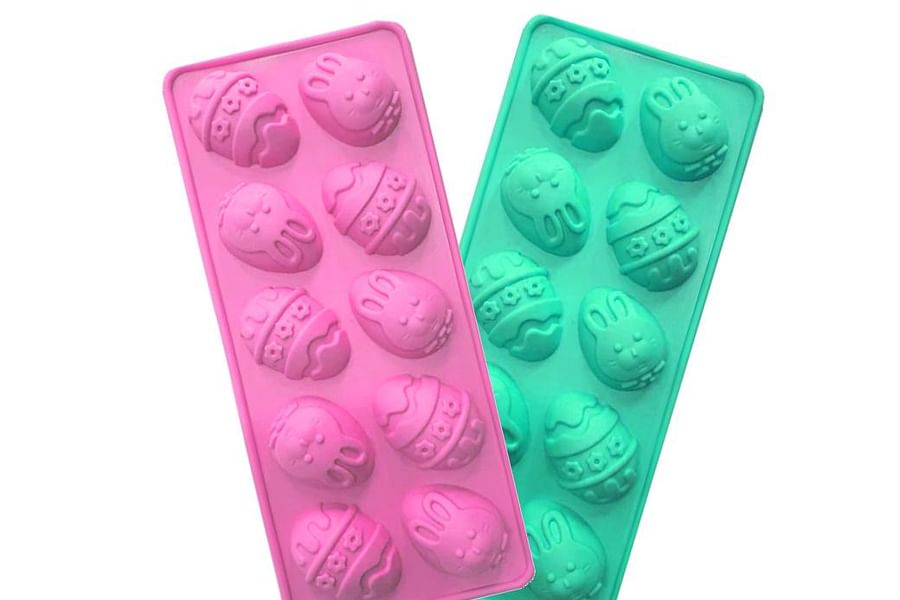
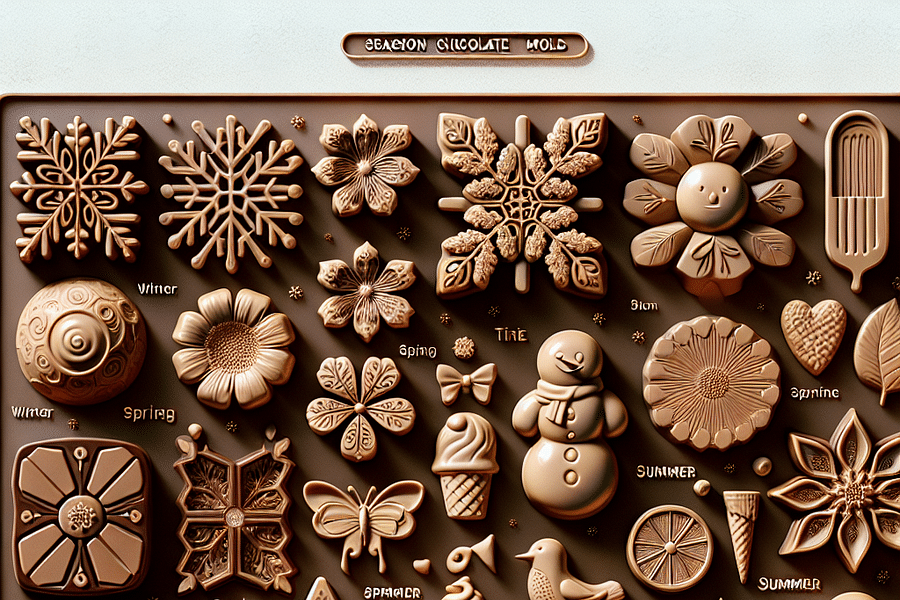
- Themed Shapes - From hearts to holiday-specific designs, add fun to your chocolates with themed silicone molds.
- 3D Chocolate Molds - Create stunning three-dimensional chocolates that are sure to impress.
- Customizable Mold - Use molds that can be personalized with names or special messages for a unique touch.
- Truffle Spheres - Make perfectly round chocolate truffles every time with these specialized molds.
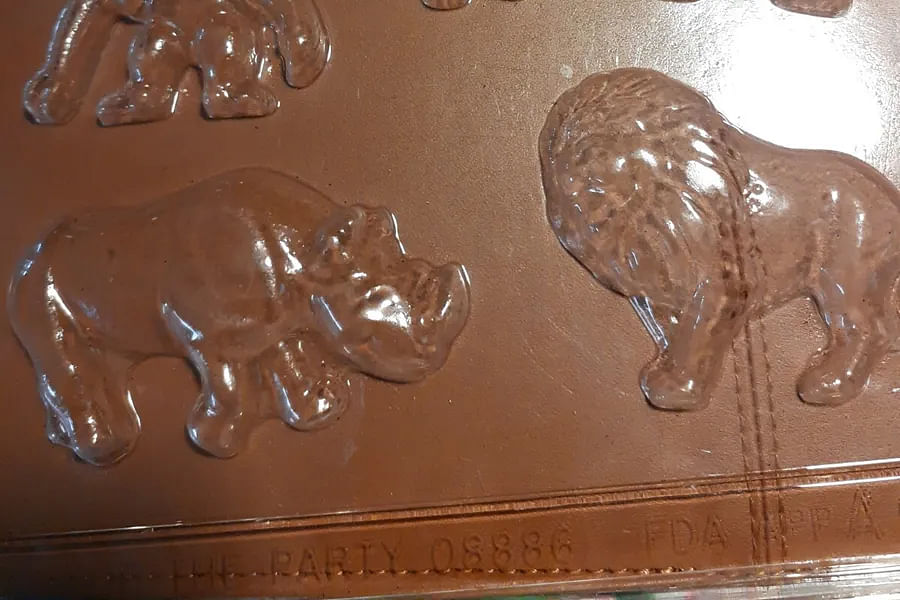
- Miniature Figurines - Delight with detailed mini chocolate figures, perfect for gifts or party favors.
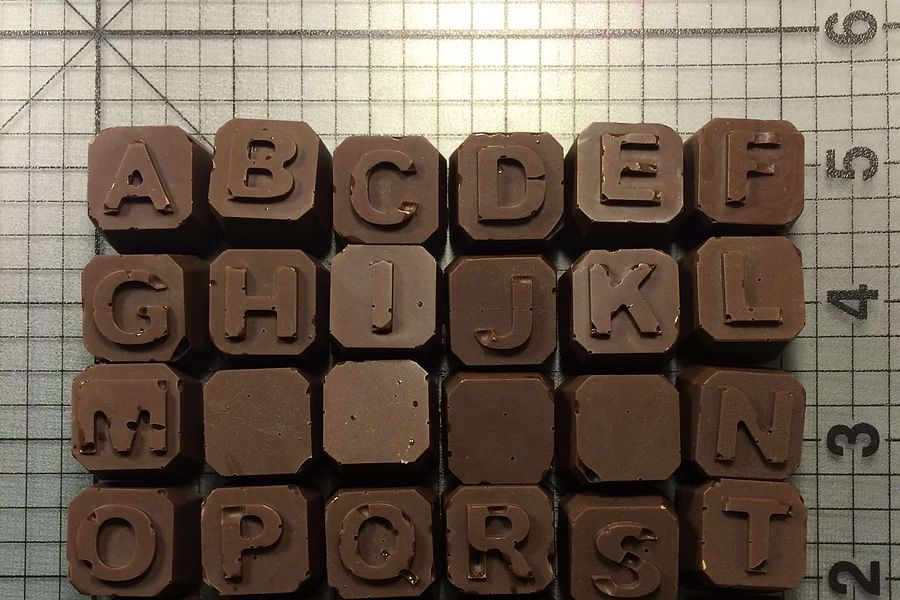
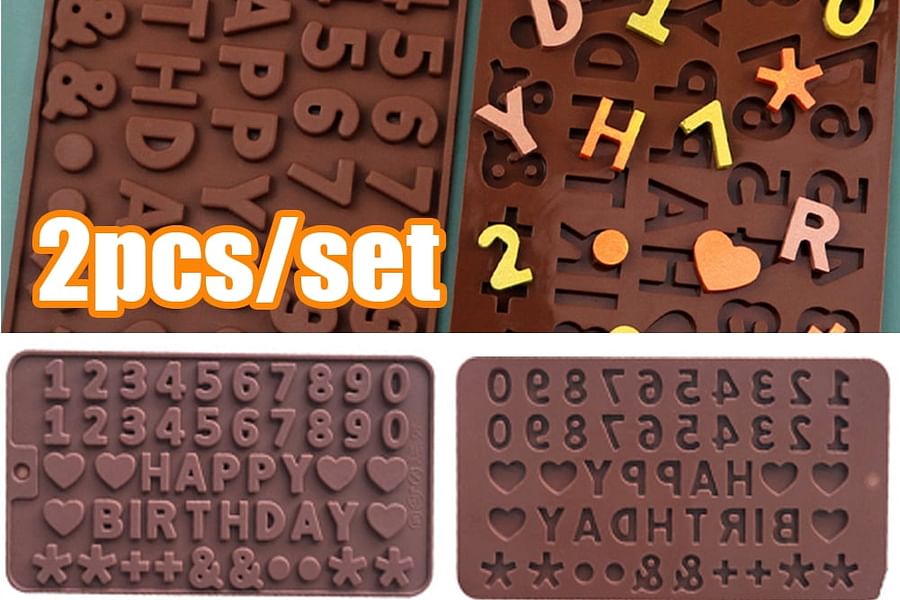
- Letter and Number Molds - Spell out messages or celebrate milestones with chocolate letters and numbers.
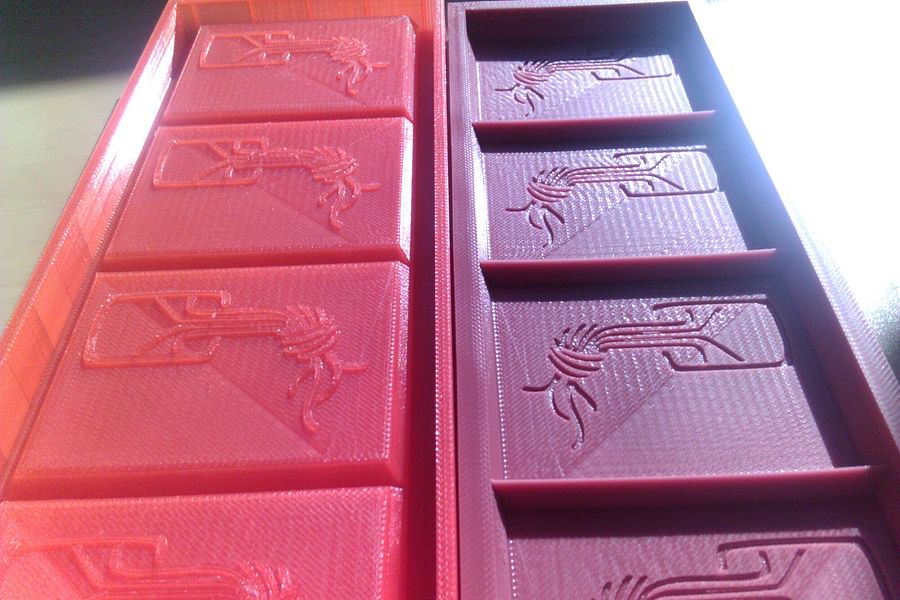
- Artisanal Textures - Add an elegant touch with molds that impart sophisticated textures to your chocolates.
- Logo Molds - Brand your chocolates with your company logo or custom design for a professional look.
Creative Design Ideas for Your Chocolate Molds
Now comes the fun part—designing your chocolates. Inspiration can strike from anywhere; think about hobbies, upcoming holidays, or even personal jokes that could be immortalized in chocolate form. From intricate floral patterns to cartoon characters, there's no limit to what you can create. If you need some ideas to get started, check out creative ways to use chocolate in baking, which can spark your imagination for mold designs.
What's the next theme for your chocolate mold adventure?
Inspired by our Chocoholic's Guide, we're curious about which themed chocolate mold you're eager to try your hand at next! Cast your vote and let the chocolate crafting begin!
Incorporating textures and layers into your chocolates adds depth both visually and flavor-wise. You can layer different types of chocolate or add fillings like caramel or fruit puree for an extra surprise. If truffles are your go-to treat, our DIY chocolate truffle recipe provides an excellent base for experimenting with fillings.
Tips for Perfect Chocolate Release from Molds
The moment of truth in any chocolatier's journey is when it's time to release those beauties from their molds. Here are some pro tips:
- Clean Molds: Always start with impeccably clean molds; any residue can cause chocolates to stick.
- Temperature: Make sure your chocolates are completely set—usually at room temperature or slightly cooler—before attempting to unmold them.
- Gentle Flex: For silicone molds, gently flex the mold back from the edges of the chocolates before pushing them out.
- Tapping Technique: With polycarbonate molds, sometimes a gentle tap on a flat surface helps release any stubborn pieces.
If you're looking for more detailed instructions on this crucial step, our comprehensive guide on creating culinary wonders with chocolate molds is an invaluable resource.
Incorporating these foundational techniques will ensure your personalized sweets come out looking as good as they taste. But remember, practice makes perfect! Don't be discouraged if your first few attempts don't turn out flawless—it's all part of the chocolatier journey.
The Chocolate Mold Master Quiz
Think you've got what it takes to be a chocolate mold master? Put your knowledge to the test with these questions about making homemade chocolate molds!
In the next section of this article, we'll delve deeper into advanced decorating techniques and how you can package and present your homemade chocolates professionally—perfect for gifting or selling your artisanal treats! Stay tuned as we continue our journey through the delightful world of personalized sweets creation.
Mastering the Art of Filling Your Molds
Once you've chosen your mold and have your melted chocolate at the ready, it's time to get to the heart of the process: filling the molds. The key here is to work quickly and efficiently. Use a spoon or a piping bag to fill each cavity of your mold, but be careful not to overfill. You'll want to tap the mold gently on the counter to remove any air bubbles and ensure an even surface. If you're feeling adventurous, why not add a surprise center? You can incorporate anything from caramel or peanut butter to fruit purees for an added flavor burst.
Unmolding and Presenting Your Creations
The moment of truth has arrived! After your chocolates have set—usually after a couple of hours in the refrigerator—it's time for unmolding. Start by gently flexing the silicone mold away from the chocolates. If you're using a rigid mold, carefully invert it and give it a slight tap. The chocolates should pop out with ease, but if they don't, a short stint in the freezer can help them contract slightly and release better. Once unmolded, take pride in presenting your chocolates on a platter or in decorative boxes that complement their shapes and designs.
[step_by_step_guide: Step-by-step instructions for unmolding chocolate without breaking them]Remember that presentation is almost as important as taste when it comes to homemade chocolates. Get creative with packaging—think colorful foils, bespoke boxes, or even personalized tags for special occasions. This extra touch will make your sweets even more irresistible.
Endless Possibilities with Chocolate Mold Designs
The beauty of homemade chocolate molds is that they allow you to express your creativity in endless ways. From holiday-themed shapes like Easter bunnies or Christmas trees to personalized monograms for wedding favors, there's no limit to what you can create. Use creative ways to incorporate them into baking or as standalone treats.
Mold Your Imagination
- Seasonal Sensations - Create chocolates shaped like pumpkins, snowflakes, or hearts to celebrate Halloween, Christmas, and Valentine's Day.
- Alphabet Delights - Personalize your sweets with chocolate letters, perfect for initials or spelling out messages for special occasions.
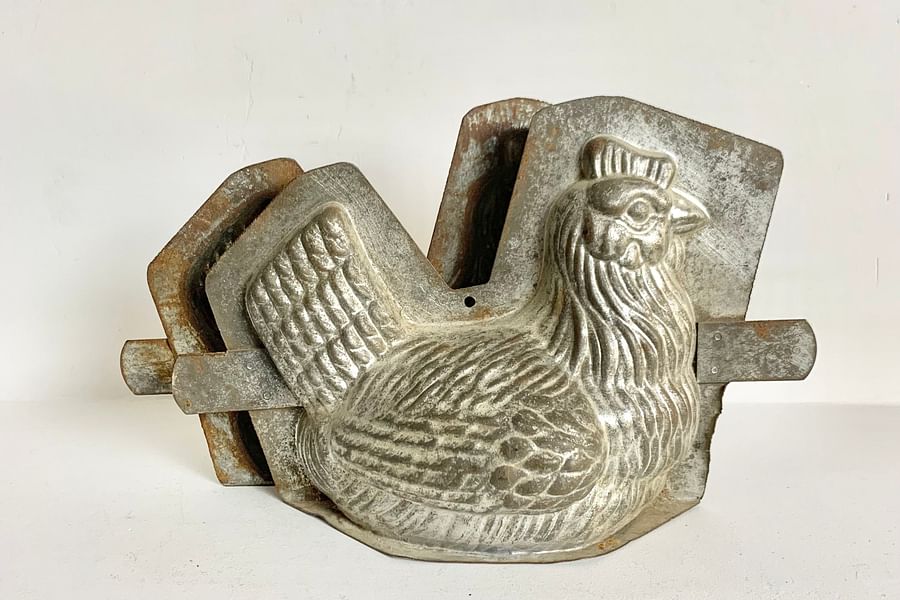
- Animal Kingdom - From adorable bunnies to majestic elephants, craft a zoo of chocolate creatures for the animal lovers in your life.
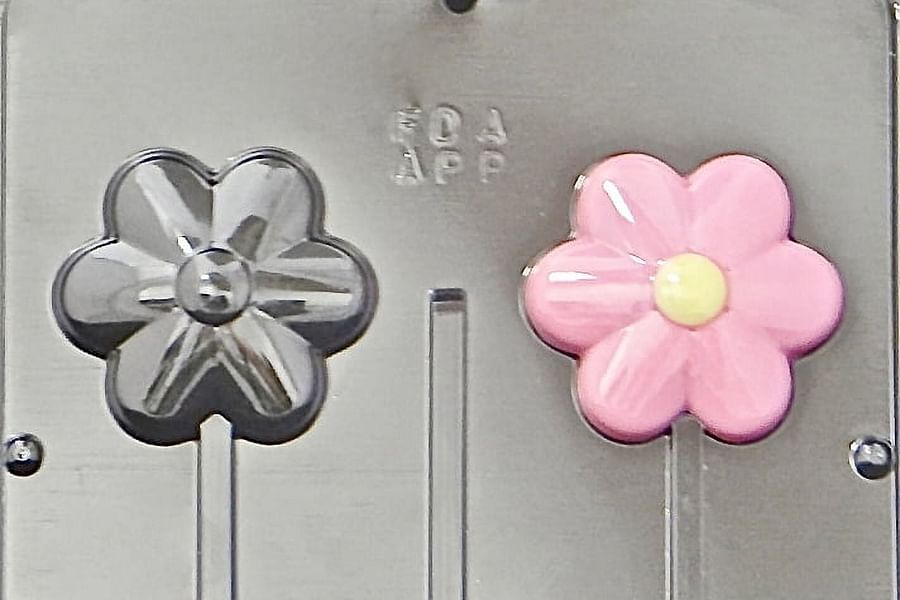
- Botanical Bites - Floral and leaf designs turn ordinary chocolates into elegant treats, ideal for weddings or garden parties.
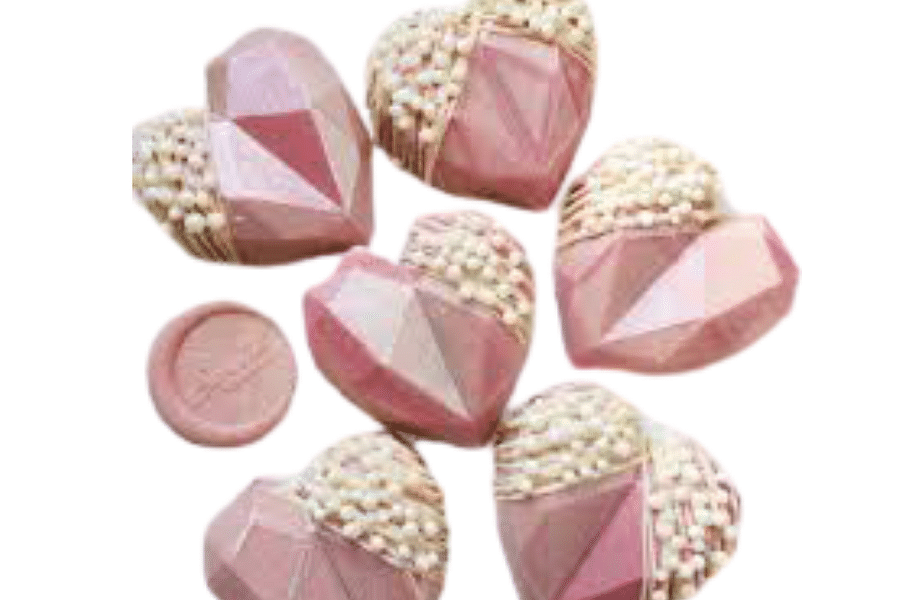
- Geometric Gems - Modern and sleek, geometric shapes like hexagons and triangles offer a contemporary twist to chocolate making.
- Custom Caricatures - Use 3D printing to create molds of faces or characters for a truly unique chocolate experience.

- Sports Spirit - Score big with chocolates molded like footballs, basketballs, or any other sports equipment to cheer on your favorite team.
- Love for Logos - Show brand loyalty or corporate pride with chocolates shaped like company logos, perfect for business events.
- Galactic Goodies - Take your taste buds on an interstellar journey with chocolates shaped like planets, stars, and spaceships.
- Historical Figures - Pay homage to your heroes with chocolates molded in the likeness of famous personalities from history.
If you're looking for inspiration or want to challenge your skills further, consider taking The Chocolate Mold Master Quiz. It's not only fun but also enlightening as it might reveal some fascinating ideas you haven't thought of yet.
To keep things interesting for yourself and those enjoying your creations, don't shy away from experimenting with different types of chocolate—from white and milk chocolate variations found in our health-boosting chocolate guide, all the way up to rich dark chocolates that are full of depth and complexity.
Incorporating elements like nuts, dried fruits, or even spices can add texture and flavor dimensions that elevate your homemade chocolates from simple treats to gourmet delicacies. For those who are health-conscious yet still want indulgence, dark chocolate is an excellent choice due to its lower sugar content and high antioxidant levels.
"Chocolate is more than just a treat; it's a versatile medium that invites us into a world where art meets taste."
To delve further into this delicious world, explore our guide on chocolate drinks and desserts, ranging from simple pleasures like hot cocoa to more intricate desserts like truffles—which you can learn how to make through our comprehensive truffle making guide.
Decadent Chocolate Mousse with Homemade Chocolate Shavings
You will need:
 Dark chocolate
 Heavy cream
 Granulated sugar
 Egg whites
 Vanilla extract
 Homemade chocolate mold
 Spatula
 Electric mixer
 Mixing bowls
Instructions
- Chop the dark chocolate and melt it gently over a double boiler.
- Whip the heavy cream to soft peaks and set aside.
- In a separate bowl, beat the egg whites and gradually add sugar until stiff peaks form.
- Fold the melted chocolate into the whipped cream.
- Gently fold in the egg white mixture until well combined.
- Pour the mousse into serving dishes and refrigerate for at least 2 hours.
- Unmold the homemade chocolate from the molds and use as garnish on top of the mousse before serving.
Notes
For best results, ensure all ingredients are at room temperature before starting. The quality of chocolate used will greatly affect the flavor, so choose a high-quality dark chocolate with a cocoa content of at least 70% for a rich taste. Homemade chocolate molds can be made a day in advance to save time. The mousse can be flavored with liqueurs or citrus zest for a twist on the classic recipe.
Creating homemade chocolates using molds isn't just about making sweets; it's about crafting experiences that linger on the palate and in memory long after they've been enjoyed. Whether you're making these treats for yourself or as gifts for others, remember that each piece carries with it your personal touch—a blend of love, creativity, and perhaps even a dash of daring innovation.
Your journey through homemade chocolate molds doesn't end here; it's only just begun. Keep exploring new techniques, flavors, and designs—each batch is an opportunity for discovery. And remember: at Choco Harvest, we're always here with tips, tricks, and inspiration for all your chocolaty endeavors.


No comments yet. Be the first to share your thoughts!