

What makes truffle chocolate unique
Truffle chocolate is a French confection defined by its center, not its shell. At its core, a truffle is a chocolate ganache—a smooth mixture of chocolate and heavy cream—chilled until firm and then rolled or shaped. This ganache base is what separates true truffles from solid chocolate bars, baking chips, or molded candies that rely on tempering alone for their texture.
The magic lies in the ratio. Because the ganache contains dairy, the interior remains soft and creamy at room temperature, melting on the tongue in a way that solid chocolate does not. Traditional truffles are coated in cocoa powder, which adds a slight bitterness to balance the sweetness of the ganache, though modern variations may use tempered chocolate shells, nuts, or coconut. Understanding this distinction is the first step to mastering homemade truffle chocolate, as it dictates the specific cooling and handling techniques required.
Unlike solid chocolate, which is stable and shelf-stable once tempered, ganache-based truffles are perishable and sensitive to heat. This means the process involves more than just melting chocolate; it requires precise temperature control and patience to set the center properly before applying any coating. The result is a luxurious, melt-in-your-mouth experience that defines the classic truffle profile.
Gather your truffle ingredients
Making truffle chocolate at home relies on just four components, but their quality dictates the final texture. Start with high-quality dark chocolate. The chocolate is the backbone of the ganache; using cheap couverture or chocolate with low cocoa butter content results in a waxy, grainy finish rather than a smooth, velvety bite.
Heavy cream is the second essential. It must contain at least 35% fat to properly emulsify with the chocolate. Low-fat milk or whipping cream will not create the necessary structure, leaving your truffles loose and prone to melting too quickly in your hands.
Unsalted butter is the third ingredient, added at the end of the process. A small amount of room-temperature butter enriches the ganache, adding gloss and a softer melt on the tongue. Finally, have your coating ingredients—cocoa powder, chopped nuts, or extra chocolate shavings—ready in shallow bowls before you begin tempering and rolling.
Melt chocolate and cream together
The foundation of any great truffle is the ganache, a simple emulsion of chocolate and cream. Getting this step right determines whether your truffles are silky and smooth or grainy and separated. The process requires patience and gentle heat rather than active cooking.
Start by heating your heavy cream in a small saucepan over medium-low heat. You are not boiling the cream; you are simply bringing it to a simmer. Look for small bubbles forming around the edges of the pan and slight steam rising from the surface. This usually takes about three to five minutes. If the cream boils vigorously, it can scorch or separate, ruining the texture of your truffle chocolate.
While the cream heats, place your finely chopped chocolate in a heatproof bowl. Use a sharp knife to chop your chocolate bar into small, uniform pieces. Smaller pieces melt more evenly and quickly, reducing the risk of overheating. If you are using chocolate chips, they are often engineered to hold their shape and may not melt as smoothly as bar chocolate.
Once the cream is simmering, pour it directly over the chopped chocolate. Do not stir yet. Let the mixture sit undisturbed for five minutes. This resting period allows the heat from the cream to gently melt the chocolate from the inside out. After five minutes, use a rubber spatula to slowly stir the mixture from the center outward. Continue stirring until the ganache is completely smooth, glossy, and uniform in color. This should take only a minute or two. If the mixture looks separated or grainy, it has likely been overheated.
Chill the ganache until firm
The resting period is the final barrier between a messy bowl of chocolate and perfectly shaped truffles. You need to chill the ganache until it reaches a firm, scoopable consistency. If you try to roll the truffle chocolate while the mixture is still warm or soft, the truffles will melt in your hands, leaving you with a sticky mess rather than neat spheres.
Place the bowl in the refrigerator. The exact time varies depending on your fridge’s temperature and the volume of ganache, but it typically takes two to four hours. The ganache is ready when it feels firm to the touch and holds its shape when pressed. Do not rush this step by using a freezer, as rapid cooling can cause condensation or uneven setting, which affects the final texture.
Once firm, you can proceed to scoop and roll the truffles. The cold ganache will hold its structure during handling, allowing you to create uniform shapes with a smooth finish. If the ganache becomes too hard after chilling, let it sit at room temperature for ten to fifteen minutes to soften slightly before scooping.
Roll truffles into balls
Once the ganache has chilled until firm, it’s time to shape your homemade chocolate truffles. This step transforms the solid block into individual, bite-sized pieces. The goal is uniform spheres that look professional and melt evenly in the mouth.
Scoop for uniformity
Using a small cookie scoop or a tablespoon ensures every truffle is roughly the same size. This consistency matters for both presentation and coating. If you try to eyeball them, you’ll end up with some huge chunks and tiny crumbs, making the rolling process uneven and messy.
Keep hands cool
Chocolate ganache warms quickly. If your hands are warm, the truffles will stick to your fingers and lose their shape. To prevent this, keep a bowl of ice water nearby. Dip your fingers in the cold water for a second before handling each piece, then dry them quickly with a towel. The moisture helps the ganache slide off your skin without sticking.
Roll gently
Place a scoop of ganache on your palm. Gently cup your hands and roll in a circular motion. Apply light, even pressure. If the truffle starts to crack, it might be too cold; let it sit for a minute. If it’s too soft, refrigerate for five more minutes. The surface should become smooth and shiny as you work.
Use a small cookie scoop to portion the chilled ganache. This guarantees uniform size for even coating and professional appearance.
Dip fingertips in ice water and dry them. This prevents the warm ganache from sticking to your skin and losing its shape.
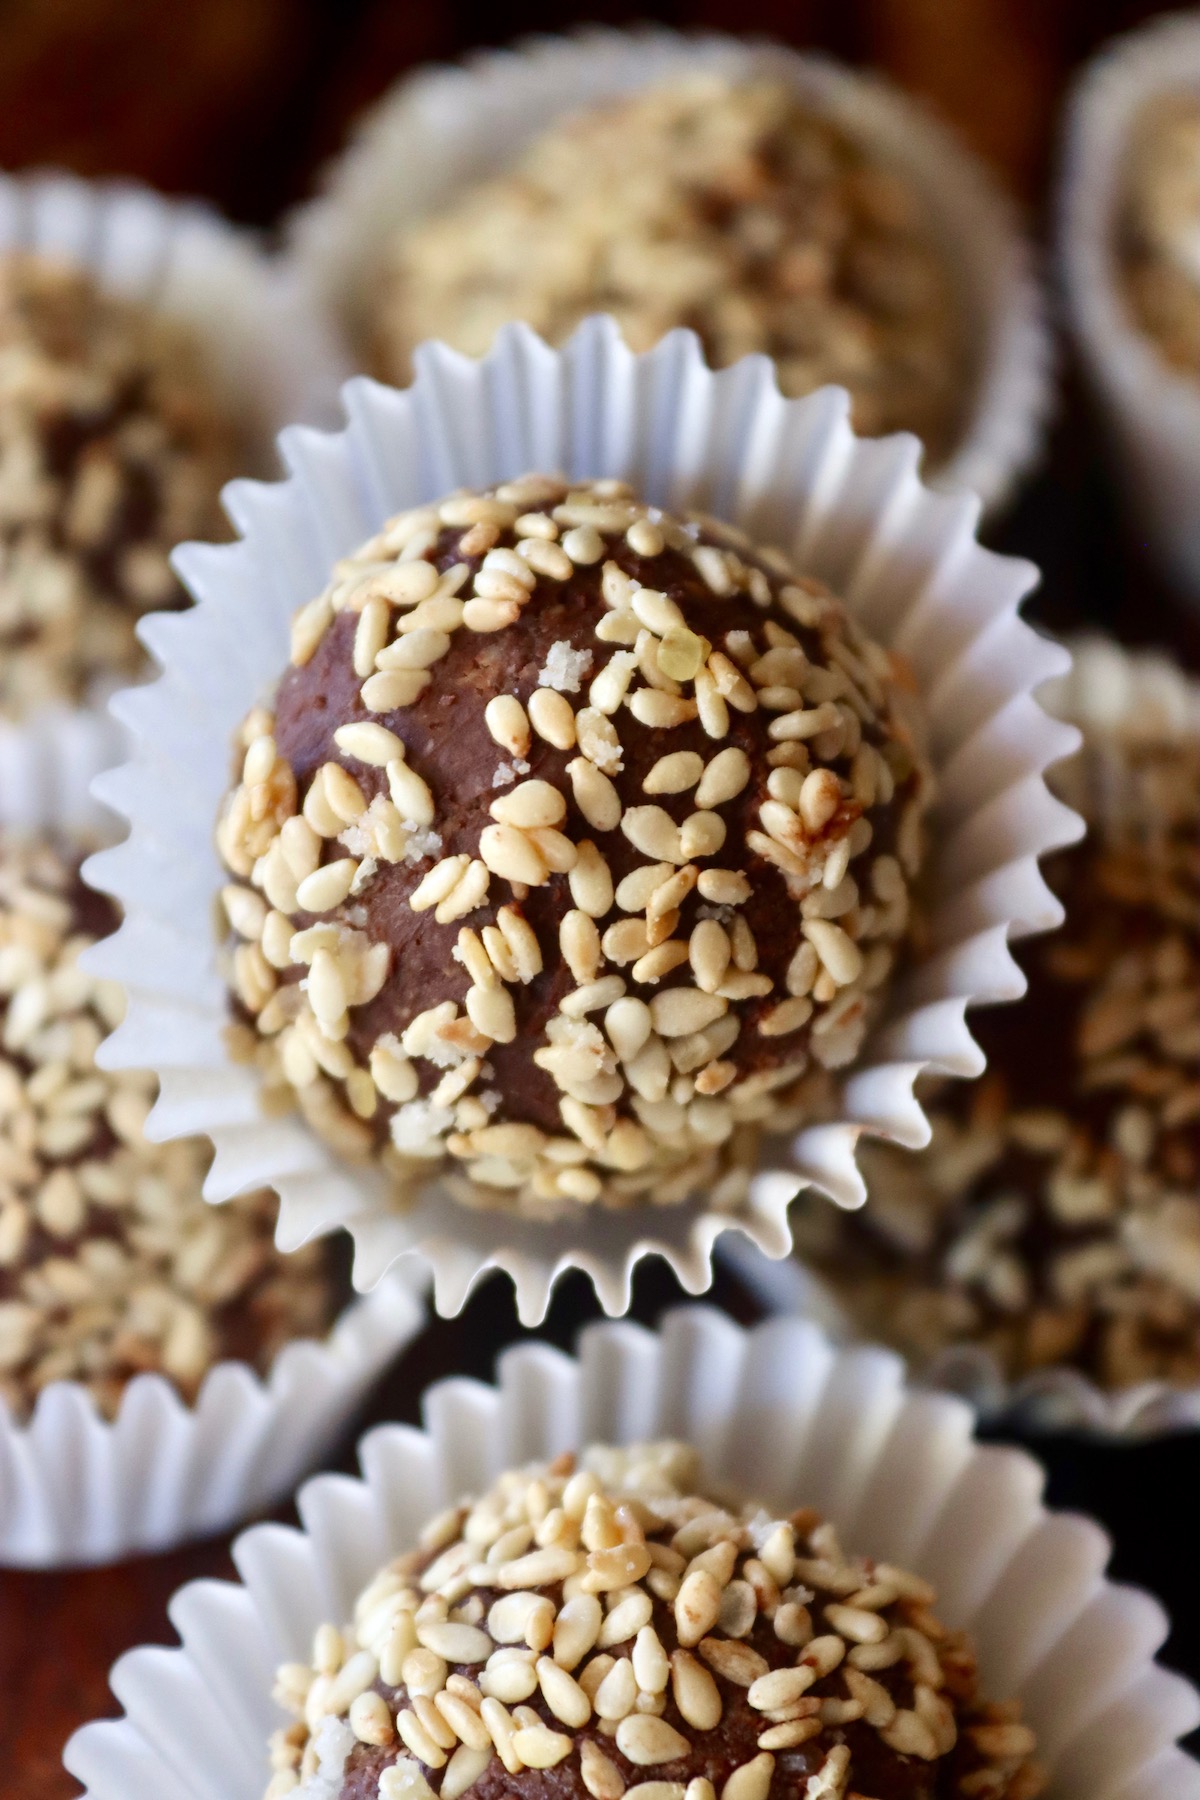
Place a portion in your palm and roll gently in a circular motion. Apply even pressure to create a smooth, crack-free sphere.
Coat with cocoa or chocolate
The final step transforms your set ganache into a finished truffle. You can coat the balls in dry ingredients like cocoa powder or keep them enrobed in a solid chocolate shell. The choice depends on your preferred texture and how long you plan to store them.
Dusting in cocoa powder
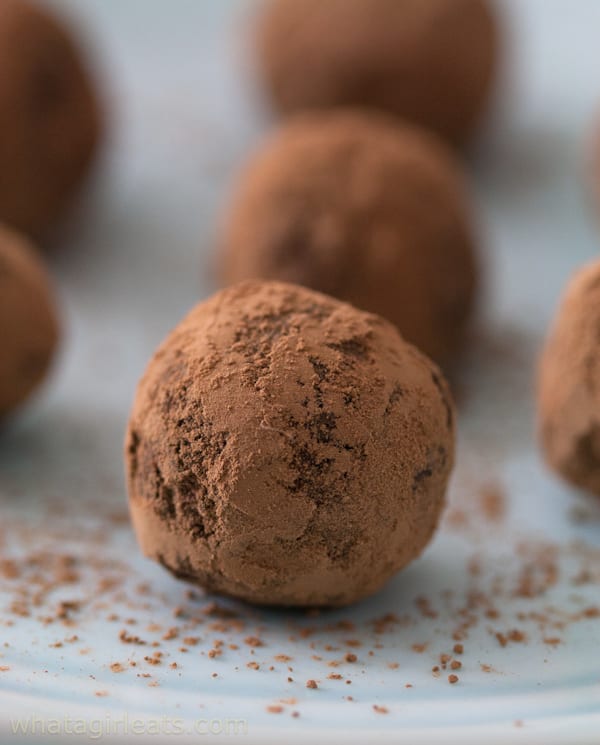
For the classic truffle look, roll the chilled ganache balls in unsweetened cocoa powder. This method is quick and adds a slight bitterness that balances the sweet ganache inside. Use a fine-mesh sieve to dust the cocoa evenly, preventing clumps from sticking to the surface.
Enrobing in melted chocolate
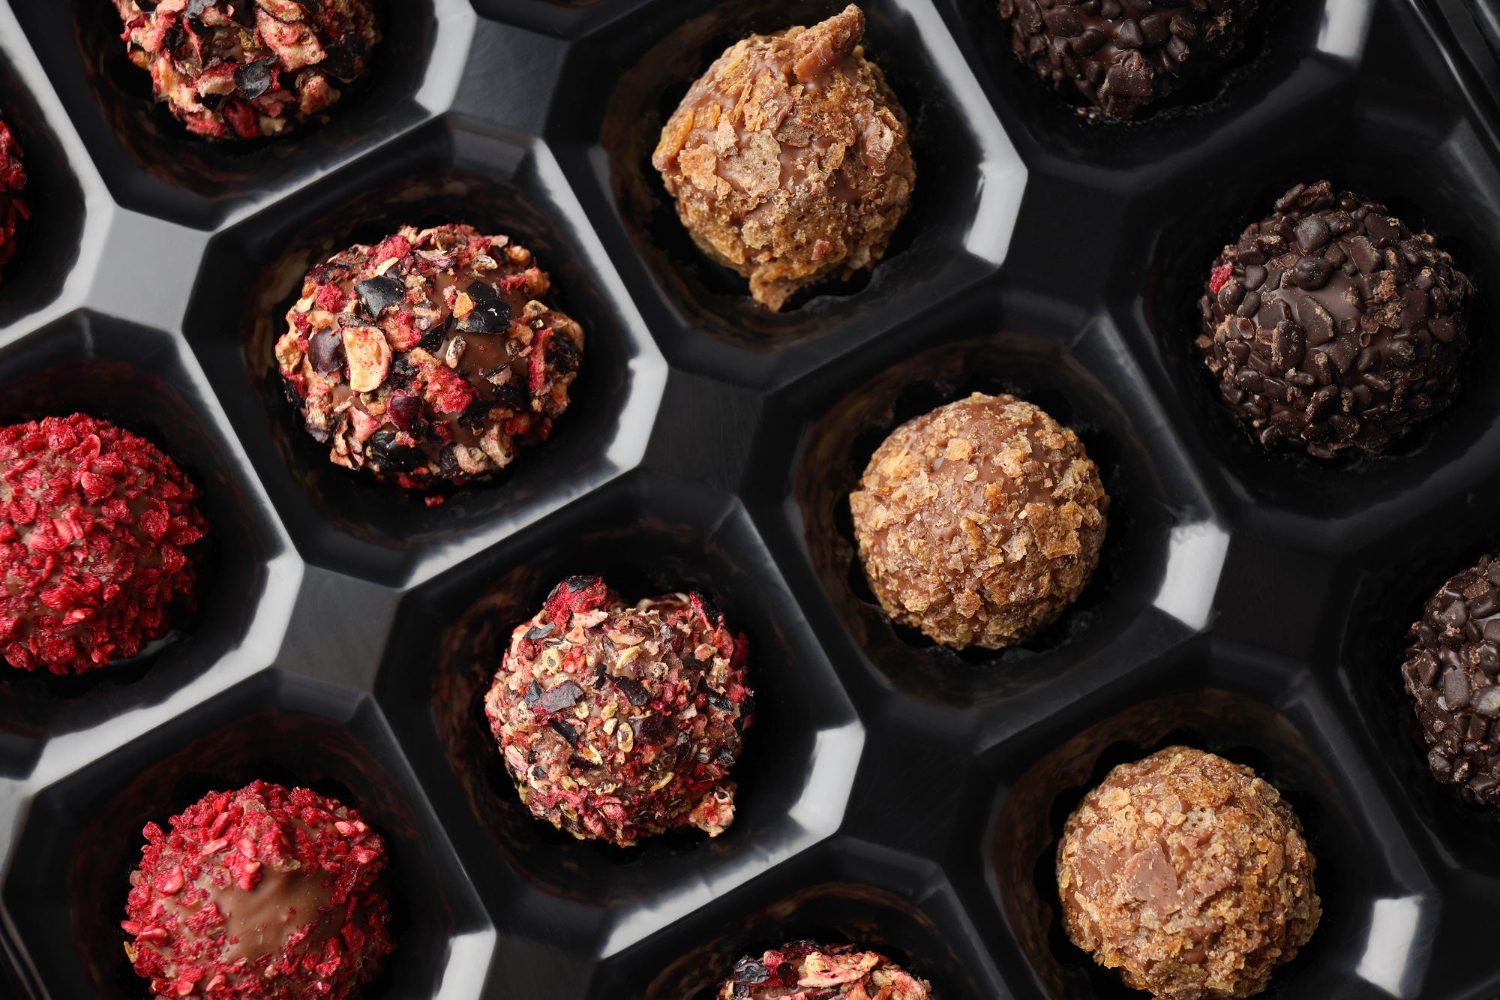
If you want a glossy, snap-ready shell, dip the ganache centers in tempered chocolate or melted chocolate chips. Melt the chocolate gently using a double boiler or short bursts in the microwave. Use a fork or dipping tool to submerge the truffle, then lift it out and let the excess drip off. Place the coated truffle on a parchment-lined tray to set.
Fix common truffle mistakes
Even experienced chocolatiers run into texture issues. Whether your ganache turns grainy or your coating melts before it sets, most problems stem from temperature control or emulsion balance. Here is how to rescue your batch.
Grainy or crumbly texture
Graininess usually means the chocolate seized or the ganache wasn't emulsified enough. If your mixture looks sandy, gently warm it over a double boiler while whisking vigorously. This re-emulsifies the cocoa butter and fat. Adding a teaspoon of room-temperature heavy cream or butter can also smooth out a broken ganache. For a foolproof fix, ensure your chocolate is finely chopped before melting to promote even heat distribution.
Soft or runny centers
If your truffles won’t hold their shape, the ganache ratio is likely off. A standard 1:1 chocolate-to-cream ratio works for most coatings, but humid environments require less cream. Chill the ganache uncovered in the refrigerator until it firms up, then check consistency by rolling a small test ball. If it remains soft, add more finely grated chocolate or cocoa powder to absorb excess moisture. Avoid overmixing, which can introduce air bubbles and weaken the structure.
Melted or streaky coatings
Tempering is the difference between a snap and a smear. If your chocolate coating looks dull or streaky, it wasn't tempered correctly. Re-melt the coating chocolate and cool it down to the proper working temperature (around 88°F for dark chocolate) before dipping. If the coating is too thick, add a small amount of coconut oil to thin it without compromising the snap. Work quickly to prevent the truffle center from melting the coating during the dip.
Watch a truffle chocolate demo
Seeing the technique in action clarifies the timing and texture cues that are hard to describe in text. A video demonstration of making truffle chocolate shows exactly how thick the ganache should be when rolled and how the coating sets.
This clip from Bake with En-Ming Hsu walks through the full process, from tempering the chocolate to the final dusting. Watching the pacing helps you avoid common mistakes like overmixing or rolling the truffles when the center is too warm.
No comments yet. Be the first to share your thoughts!