
Choosing the right chocolate
The difference between a glossy, smooth truffle and a grainy, dull mess often comes down to the starting ingredient. Not all chocolate behaves the same way when heated. Some melt into a silky liquid perfect for coating, while others seize up or stay too thick to work with. Understanding these differences helps you avoid wasted ingredients and failed batches.
Chocolate chips are designed to hold their shape. Manufacturers add stabilizers like lecithin or vegetable fats so that cookies don’t turn into puddles in the oven. This stability is a disadvantage when making truffles. The extra fats can prevent the chocolate from melting evenly, often leaving you with a thicker, less fluid consistency that is harder to dip or temper.
For melting and truffle making, look for chocolate bars or baking squares. These products contain cocoa butter and little else, allowing them to melt into a uniform, pourable liquid. "Couverture" is the professional term for chocolate with a higher cocoa butter content, which makes it exceptionally fluid and glossy, but standard baking bars work just as well for home cooks.
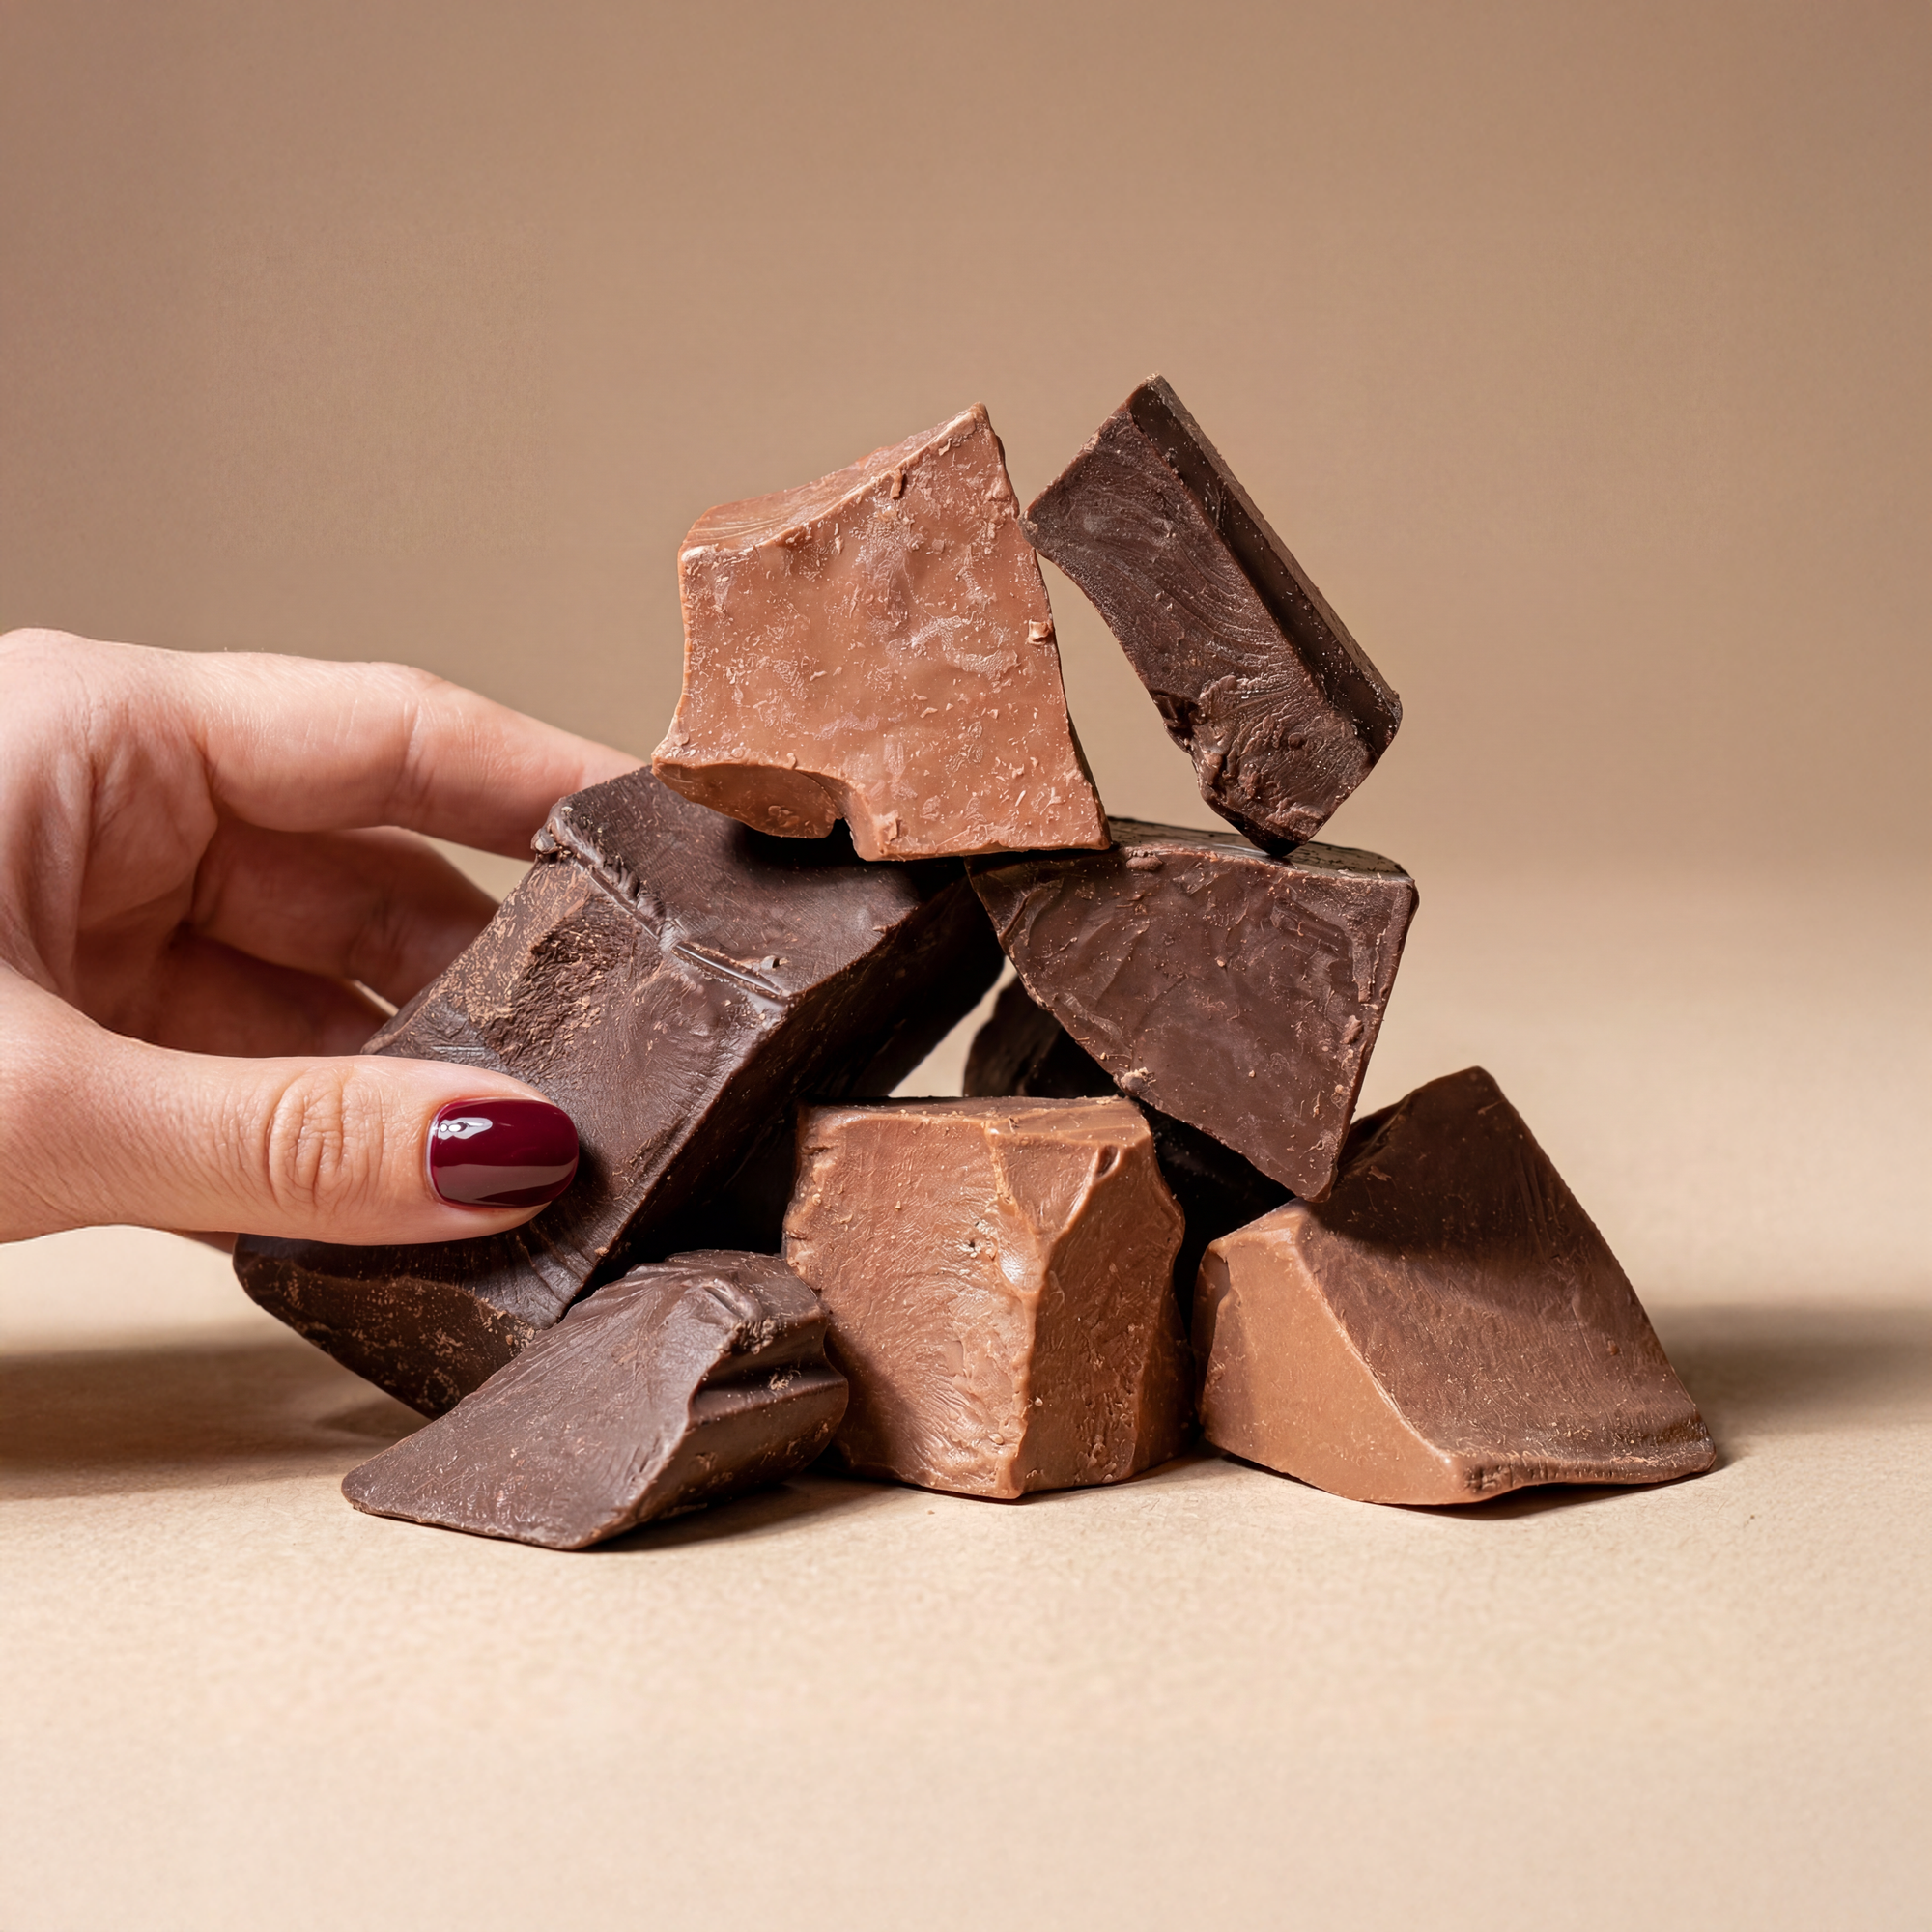
The type of chocolate also dictates the flavor profile. Dark chocolate offers a rich, intense cocoa taste with less sweetness, making it a classic choice for sophisticated truffles. Milk chocolate brings a creamier, sweeter note that appeals to those who prefer a milder flavor. White chocolate, which contains no cocoa solids, is entirely different in composition, relying on cocoa butter, sugar, and milk solids. It requires careful temperature control because it burns easily, but it produces a delicate, vanilla-forward truffle.
How to melt chocolate chips safely
Melting chocolate chips might seem simple, but it is also the step where most home cooks make mistakes. Chocolate is sensitive to heat and moisture. If you get it too hot or let even a drop of water in, the chips will seize up into a gritty, unusable lump. You need to melt them gently and slowly to keep them smooth and glossy.
There are two reliable ways to melt chocolate chips: the double boiler method and the microwave method. The double boiler gives you the most control, while the microwave is faster if you are careful. Both methods work if you follow the rules of low heat and constant stirring.
Method 1: The double boiler
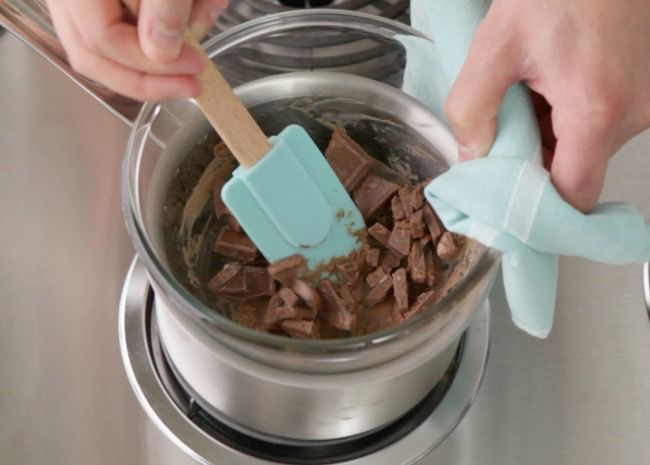
This method uses indirect steam heat, which is much gentler than direct contact with a hot pan. It is the best way to melt chocolate if you have the time and equipment.
Fill a saucepan with about an inch of water. Place it on the stove and bring the water to a simmer over medium heat. Once it is simmering, turn the heat down to low. You want gentle steam, not a rolling boil.
Place a heatproof bowl on top of the saucepan. The bottom of the bowl should not touch the water. If it does, the chocolate will cook too quickly and burn. If the bowl wobbles, switch to a smaller bowl or adjust the pot size.
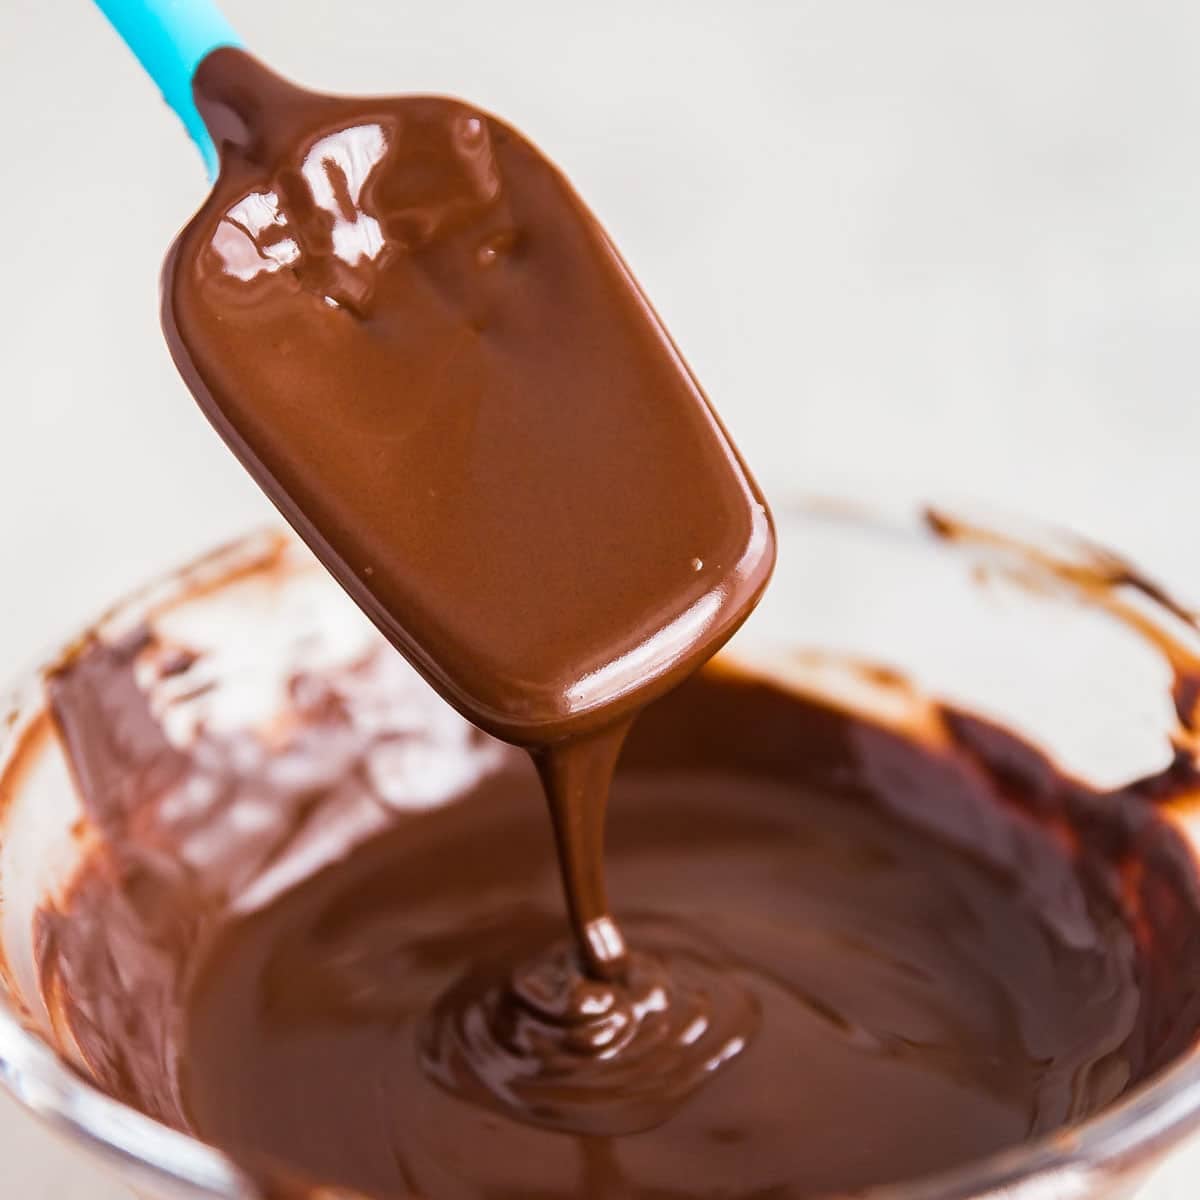
Pour your chocolate chips into the bowl. Start stirring immediately with a dry spatula or spoon. The steam from the water below will gently melt the chips. Keep stirring to distribute the heat evenly.
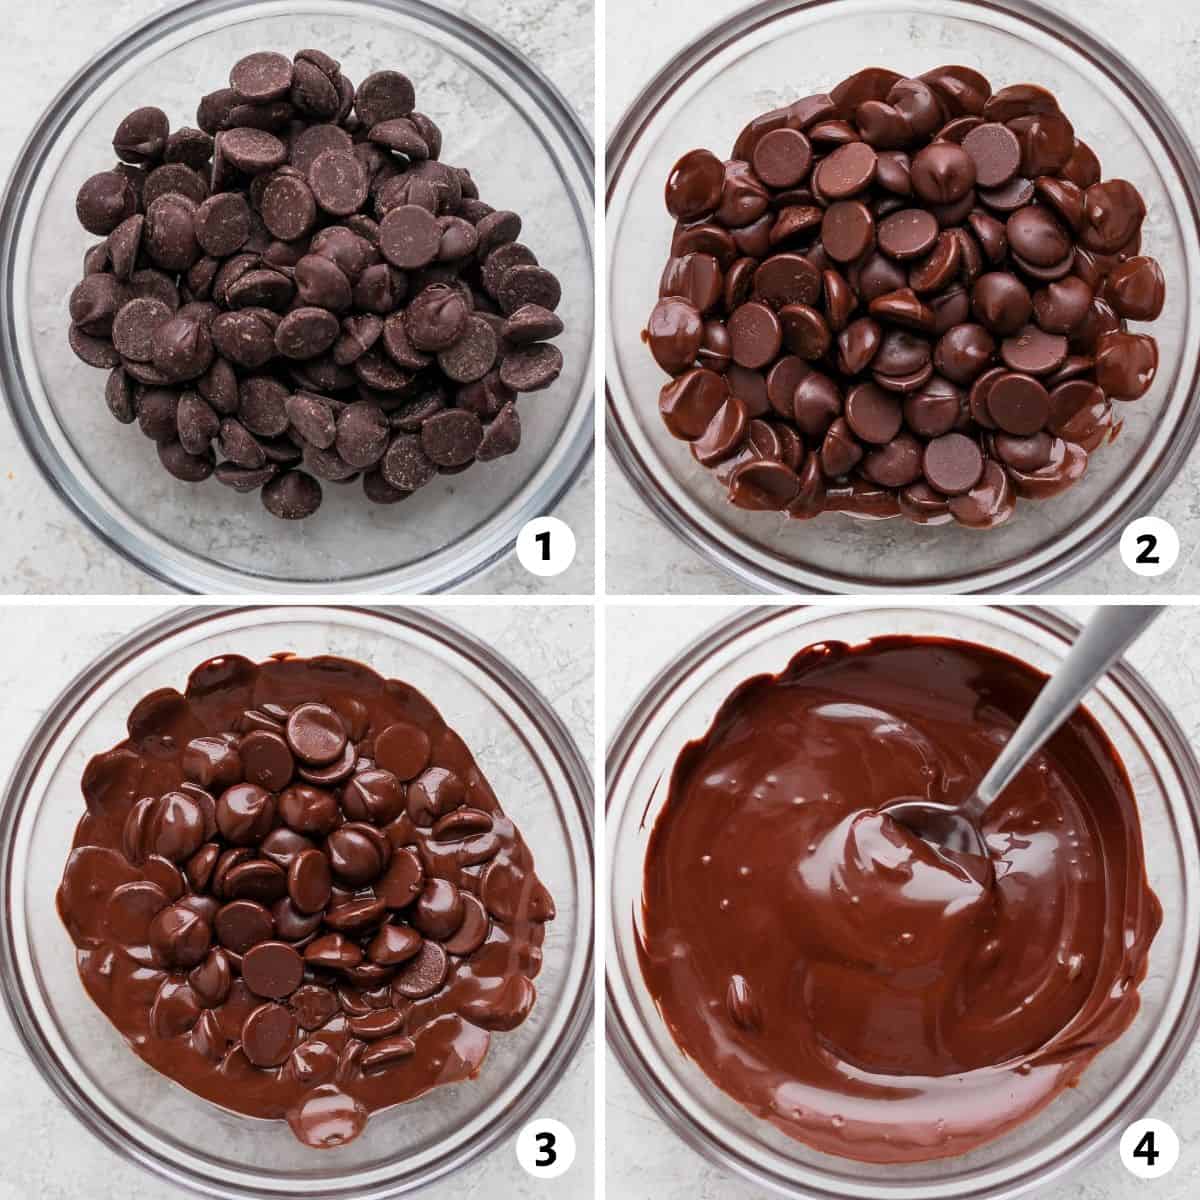
Take the bowl off the pot when the chocolate is mostly melted but still has a few small unmelted chunks. The residual heat will finish melting the rest as you continue to stir. This prevents the chocolate from getting too hot.
Method 2: The microwave method
The microwave is faster but requires more attention. Chocolate can go from melted to burnt in seconds if you leave it unattended. Use short bursts of power and stir often.
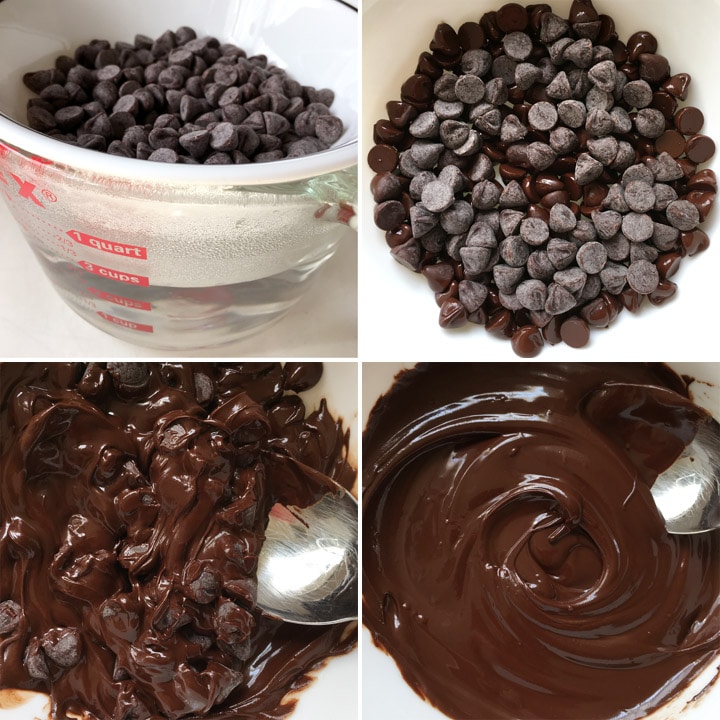
Place your chocolate chips in a microwave-safe bowl. Make sure the bowl is completely dry. Any moisture will cause the chocolate to seize.
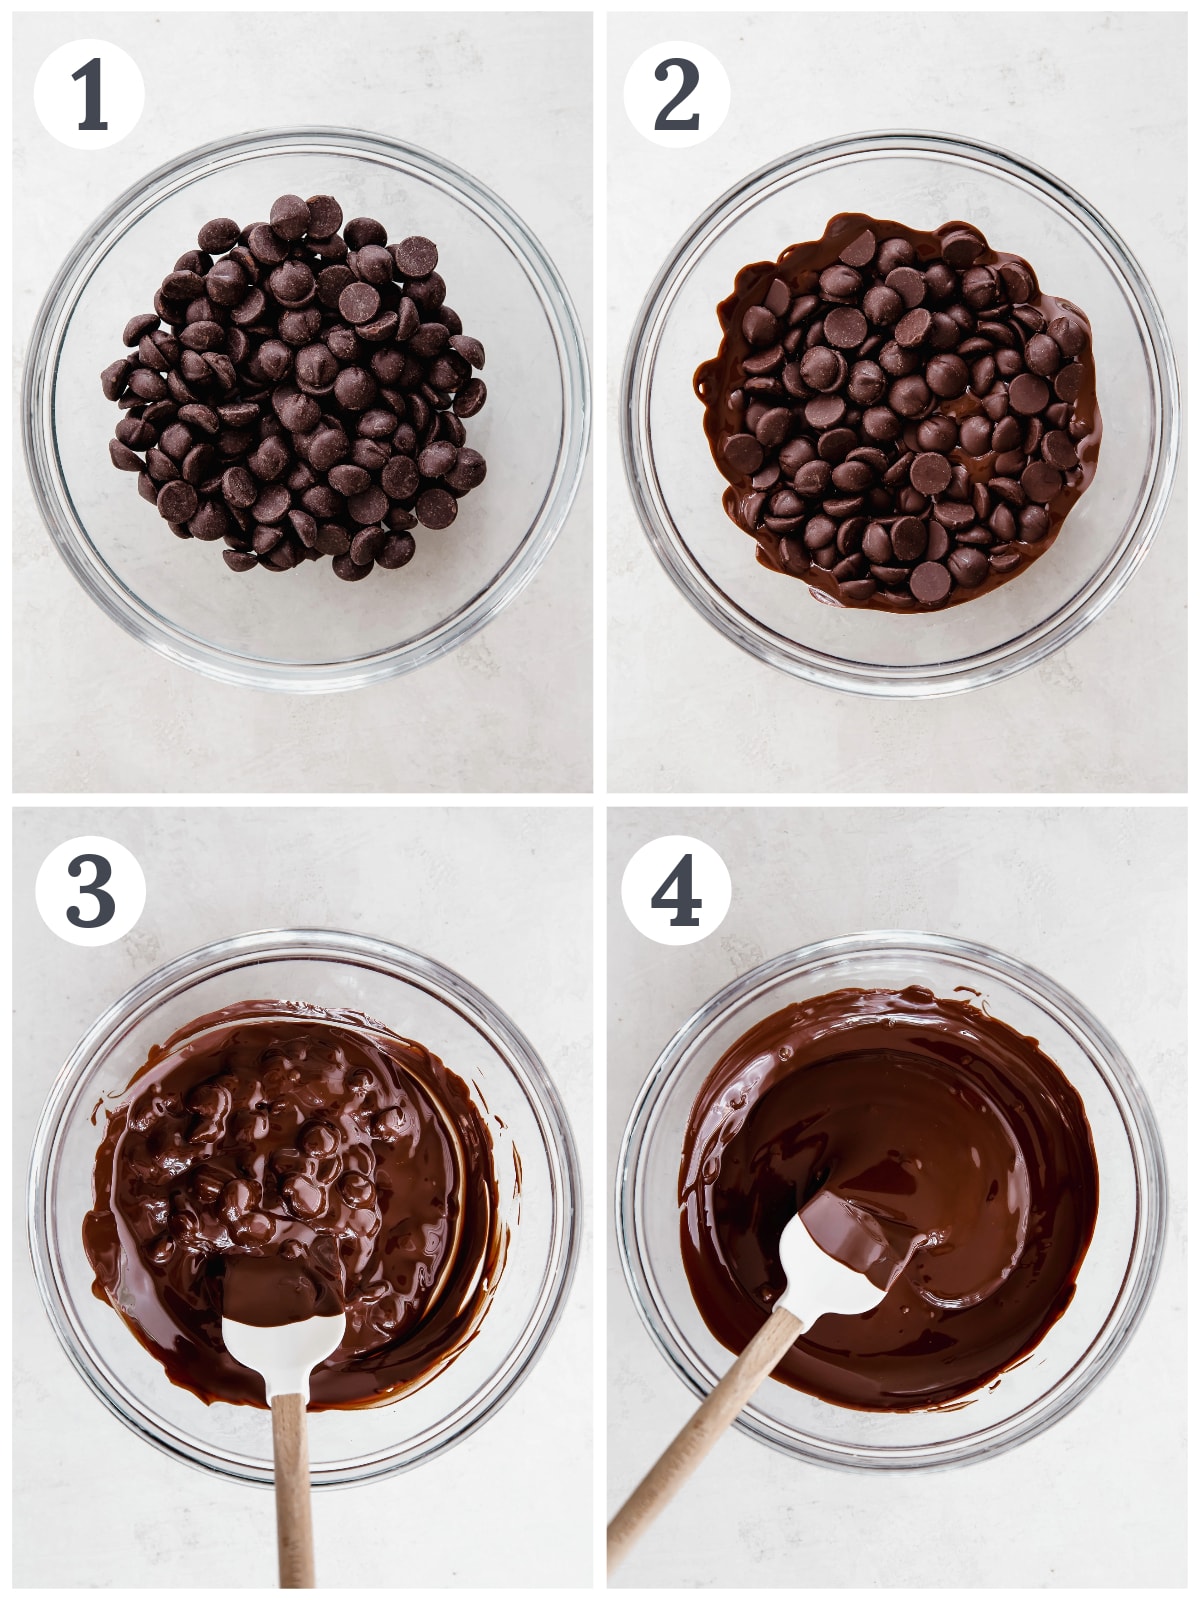
Microwave the chocolate on high power for 30 seconds. Remove the bowl and stir thoroughly. The chocolate may look solid, but the heat is spreading through it. Scrape the sides and bottom to ensure even heating.
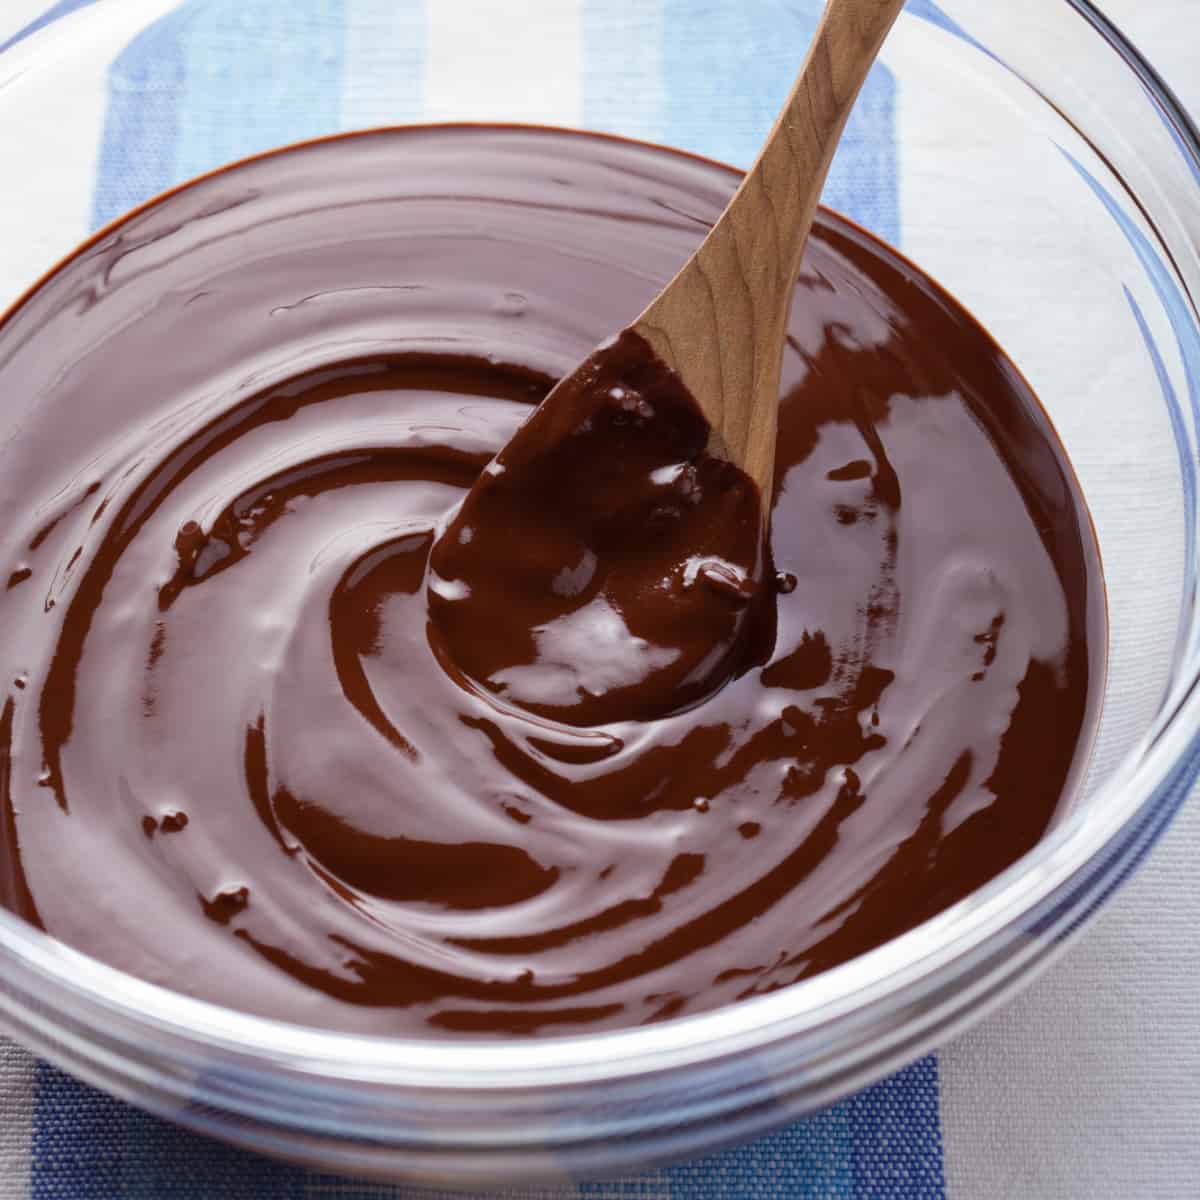
Continue microwaving in 15 to 20-second intervals. Stir after every burst. As the chocolate starts to melt, it will require less time. Stop when only a few small lumps remain.

Take the bowl out of the microwave. The remaining heat will melt the last few lumps. Stir until the chocolate is completely smooth and glossy. If it looks too thick, you can add a tiny teaspoon of warm water or cream, but only if you are making a sauce or ganache.
Classic dark chocolate truffles
This recipe relies on a simple 1:1 ratio of chocolate to heavy cream. The result is a rich, ganache-based center that holds its shape when chilled but melts instantly on the tongue. Using high-quality dark chocolate chips makes the process straightforward, as they are formulated to melt smoothly without extra stabilizers.
Start by heating the cream until it just begins to simmer. Pour it over the chopped chocolate and let it sit for two minutes without stirring. This resting period allows the heat to melt the chocolate evenly. Gently stir the mixture from the center outward until the ganache is glossy and uniform. There should be no visible streaks of unmelted chocolate.
Spread the ganache into a shallow dish and refrigerate it for at least two hours. The mixture needs to become firm enough to scoop but still pliable. Once set, use a small spoon or melon baller to portion the truffles. Roll each ball quickly between your palms to smooth the edges. Coat them in cocoa powder, chopped nuts, or crushed candy.
Store finished truffles in an airtight container in the refrigerator for up to two weeks. They are best served at room temperature to allow the flavors to fully develop. If the ganache becomes too soft while rolling, return it to the refrigerator for ten minutes before continuing.
Fix common melting mistakes
Even experienced cooks run into trouble when melting chocolate. The two most frequent issues are seized chocolate, which turns into a stiff, grainy lump, and a grainy texture that ruins the smooth finish needed for truffles. Both problems are usually caused by moisture or heat, but they are fixable with a few practical adjustments.
Seized chocolate
Seizing happens when even a small amount of water touches the chocolate. The sugar and cocoa particles clump together, creating a stiff, unworkable mass. This often occurs if steam from a hot bowl condenses into the chocolate, or if a wet spoon is used.
To fix seized chocolate, add a small amount of warm liquid. For dark chocolate, vegetable oil or shortening works best to loosen the texture. Stir vigorously until the mixture becomes smooth again. If you are making truffles, you can also stir in warm cream to incorporate the seized mass back into a ganache.
Tip: Add a teaspoon of vegetable oil to seized chocolate and stir until smooth. This saves the batch for ganache or truffle centers.
Grainy or dull finish
A grainy texture usually means the chocolate was overheated or cooled too quickly. When chocolate scorches, the solids burn and the fats separate, leaving a gritty mouthfeel. Similarly, rapid cooling can cause sugar to crystallize on the surface, creating white streaks known as bloom.
To avoid this, melt chocolate slowly over low heat. Use a double boiler or microwave in short bursts, stirring frequently. If the chocolate looks dull, it may be tempered incorrectly. For truffles, focus on achieving a smooth, glossy melt by keeping the temperature steady and avoiding any water contact during the process.
Frequently asked: what to check next
Truffle Prep Checklist
Before you start melting chocolate, gather your tools and ingredients. Having everything within reach keeps the process smooth and prevents the chocolate from seizing while you hunt for a spatula.
-
High-quality chocolate chips or bars (dark, milk, or white)
-
Heavy cream or liquid flavoring for the ganache
-
Heatproof bowl and saucepan for the double boiler
-
Silicone spatula for stirring
-
Baking sheet lined with parchment paper
-
Small spoon or melon baller for portioning
-
Coating ingredients: cocoa powder, chopped nuts, or sprinkles
No comments yet. Be the first to share your thoughts!