

Choose the right chocolate for melting
Standard chocolate chips are engineered to hold their shape during baking, not to melt into a smooth liquid. They contain stabilizers like lecithin and additives that prevent the cocoa butter from fully releasing. When you try to melt them for truffles or ganache, the result is often grainy, stiff, or prone to seizing. This structural integrity is useful for cookies, but it works against you when you need a glossy, fluid base.
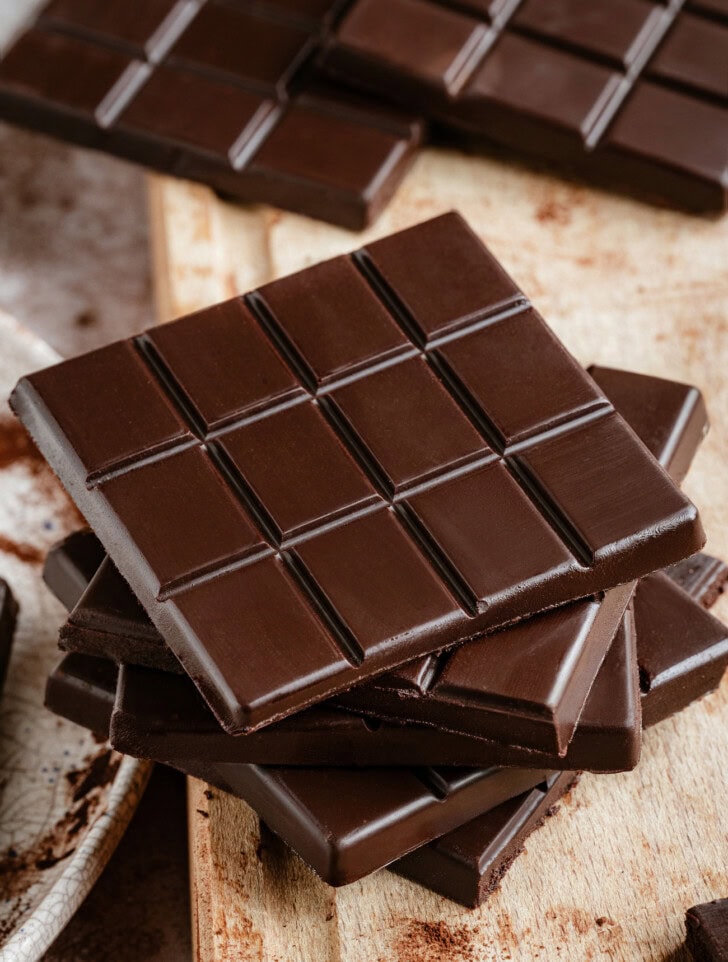
For smooth melting, select couverture chocolate or high-quality baking bars. Couverture contains a higher percentage of cocoa butter, which lowers the viscosity when heated. This allows the chocolate to flow evenly and coat ingredients without becoming thick or lumpy. Baking bars, whether in chunks or discs, are formulated to melt uniformly, giving you better control over the final texture.
When shopping, look for chocolate labeled specifically for baking or confectionery. Avoid chips unless the package explicitly states they are designed for melting. The difference in cocoa butter content is the primary factor in whether your chocolate will achieve the silky consistency required for professional-looking truffles.
Melt chocolate chips without seizing
Melting chocolate chips is the foundation of making truffles, but it is also where most home cooks fail. The enemy is water. Even a single drop of moisture can cause chocolate chips to seize, turning smooth, glossy chocolate into a grainy, clumpy mess that is impossible to stir smooth. Because chocolate chips contain stabilizers to help them hold their shape in the oven, they melt differently than couverture chocolate, making temperature control even more critical.
The double boiler method is the safest way to melt chocolate chips for truffles. It uses gentle, indirect steam heat rather than direct contact with a hot pan, giving you precise control over the temperature. This method prevents the chocolate from scorching or becoming too thin. Follow this sequence to melt your chips successfully.
If your chocolate does seize, there is a way to salvage it. Add one teaspoon of hot water or heavy cream and stir vigorously. This will not return the chocolate to its original state for dipping, but it will create a smooth sauce suitable for truffle fillings or sauces. To avoid seizing in the future, always ensure your tools are bone dry and the steam is gentle, not boiling.
Prepare the truffle ganache base
The ganache is the structural foundation of your truffles. A smooth, emulsified base ensures that molded truffles hold their shape and filled chocolates remain creamy without leaking. The process relies on a precise ratio of chocolate to cream and controlled heat to create a stable emulsion.
Start by selecting high-quality chocolate. Dark chocolate with 50-70% cocoa solids provides the best balance of flavor and structure for truffles. Chop the chocolate finely and evenly to ensure it melts uniformly. Place the chopped chocolate in a heatproof bowl.
Heat heavy cream until it just begins to simmer. Do not boil vigorously, as this can cause the cream to separate or scorch. Pour the hot cream directly over the chopped chocolate. Let the mixture sit undisturbed for five minutes. This resting period allows the chocolate to melt gently from the heat of the cream, preserving its texture.
After five minutes, stir the mixture slowly from the center outward. Use a spatula or whisk to incorporate the cream into the chocolate. Continue stirring until the ganache is glossy, smooth, and homogeneous. If lumps remain, the chocolate may not have melted fully or the cream was not hot enough. Add a teaspoon of warm cream and stir again to finish the emulsion.
The ganache is now ready to be used. For molded truffles, let the ganache cool at room temperature until it reaches a firm, scoopable consistency. For filled chocolates, you may use it immediately while warm, depending on your recipe. Store any leftover ganache in an airtight container in the refrigerator for up to two weeks.
Shape and finish your truffles
The moment the ganache firms up, the real work begins. This stage transforms a dense chocolate block into individual, professional-grade confections. The goal is uniformity in size and a clean, appealing finish that holds its shape without melting in your hand.
Chill the ganache until firm
You cannot shape warm ganache. If the mixture is too soft, it will stick to your fingers and lose its round form. Place the ganache in the refrigerator for 1–2 hours, or until it is firm to the touch but still pliable. If it becomes rock-hard, let it sit at room temperature for 10 minutes to soften slightly. Proper chilling ensures the truffles hold their structure during rolling.
Scoop and roll into balls
Use a small cookie scoop or a teaspoon to portion the ganache. This guarantees consistent sizing, which is essential for even coating and professional presentation. Roll each portion gently between the palms of your hands. If the chocolate feels sticky, lightly dust your hands with cocoa powder or dip them in cold water. Aim for smooth, tight spheres without cracks.
Coat with cocoa powder or tempered chocolate
For a classic finish, roll the balls in unsweetened cocoa powder. This absorbs surface moisture and provides a matte, velvety texture. For a glossy shell, dip each truffle in tempered chocolate. Use a fork to lower the ball into the chocolate, lift it out, and tap the fork against the bowl’s edge to let excess chocolate drip off. Place the coated truffle on a parchment-lined tray to set.
Set and store properly
Allow the coated truffles to set completely at cool room temperature or in the refrigerator. If using tempered chocolate, they should harden within 15–20 minutes. Store finished truffles in an airtight container in the refrigerator. Bring them to room temperature 15 minutes before serving to restore their full flavor and creamy texture.
Fix common melting mistakes
Even experienced chocolatiers run into texture issues when melting chocolate chips or bars. Graininess, separation, and seizing are common, but most can be fixed with simple adjustments. Here’s how to rescue your chocolate before it goes to waste.
Grainy or gritty texture
Graininess usually means the chocolate was overheated or cooled too quickly. When chocolate is heated above 115°F (46°C), the sugar crystals can break down and recrystallize unevenly, leaving a gritty mouthfeel. To fix this, gently reheat the chocolate over low heat while stirring constantly. If it’s already set, try melting it again with a small amount of warm cream or butter to smooth out the texture.
Separated or oily chocolate
Oil separation happens when the cocoa butter breaks away from the solid cocoa particles. This often occurs if water is introduced or if the chocolate is heated too aggressively. To salvage separated chocolate, remove it from heat and whisk in a teaspoon of neutral oil (like vegetable or canola) to help re-emulsify the fats. Stir until smooth. If the separation is severe, the chocolate may not fully recover, but it can still be used for baking.
Seized chocolate
Seizing occurs when even a drop of water hits the chocolate, causing the sugar to clump and turn into a hard, grainy mass. To fix seized chocolate, add a small amount of warm liquid—such as milk, cream, or corn syrup—while stirring vigorously. Start with a teaspoon and add more as needed until the chocolate becomes smooth again. This method works best for making ganache or sauces, not for dipping or molding.
Preventing future issues
To avoid these problems, always use dry utensils and bowls when melting chocolate. Heat chocolate slowly over a double boiler or in short bursts in the microwave, stirring frequently. Keep the temperature below 115°F (46°C) for dark chocolate and 110°F (43°C) for milk and white chocolate. For more detailed guidance on chocolate handling, refer to Serious Eats’ chocolate guide.
Checklist for perfect chocolate results
Before you serve your truffles, verify these final conditions. Proper tempering and storage determine whether your chocolate snaps cleanly or blooms with gray streaks.
- Equipment is completely dry. Any water contact causes chocolate to seize.
- Chocolate is chopped evenly. Uniform pieces melt at the same rate.
- Ganache is cooled properly. It should hold its shape when rolled.
- Truffles are stored correctly. Keep them in a cool, dry place away from direct sunlight.
Follow these steps to ensure your chocolate treats maintain their quality and flavor profile.
No comments yet. Be the first to share your thoughts!