

Get the chocolate right
Before you turn on the stove, you need to select the right chocolate and prepare it correctly. The difference between glossy, smooth truffles and grainy, seized lumps usually comes down to two things: the quality of the cocoa butter and how well you manage moisture.
Choose the right type
Not all chocolate chips are created equal. Standard baking chips contain stabilizers like soy lecithin to help them hold their shape in cookies, but these same additives can make them waxy and difficult to melt smoothly for truffles. For homemade truffles, you want pure chocolate with a high cocoa butter content.
Look for couverture chocolate or high-quality baking bars. These melt evenly and set with a professional snap. If you only have standard chips on hand, you can still use them, but add a teaspoon of neutral oil (like vegetable or canola) to help thin the mixture. Avoid chocolate labeled "candy coating" or "melts," as these are often made with vegetable fats that lack the rich flavor of real cocoa.
Check the freshness
Chocolate has a shelf life, even when stored properly. Dark chocolate can last up to two years, while milk and white chocolate degrade faster, typically within one year. Over time, cocoa butter can oxidize, leading to a stale or rancid taste. Before you start, inspect your chocolate for white streaks or spots. This is called "bloom," and while it is safe to eat, it indicates that the chocolate has been temperature-stressed and may not melt uniformly.
Prepare for moisture
Water is the enemy of melted chocolate. Even a single drop of water in your bowl can cause the chocolate to seize, turning it into a gritty, unworkable paste. Ensure all your equipment—bowls, spatulas, and measuring spoons—is completely dry. If you are using a double boiler, make sure the bottom of the bowl does not touch the simmering water. Steam is also a hazard, so keep the heat low and gentle.
Chop for even melting
Large chunks of chocolate take longer to melt and can scorch on the outside before the inside is smooth. Chop your chocolate into uniform pieces, roughly the same size. This ensures that every piece melts at the same rate, giving you a consistent texture. Use a sharp chef's knife or a food processor for quick, even results. If you are using a bar, break it into small shards rather than cubes for faster, more controlled melting.
Work through the steps
Melting chocolate chips is less about heat and more about patience. When you rush the process, the cocoa butter separates from the solids, leaving you with a grainy, oily mess that won’t set properly for your truffles. Follow this sequence to keep the emulsion stable.
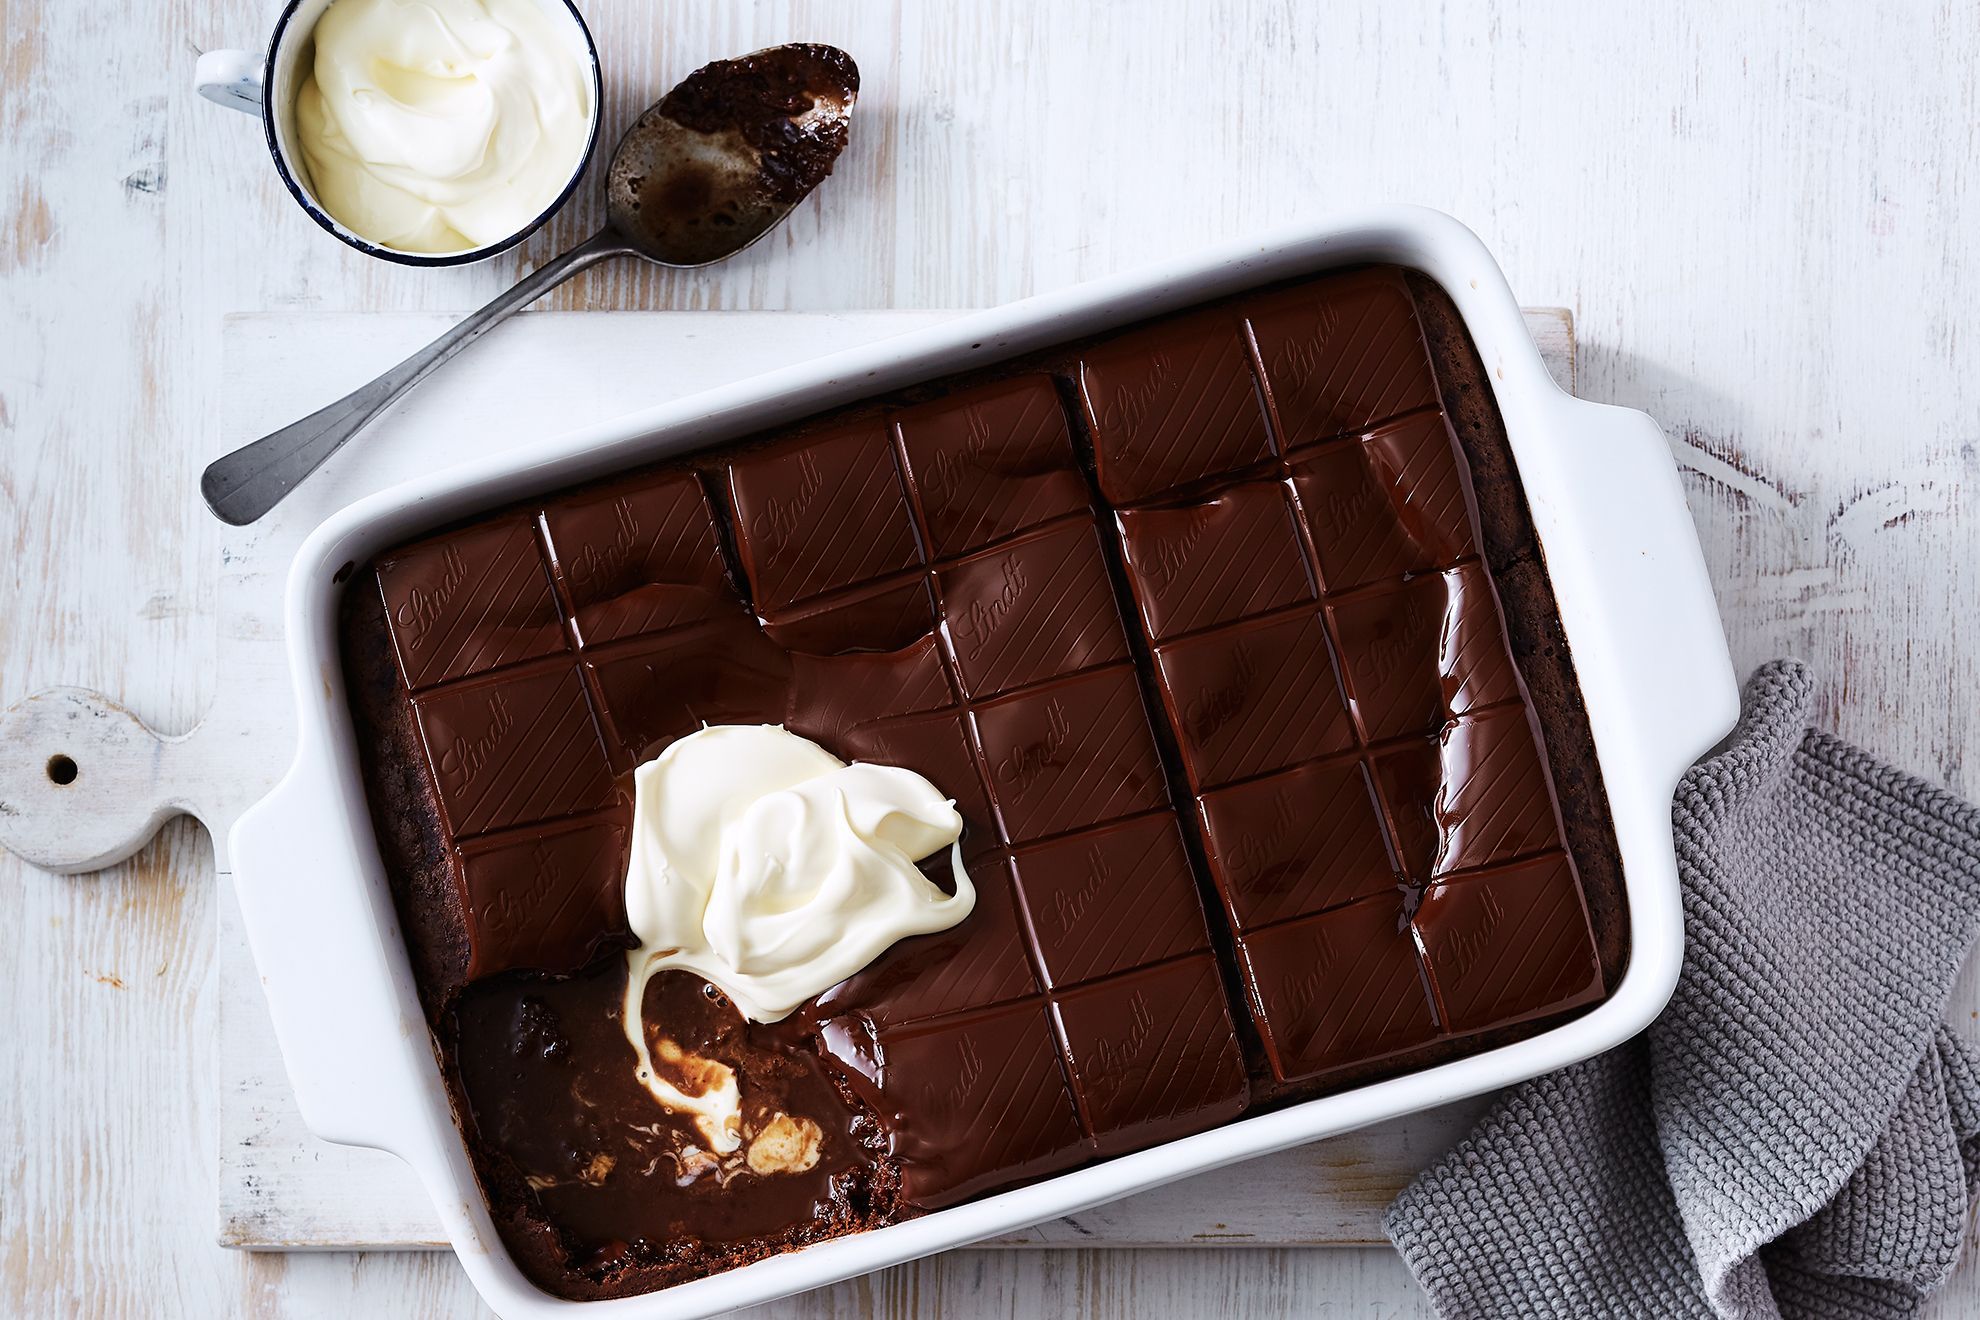
Even though chips contain stabilizers to help them hold shape, chopping them further ensures uniform melting. Measure your chips before you start. Having everything ready prevents you from leaving the heat source unattended while you scramble for ingredients.
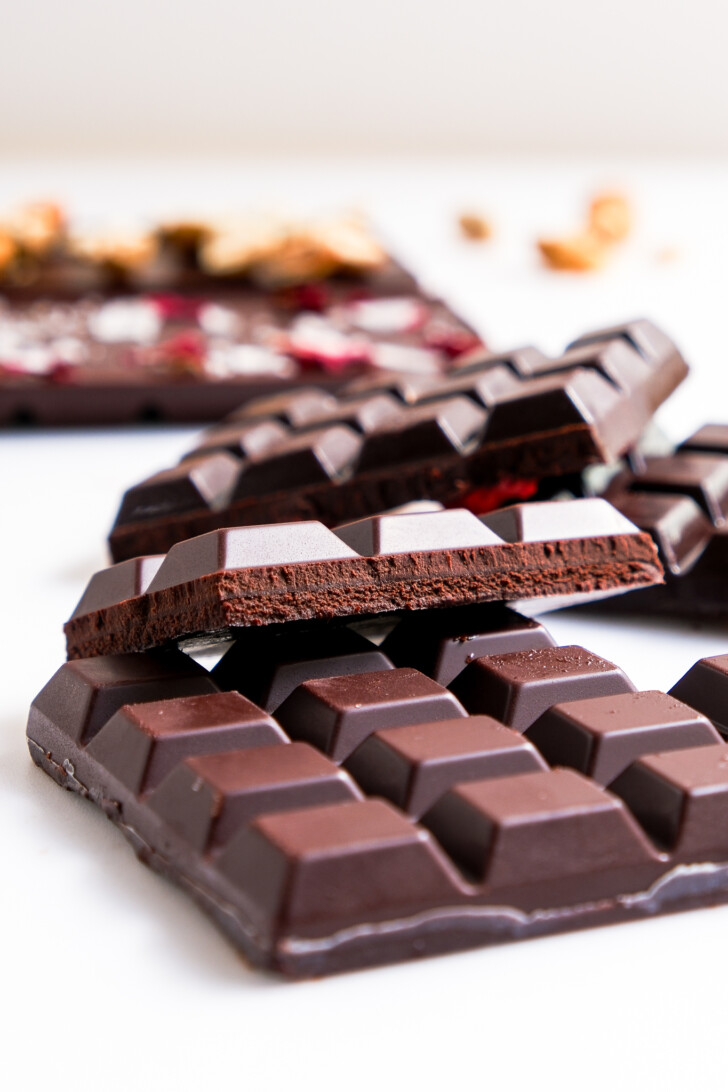
Use a double boiler or a microwave in 15-second intervals. If using a microwave, stir thoroughly between each burst. The goal is to melt the chocolate until it is just fluid, not hot. If the chocolate gets too hot, it seizes.
Stirring distributes the heat evenly. It also helps the cocoa butter and solids stay bonded. If you see steam or the chocolate starts to thicken, remove it from the heat immediately and continue stirring off the burner.
Dip a spoon into the chocolate. It should coat the back smoothly without streaks. If it looks thick or grainy, add a teaspoon of warm water or cream and stir vigorously to bring it back together.
Fix common mistakes
Even experienced chocolatiers ruin chocolate by rushing the process or ignoring temperature. Most truffle failures come from three specific errors: burning the chocolate, separating the emulsion, or working in a humid kitchen. Correcting these issues requires patience and precise control.
Burning the chocolate
Chocolate burns at surprisingly low temperatures. Direct heat from a stove or microwave creates hot spots that scorch the solids, turning smooth chocolate grainy and bitter. Always use indirect heat. Place your bowl over a pot of simmering water, ensuring the bottom of the bowl does not touch the water. Stir constantly until just melted. If you must use a microwave, heat in 15-second intervals, stirring thoroughly between each burst. Remove the bowl from the heat source while the chocolate is still slightly under-melted; residual heat will finish the job. Never add water to melted chocolate, as even a few drops will cause it to seize into a hard, unusable lump.
Separating the emulsion (broken ganache)
A broken ganache looks curdled, oily, and separated. This happens when the fat (cocoa butter) separates from the liquid (cream) due to temperature shock or over-mixing. To fix this, keep your cream warm but not boiling. Pour it over the chocolate and let it sit for two minutes before stirring gently from the center outward. If your ganache breaks, do not discard it. Add a tablespoon of warm heavy cream and whisk vigorously until it re-emulsifies. Alternatively, add a small piece of solid chocolate and stir until smooth. For truffles, the mixture must be thick enough to hold its shape when rolled. If it is too runny, chill it in the refrigerator for 15-minute increments, checking frequently.
Working in high humidity
Chocolate is hygroscopic, meaning it absorbs moisture from the air. In humid conditions, your truffles will develop "bloom"—white, streaky spots on the surface—or become sticky and difficult to roll. This is often mistaken for spoilage, but it is purely cosmetic and structural. To prevent this, work in a cool, dry environment. Avoid making truffles on rainy days or in kitchens with open windows during humid weather. If you must work in a humid space, use a dehumidifier and keep your bowls covered until the moment you need them. Store finished truffles in an airtight container with a silica gel packet to absorb ambient moisture.
Chocolate: what to check next
Even with the right tools, melting chocolate can feel unpredictable. Below are the most common hurdles home truffle makers face, from grainy textures to stubborn chips.
No comments yet. Be the first to share your thoughts!