
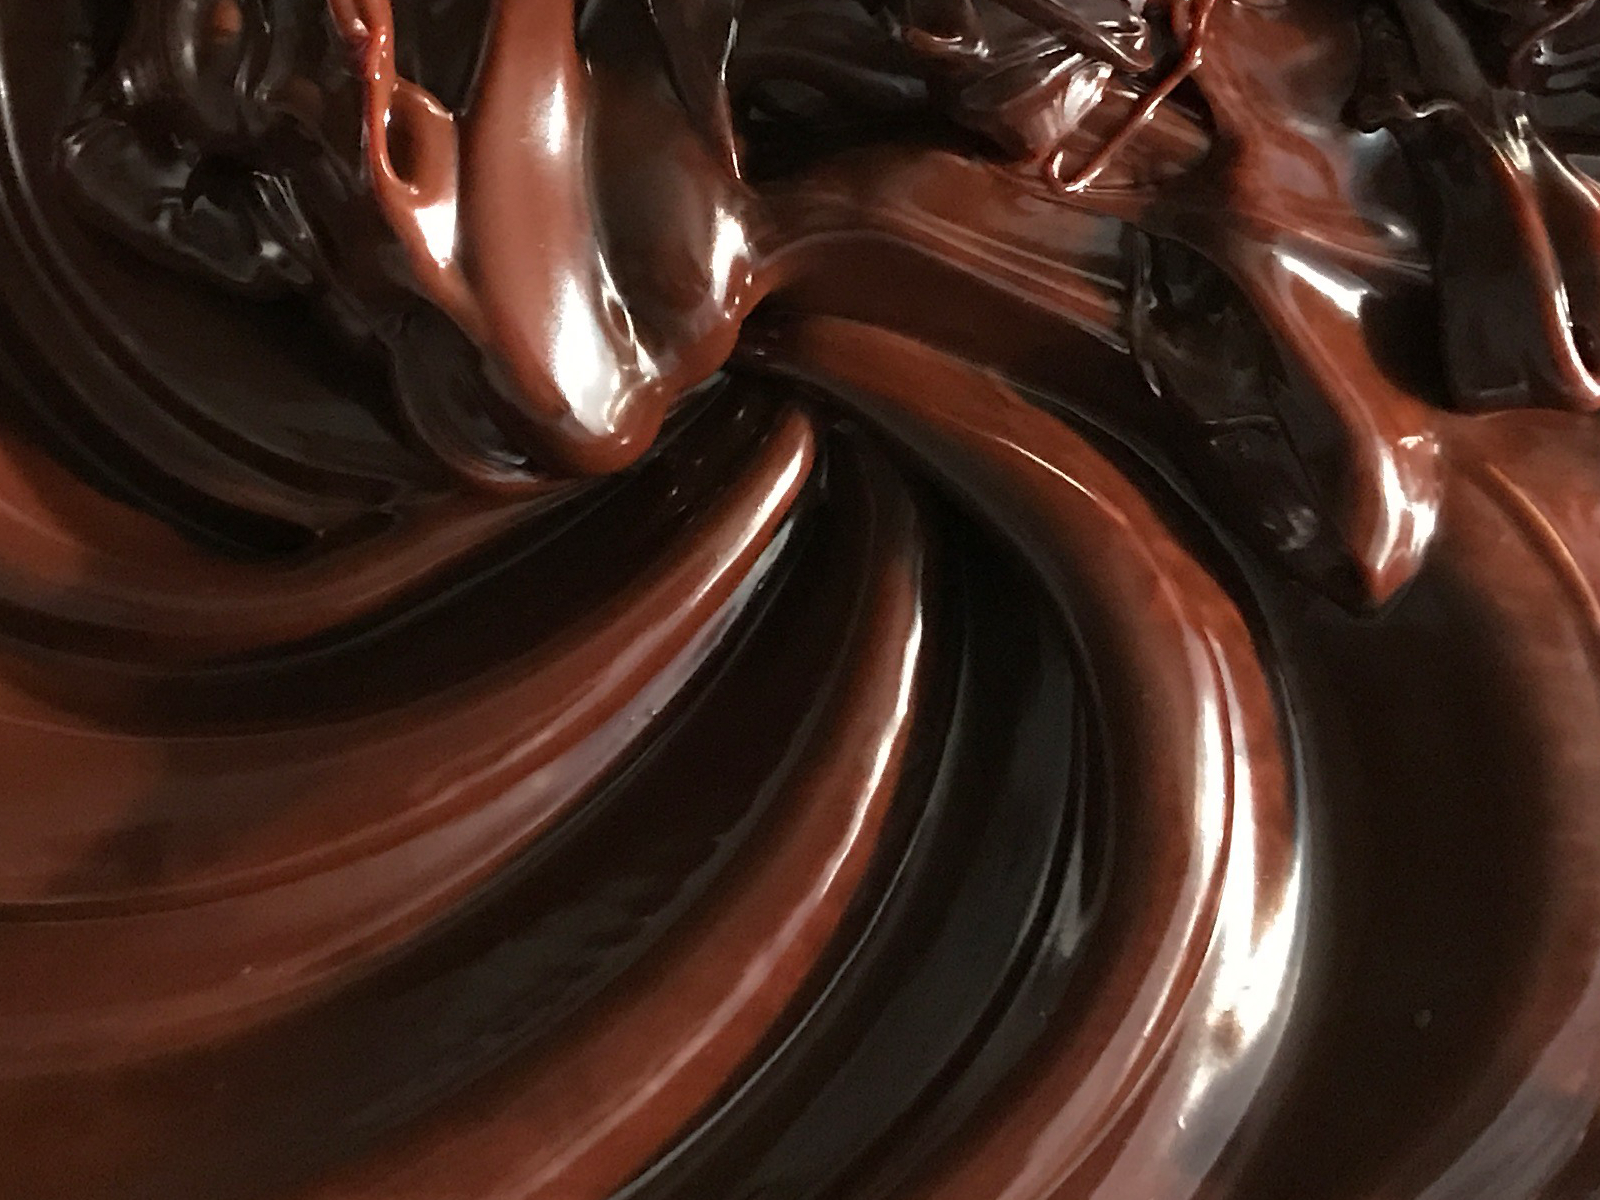

Get the chocolate harvest right
Before you start melting chips or tempering couverture, you need to know what’s in the bag. Not all chocolate behaves the same way. The quality of the final truffle depends heavily on the quality of the starting cocoa bean and how it was processed.
How cacao is harvested
Cacao trees grow near the equator, and the fruit—called pods—must be harvested by hand. Workers cut ripe pods from the tree, crack them open, and scoop out the beans along with the sweet, white pulp. This manual process ensures that only fully mature pods are picked, which is critical for developing the complex flavor precursors needed for good chocolate. If beans are harvested too early, the resulting chocolate will lack depth and taste grassy or acidic.
The bean-to-bar journey
After harvesting, the beans undergo fermentation and drying. This stage is where the chocolate flavor actually develops. Microbes break down the pulp, generating heat that kills the germ and creates the precursor compounds for chocolate flavor. Once dried, the beans are shipped to chocolatiers. Understanding this origin helps you choose the right chocolate: a well-fermented bar will melt more evenly and taste richer than one that was poorly processed.
How many beans make a pound?
It takes roughly 400 to 500 cocoa beans to produce one pound of chocolate. This ratio highlights why bean quality matters so much. A small batch of high-quality beans from a specific region, like those used by craft makers such as Harvest Chocolate in Michigan, will yield a more intense flavor profile than mass-produced alternatives. When you buy chocolate, you are buying the result of hundreds of beans and weeks of fermentation.
Choosing the right chocolate for truffles
For truffles, you want chocolate with a high cocoa butter content. Avoid "confectionery coating" or "chips" labeled for baking cookies, as they often contain stabilizers that prevent proper melting. Look for bars labeled "couverture" or high-percentage dark chocolate (60-70%). These melt smoothly and create a glossy finish. If you are new to this, start with a single-origin dark chocolate to appreciate the nuance that good harvesting practices bring.
Work through the steps
Melting chocolate chips correctly is the foundation of any successful truffle or confection. The goal is smooth, fluid chocolate without seizing or burning. Follow this sequence to prepare your chips, control the heat, and finish with a glossy texture.


As an Amazon Associate, we may earn from qualifying purchases.
Fix common mistakes
Chocolate is forgiving, but it punishes haste. The difference between glossy truffles and grainy, dull blocks usually comes down to three variables: water, temperature, and patience. If your melted chips seize or your ganache splits, you likely missed one of these core principles.
Water is the enemy of smooth melt
Chocolate is hydrophobic. Even a single drop of steam or a wet spoon can cause chocolate chips to seize, turning into a hard, clumpy mass that refuses to smooth out. This happens because the sugar and cocoa solids bind with the water, creating a stiff paste rather than a fluid emulsion.
To prevent seizing, ensure all bowls and utensils are completely dry. When melting in a double boiler, keep the bottom bowl’s water below a simmer to avoid steam contact. If you are using a microwave, heat in short bursts and stir frequently to distribute heat evenly without creating hot spots that might trap moisture.
Temperature control prevents grainy texture
Overheating chocolate burns the cocoa butter, leading to a grainy mouthfeel and a dull, grayish finish. Chocolate chips contain stabilizers that allow them to hold their shape, but they are less heat-tolerant than couverture chocolate. If you melt chips past 120°F (49°C), the structure breaks down.
Use a digital thermometer to monitor the temperature. Remove the chocolate from heat when it is still slightly solid at the edges; residual heat will continue to melt it as you stir. For truffles, you want a smooth, fluid consistency, not a hot, thin liquid. Letting the melted chocolate cool slightly before pouring it over cream helps maintain the proper emulsion.
Emulsification matters for ganache
A split ganache looks oily and separated, with pools of butterfat floating on top. This occurs when the cream is too hot or when the chocolate and cream are not combined gently. Pouring boiling cream over chocolate shocks the cocoa solids, causing them to clump while the butter separates.
Let the cream cool slightly after heating—just until it stops steaming—then pour it over the chopped chocolate. Let it sit for two minutes before stirring gently from the center outward. This slow incorporation allows the cocoa butter and cream to bind into a smooth, unified mixture. If it does split, add a tablespoon of room-temperature heavy cream and whisk vigorously to bring it back together.
No comments yet. Be the first to share your thoughts!