

Choose the right chocolate
The Chocolate works best as a clear sequence: define the constraint, compare the realistic options, test the tradeoff, and choose the path with the fewest hidden costs. That order keeps the advice usable instead of decorative. After each step, pause long enough to check whether the recommendation still fits the reader's actual situation. If it depends on perfect timing, unusual access, or a best-case budget, include a simpler fallback.
The simplest way to use this section is to write down the real constraint first, compare each option against it, and choose the path that still works outside ideal conditions.
Melt chocolate chips gently
Melting chocolate chips for truffles requires patience. If you rush the heat, the cocoa butter separates from the solids, leaving you with a grainy, seized mess that won’t emulsify into smooth ganache. The goal is low, indirect heat to keep the chocolate fluid without scorching.
You can use a double boiler or a microwave. Both methods work if you respect the temperature limits. Chocolate burns at surprisingly low temperatures, so gentle heat is non-negotiable.
The Double-Boiler Method
Fill a saucepan with about an inch of water and bring it to a bare simmer over medium-low heat. Remove the pan from the burner entirely before adding your chocolate. Place a heatproof bowl on top, ensuring the bottom of the bowl does not touch the water. The steam provides gentle, indirect heat.
Add your chocolate chips to the bowl. Stir constantly with a dry spatula. Moisture is the enemy here; even a single drop of water in the bowl can cause the chocolate to seize. Continue stirring until the chips are mostly melted, then remove the bowl from the heat and stir until completely smooth. The residual heat will finish the job.
The Microwave Method
If you prefer speed, use the microwave, but proceed with caution. Place your chocolate chips in a microwave-safe bowl. Heat on 50% power in 30-second intervals. This lower power setting prevents hot spots that burn the chocolate.
Remove the bowl after each interval and stir thoroughly. You will notice the chocolate melting faster as you go because the chips are already warm. Stop heating when only a few small unmelted bits remain. Stir vigorously; the residual heat will melt those remaining bits into a glossy, smooth liquid.
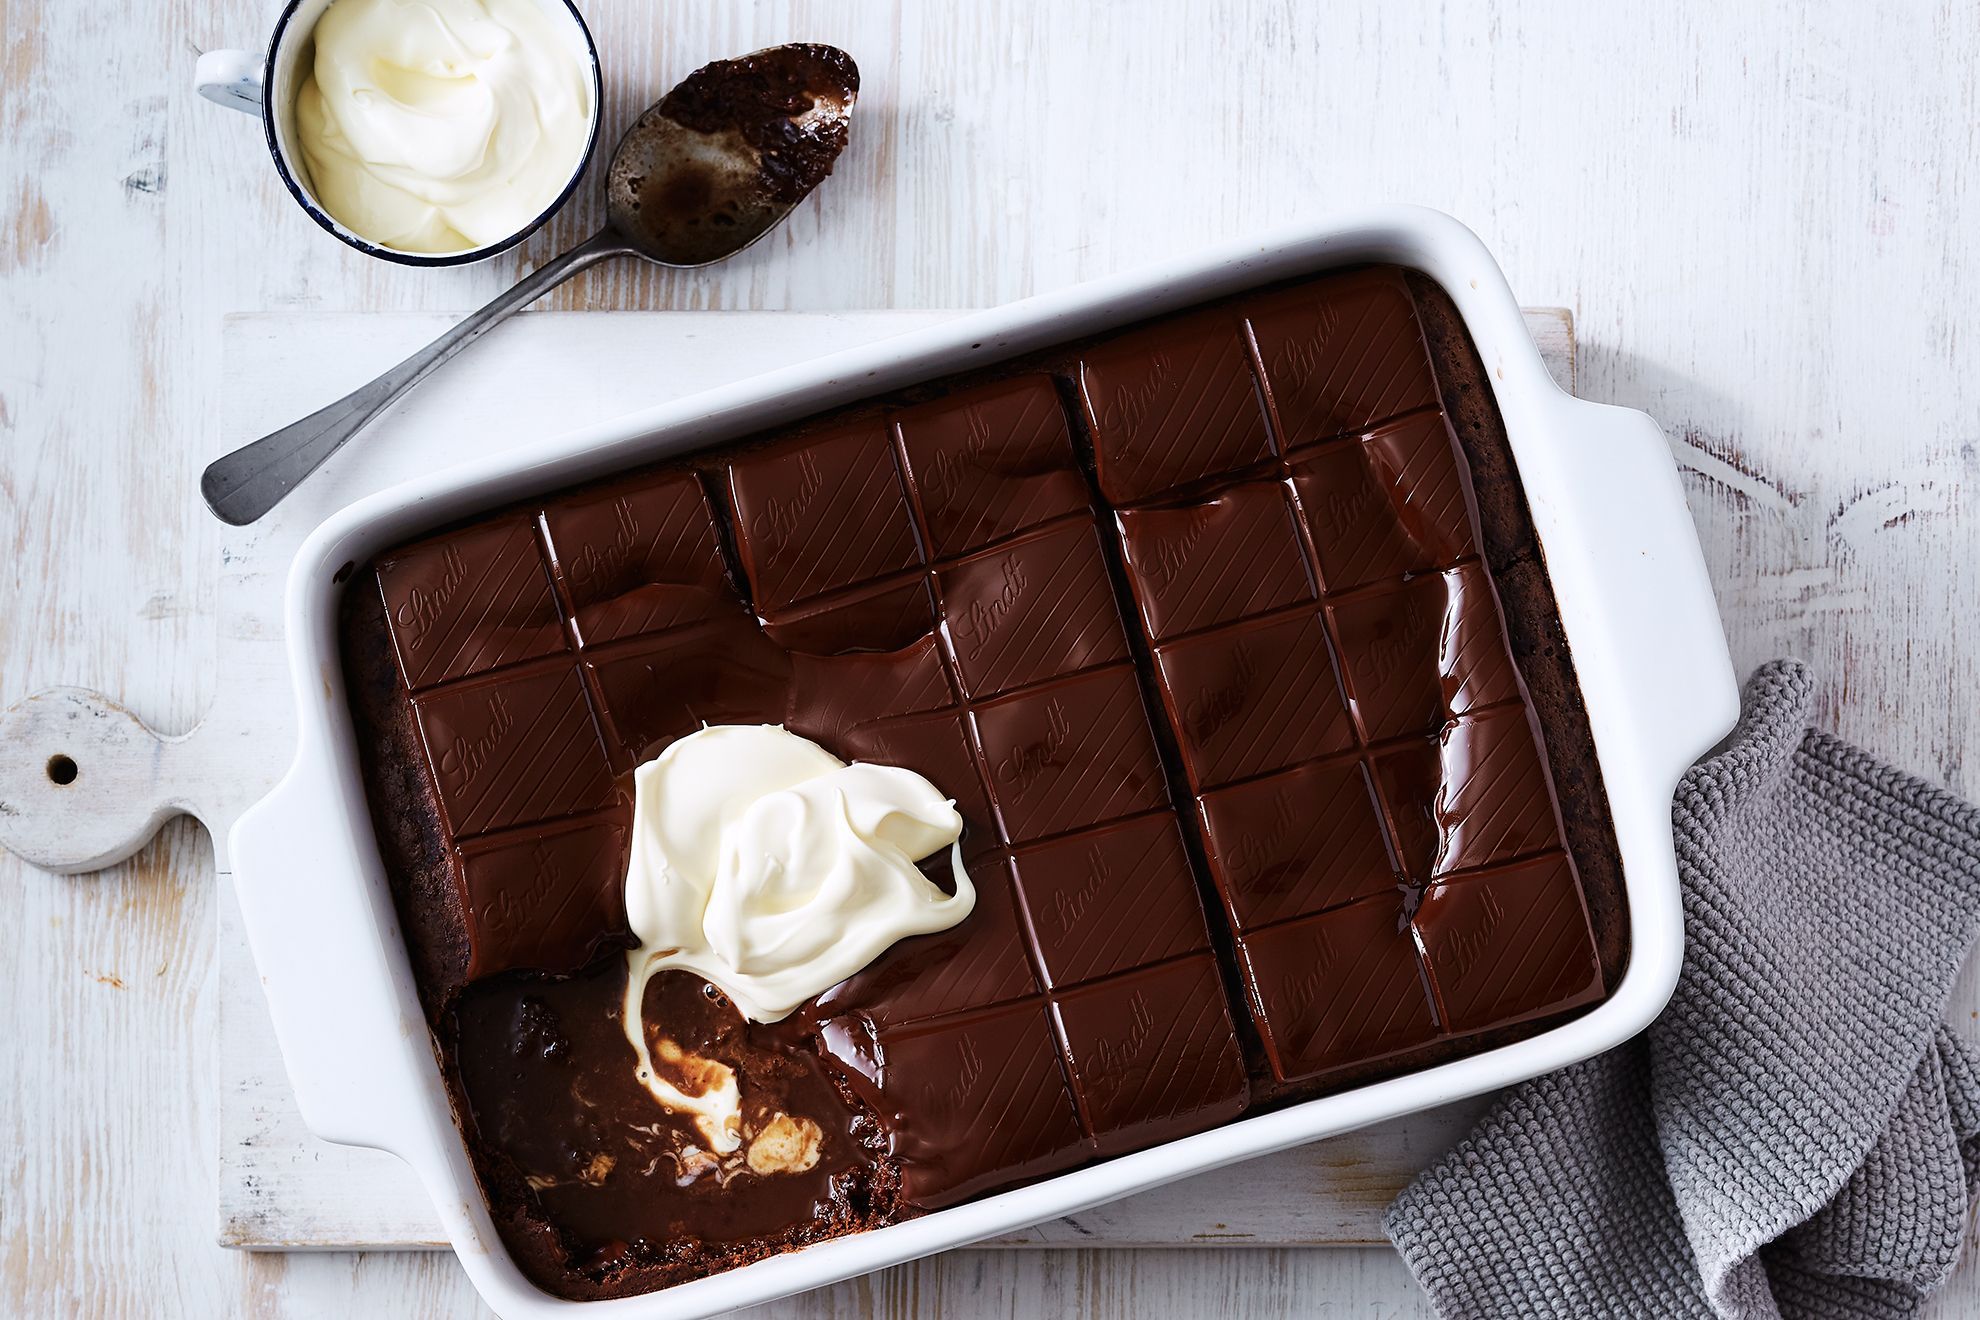
Ensure all your tools are completely dry. Any water, even condensation from a humid kitchen, can cause chocolate chips to seize into a solid lump. Use a clean, dry heatproof bowl and a dry spatula.
Whether using a double boiler or microwave, avoid direct high heat. For a double boiler, keep the water at a simmer, not a boil. For the microwave, use 50% power and short bursts. The chocolate should melt slowly and evenly.
Stirring distributes the heat and prevents the bottom layer from burning. In a double boiler, stir constantly. In the microwave, stir after every 30 seconds. This movement is critical for achieving a smooth, glossy texture essential for truffles.
Remove the chocolate from the heat source when it is mostly melted but still has a few solid bits. Continue stirring off the heat. The residual warmth will melt the remaining chips without risking overheating. Overheated chocolate cannot be fixed.
Troubleshooting Common Issues
If your chocolate looks grainy or thick, it has likely seized. This usually happens if water gets in or if the heat is too high. Unfortunately, seized chocolate cannot be returned to its original state for dipping or molding. However, you can sometimes save it for truffles by adding a small amount of warm cream or butter to create a ganache, though the texture will be different.
Always keep your chocolate away from steam. When using a double boiler, ensure the water level is low enough that it doesn’t splash into the bowl. Covering the bowl with a lid can trap steam, so it’s better to leave it uncovered or cover it loosely with a paper towel to absorb any condensation.
Fix seized or grainy chocolate
Chocolate is temperamental. A single drop of water or a minute too long on the heat can ruin the batch. Before you toss it, try these fixes. They won’t always return the chocolate to perfect tempering, but they often save the flavor and texture enough for truffles or baking.
Water caused seizing
Seized chocolate looks like a gritty, clumpy mess. It happens when even a few drops of water hit the melting chips. The sugar in the chocolate absorbs the water and binds together into a solid mass. This is irreversible for dipping or enrobing.
The fix: Add hot liquid. For dark or milk chocolate, stir in one tablespoon of hot water, milk, or cream at a time. Whisk vigorously. The extra liquid will dissolve the sugar clumps. The result will be thick and grainy at first, but it will smooth out into a rich ganache. Use this immediately for truffles, brownies, or frosting. Do not try to re-temper seized chocolate for coating.
Grainy or dry texture
If the chocolate feels dry or sandy but hasn’t fully clumped, it may have been overheated or stirred too much. The cocoa butter can separate, leaving the solids dry.
The fix: Add fat. Stir in a small amount of cocoa butter, vegetable oil, or neutral oil (like canola). Start with one teaspoon per cup of chocolate. Stir until smooth. This restores the glossy mouthfeel. If you are making truffles, this added fat will make the center softer, so adjust your chilling time accordingly.
Burnt or scorched chocolate
Burnt chocolate has a bitter, acrid taste and often a dark, matte appearance. Once chocolate burns, the flavor is gone. No amount of stirring or adding ingredients can hide the burnt taste.
The fix: Throw it out. There is no salvage for burnt chocolate. It is better to start a new batch than to risk ruining the entire truffle mixture with bitter notes. To prevent this, use low heat and stir constantly.
Can I fix chocolate that is too thick? Yes. Stir in a small amount of warm liquid (water, milk, or cream) or fat (oil or cocoa butter) until it reaches the desired consistency.
Why did my chocolate turn white and streaky? This is likely "bloom," caused by temperature fluctuations or improper tempering. It is safe to eat but looks unappealing for garnish. Melt it down again and use it for baking or truffles where appearance is less critical.
Is seized chocolate safe to eat? Yes, it is safe. It is just unpleasant to eat raw. It works well in recipes where the texture will be masked, like brownies or cookies.
Make smooth truffle ganache
The Chocolate works best as a clear sequence: define the constraint, compare the realistic options, test the tradeoff, and choose the path with the fewest hidden costs. That order keeps the advice usable instead of decorative. After each step, pause long enough to check whether the recommendation still fits the reader's actual situation. If it depends on perfect timing, unusual access, or a best-case budget, include a simpler fallback.
Shape and coat truffles
Once your ganache has set, it is time to give your truffles their final form. The goal is to create smooth, uniform spheres that will hold their shape during dipping. Start by scooping the ganache with a small melon baller or a rounded teaspoon. Roll each portion between your palms until it forms a tight ball. If the chocolate feels too sticky, chill the ganache for ten more minutes before rolling.
For coating, you have two primary options: dipping in tempered chocolate or rolling in dry ingredients. Tempering creates a glossy, snap-ready shell. Use a fork to lower the truffle into your melted chocolate, tap off the excess, and place it on parchment paper. For a classic finish, roll the dipped truffle in cocoa powder, crushed nuts, or sprinkles while the coating is still wet.
Tools and Ingredients Checklist
Before you begin shaping, ensure you have the following on hand:
- Small melon baller or teaspoon
- Parchment paper-lined baking sheet
- Double boiler or microwave-safe bowl for melting
- Toppings: cocoa powder, chopped nuts, or sprinkles
- Fork or dipping tool
Common: what to check next
How do I stop the ganache from sticking to my hands?
Lightly dust your hands with cocoa powder or dip them in cold water before rolling. Keeping your hands cool prevents the chocolate from melting too quickly.
Can I use chocolate chips for dipping?
Chocolate chips are formulated to hold their shape and often contain stabilizers that make them difficult to thin for dipping. For a smooth, professional coat, use couverture chocolate or high-quality melting wafers instead.
Common chocolate mistakes
Even experienced makers hit snags when melting chocolate chips and making truffles. Most issues stem from temperature control or moisture, not the quality of the chocolate itself. Watch for these three errors to keep your batches smooth and glossy.
Burning the chocolate
Chocolate burns easily because sugar and cocoa solids scorch at low temperatures. If you heat it too fast, the mixture turns grainy and bitter. Always use low, indirect heat. Remove the bowl from the heat source while a few small unmelted chunks remain, then stir until the residual heat finishes the job. This gentle approach preserves the emulsion.
Seizing from water contact
A single drop of water can cause chocolate to seize, turning it into a thick, clumpy mass that refuses to smooth out again. This happens because water causes the sugar in the chocolate to dissolve and bind together. Keep all utensils completely dry. When making truffles, ensure your cream is hot enough to melt the chips instantly upon contact, minimizing the time moisture can cause issues.
Improper tempering
Skipping tempering results in chocolate that looks dull and feels soft, often leaving white streaks or spots as it sets. Tempering aligns the cocoa butter crystals for a snap and shine. If you are not using a thermometer, try the tabling method: spread two-thirds of the melted chocolate on a cool marble surface, work it until it thickens, then stir it back into the remaining warm chocolate. This quickens cooling without burning.
No comments yet. Be the first to share your thoughts!