
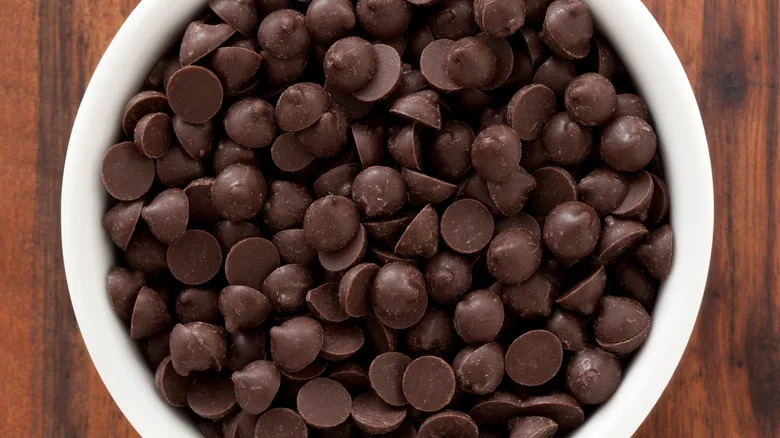
Chocolate Chip Melting: Why Bother?
We’ve all been there: a recipe calls for melted chocolate, you grab a bowl, and… things go sideways. Maybe you scorched it, maybe it seized into a grainy mess. It’s frustrating, and it can ruin a perfectly good baking project. But what if I told you there were ways to melt chocolate without a microwave, and often with better results?
While the microwave is fast, it’s also a bit reckless. It’s incredibly easy to overheat chocolate, leading to that dreaded burnt flavor or a seized, unusable blob. Melting chocolate gently, using methods that offer more control, allows you to preserve its delicate flavors and achieve a smoother, more consistent texture. This is especially important if you’re working with high-quality chocolate where those nuances really matter.
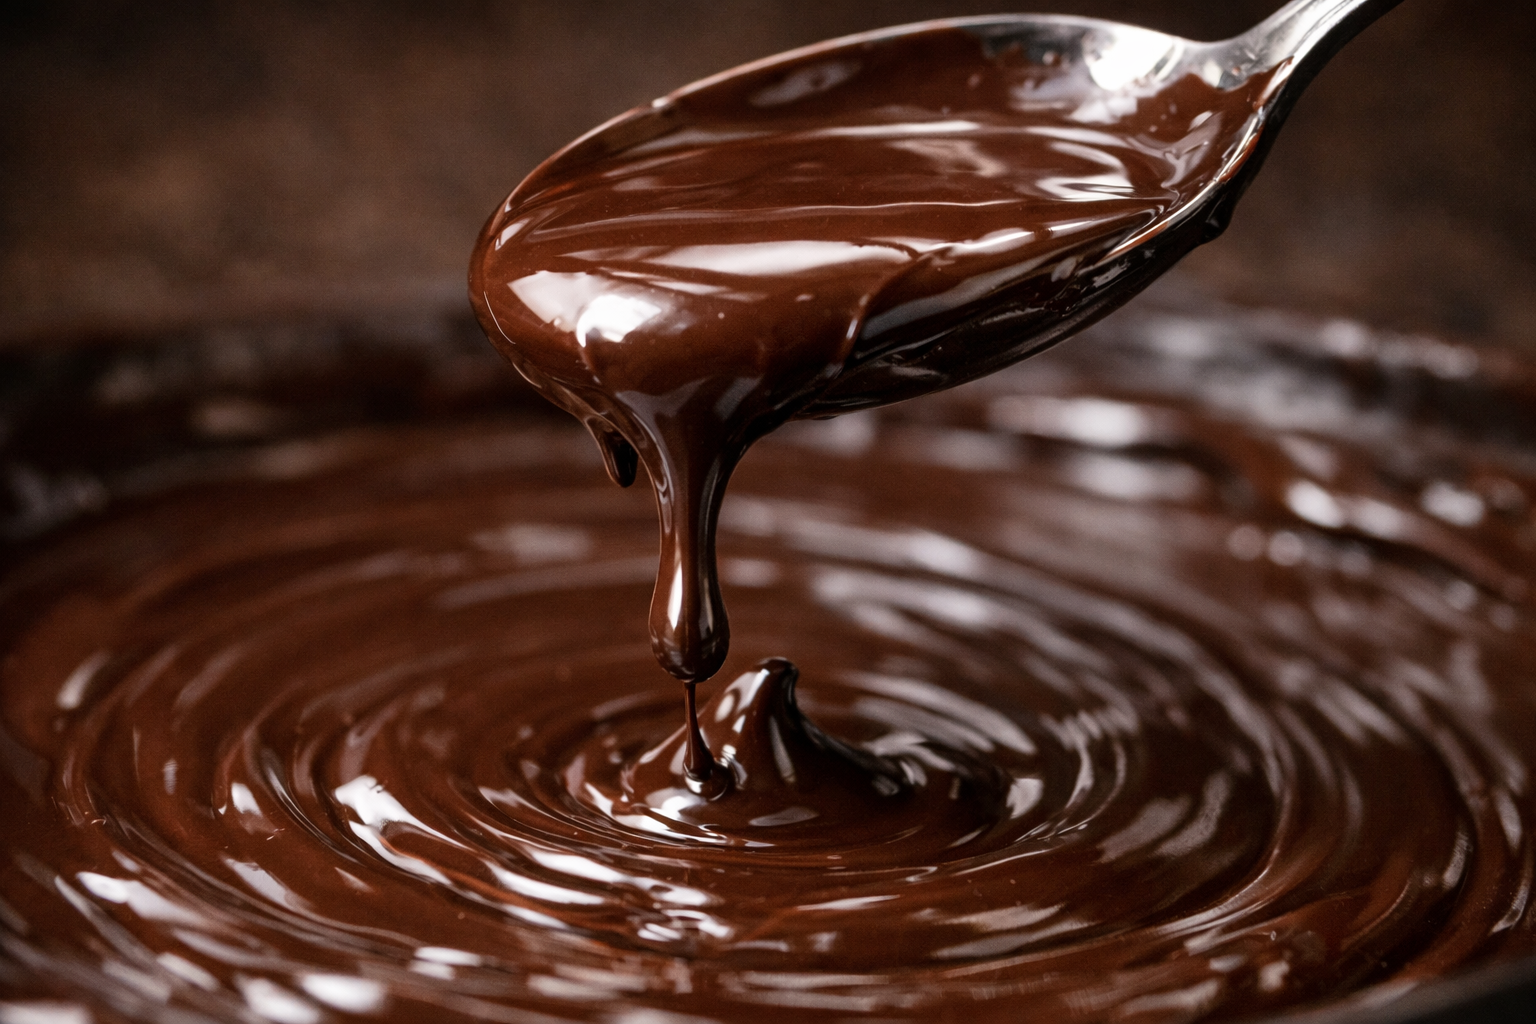
At its most basic, melting chocolate is about providing enough heat to transition the cocoa butter from a solid to a liquid state. Cocoa butter is what gives chocolate its snap and smooth mouthfeel. Too much heat, and that cocoa butter breaks down, altering the chocolate's structure and flavor. Gentle methods help us avoid that breakdown, and even allow for tempering – a process that creates a beautiful shine and perfect snap.

Double Boiler: The Classic Approach
The double boiler is considered the gold standard for melting chocolate, and for good reason. It provides incredibly gentle, even heat. The setup is simple: a pot of simmering water with a heatproof bowl set on top, ensuring the bottom of the bowl doesn’t touch the water. That’s crucial. Direct contact will quickly overheat the chocolate.
Stainless steel is the best material for both the pot and the bowl. Aluminum can react with the chocolate, potentially affecting its flavor. As the water heats, it creates steam that gently warms the bowl and, consequently, the chocolate. Stir frequently with a rubber spatula, scraping the sides and bottom of the bowl to ensure even melting. This takes a little patience, but it’s worth it.
Troubleshooting is key with this method. If your chocolate starts to seize – becoming thick and grainy – immediately remove the bowl from the heat. You can try adding a teaspoon of vegetable oil or shortening, stirring vigorously. Sometimes, a tiny splash of hot water (and I mean tiny – a drop at a time) can also help bring it back together, but be extremely careful with this. Prevention is always better than cure, so keep the heat low and stir constantly.
Don't rush the process. Low and slow is the mantra here. You have a lot of control with a double boiler, and that control translates into beautifully melted chocolate, ready for whatever you’re making. It’s a little more involved than microwaving, yes, but the results are significantly better.
Heatproof Bowl & Hot Water Bath
If you don’t have a dedicated double boiler, don’t worry! You can easily replicate the effect with a heatproof bowl and a pot of hot water. The principle is the same: gentle, indirect heat. Choose a bowl that fits snugly over the pot without touching the water. Glass or stainless steel are both good options.
Fill the pot with a couple of inches of water and bring it to a gentle simmer – definitely not a rolling boil. The steam is what you want, not direct contact with the water. Place the bowl on top, ensuring it’s stable and secure. Again, frequent stirring is essential. This method requires a bit more attention to maintaining the water temperature.
You may need to occasionally adjust the heat to keep the water simmering gently. If the water evaporates too quickly, add a little more. The key is consistency. This method is perfect for smaller amounts of chocolate, and it’s a great alternative when you’re short on equipment. It’s a reliable way to melt chocolate without a microwave, offering similar control to a traditional double boiler.
The Slow Oven Method
This method feels a bit unconventional, but it can work surprisingly well, particularly for larger quantities of chocolate. Spread your chocolate chips in a single layer on a baking sheet lined with parchment paper. Then, place the baking sheet in a preheated oven set to a very low temperature – between 200-250°F (93-121°C).
The trick here is constant monitoring. Chocolate can burn quickly, even at low temperatures. Check the chocolate every few minutes, and stir it thoroughly with a spatula. This ensures even heating and prevents scorching. It will take longer than other methods, but the benefit is that the chocolate heats very evenly.
I'm not sure about the absolutely ideal temperature – some sources suggest 200°F, others lean towards 250°F. Start with 200°F and keep a very close eye on it. This method is best suited for when you need a larger amount of melted chocolate and don’t mind the longer processing time. It requires diligence, but the even heating can be a real advantage.
Hot Water & Patience
This method is incredibly gentle and requires minimal equipment. It’s also surprisingly effective, especially for smaller amounts of chocolate. Place your chocolate chips in a heatproof bowl and add a small amount of very hot (but not boiling) water. The ratio is roughly 2 parts chocolate to 1 part water, but you can adjust it slightly depending on the amount of chocolate.
Now, the crucial part: stir, stir, stir. Continuously stir the mixture with a spatula. The heat from the water will gradually melt the chocolate, and the constant stirring prevents burning and ensures a smooth consistency. It's a bit more hands-on than other methods, but the gentle heat minimizes the risk of seizing.
This method is ideal when you only need a small amount of melted chocolate and want to avoid any risk of overheating. The continuous stirring is key, so be prepared to put in a little effort. It’s a simple, effective way to melt chocolate without a microwave, and it’s perfect for drizzling or small-scale applications.
Coconut Oil Rescue: A Quick Fix
Sometimes, you just need chocolate melted now. In those situations, a small amount of coconut oil can be a lifesaver. Adding about a teaspoon of coconut oil per cup of chocolate chips can help them melt more easily, even without heat. You can see a demonstration of this on TikTok ().
However, be aware that coconut oil will impart a subtle coconut flavor to the chocolate, and it will also slightly change the texture, making it a bit softer. This isn’t ideal for all applications – it works well in things like brownies or cookies, but might not be suitable for a ganache where you want a pure chocolate flavor. A ratio of 1 teaspoon of coconut oil per cup of chocolate chips is a good starting point.
Troubleshooting: Common Chocolate Mishaps
Seized chocolate is a baker’s nightmare – a grainy, thick mess that seems beyond repair. It happens when even a tiny drop of water gets into the chocolate, causing the cocoa solids to bind together. The best defense is prevention: ensure all your equipment is completely dry. But if it happens, don’t panic! Try adding a tiny bit of vegetable oil or shortening – about a teaspoon at a time – and stirring vigorously.
Burning is another common issue, usually caused by too much heat. If your chocolate starts to smell burnt, immediately remove it from the heat source. Unfortunately, burnt chocolate is often beyond saving. Grainy chocolate can also occur from overheating or improper tempering. Again, gentle heat and constant stirring are your best friends.
I’ve seen a lot of helpful tips in Facebook groups dedicated to baking. Many bakers recommend adding a tiny splash of hot water to rescued seized chocolate, but you have to be incredibly careful – too much water will make it worse. The key is to add it very slowly, drop by drop, while stirring constantly. It’s a bit of a gamble, but sometimes it works.
Melting Points & Chocolate Types
Different types of chocolate have different melting points, primarily due to their varying cocoa butter content. Dark chocolate, with its higher cocoa butter content, generally melts at a lower temperature (around 115-120°F / 46-49°C) than milk chocolate (around 110-113°F / 43-45°C). White chocolate, which doesn't contain cocoa solids, has the lowest melting point (around 105-110°F / 40-43°C).
Understanding these differences is important when choosing a melting method. Lower melting point chocolates are more susceptible to burning, so they require even more gentle heat. The cocoa butter content also affects the texture of the melted chocolate – higher cocoa butter content results in a smoother, more fluid consistency. Keep these points in mind as you experiment with different techniques.
No comments yet. Be the first to share your thoughts!