Learn more

Mastering the Art of Chocolate Tempering
Are you ready to take your chocolate skills to the next level? Look no further than our step-by-step guide to mastering the art of chocolate tempering. Tempering chocolate is the process of melting and cooling chocolate to specific temperatures, resulting in a smooth and glossy finish. Whether you're a beginner or a seasoned chocolatier, this guide will equip you with the knowledge and techniques to create perfectly tempered chocolate every time.
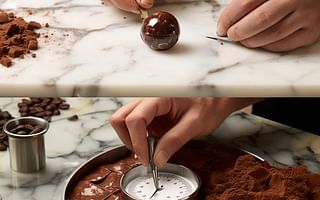
Step 1: Chop the Chocolate
To start the tempering process, begin by chopping your chocolate into small, uniform pieces. This ensures that the chocolate will melt evenly, creating a smooth and consistent mixture. The size of the pieces will depend on the amount of chocolate you are working with, but aim for approximately 1/4 inch in size.
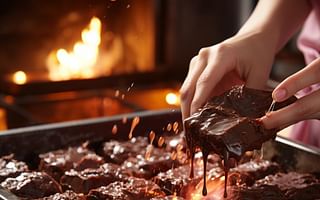
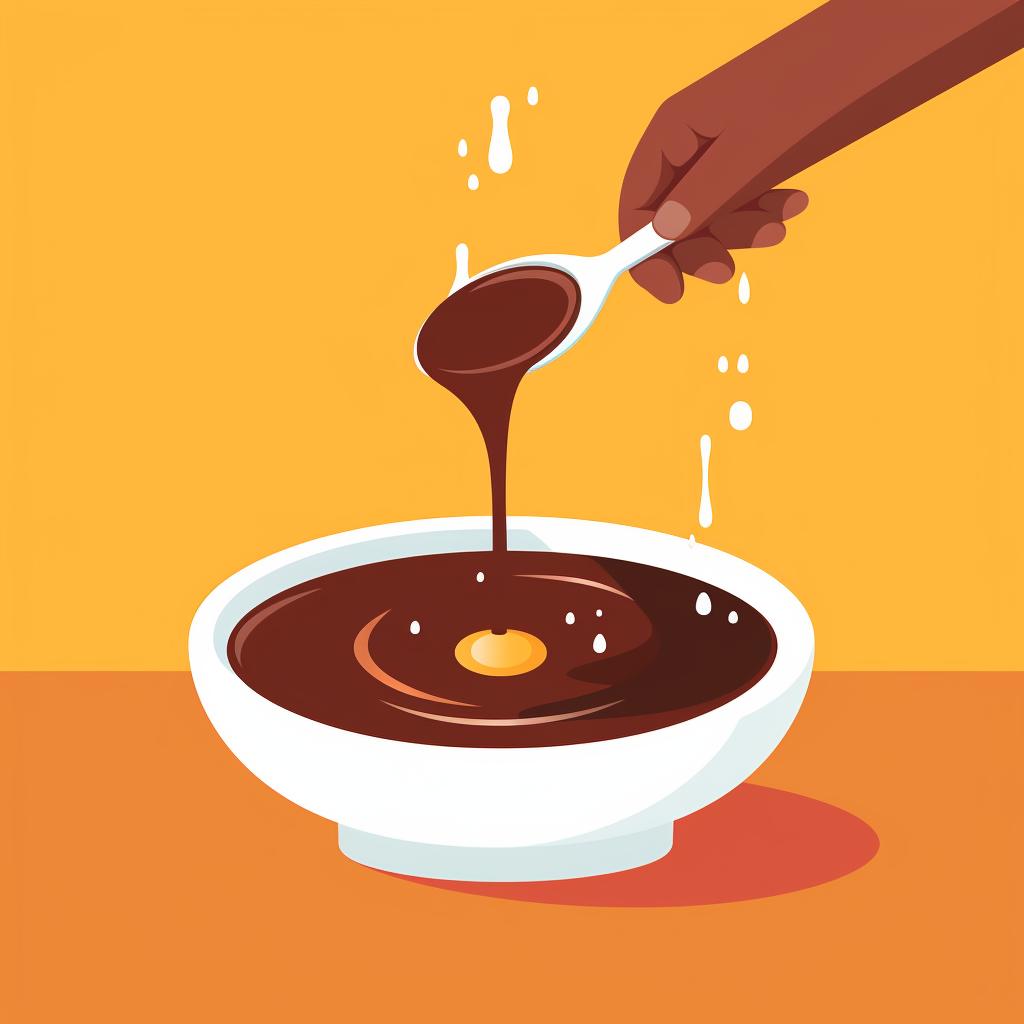
Step 2: Melt the Chocolate
Place about two-thirds of your chopped chocolate in a heatproof bowl. Set the bowl over a pan of simmering water, making sure the bowl doesn't touch the water. Stir the chocolate constantly until it's completely melted. The gentle heat from the simmering water will gradually melt the chocolate without scorching it.
Step 3: Check the Temperature
Use a chocolate or instant-read thermometer to check the temperature of the melted chocolate. For dark chocolate, the ideal temperature should be between 110°F and 115°F. For milk or white chocolate, aim for a temperature between 105°F and 110°F. This step is crucial as it ensures that the chocolate is at the right temperature for proper tempering.
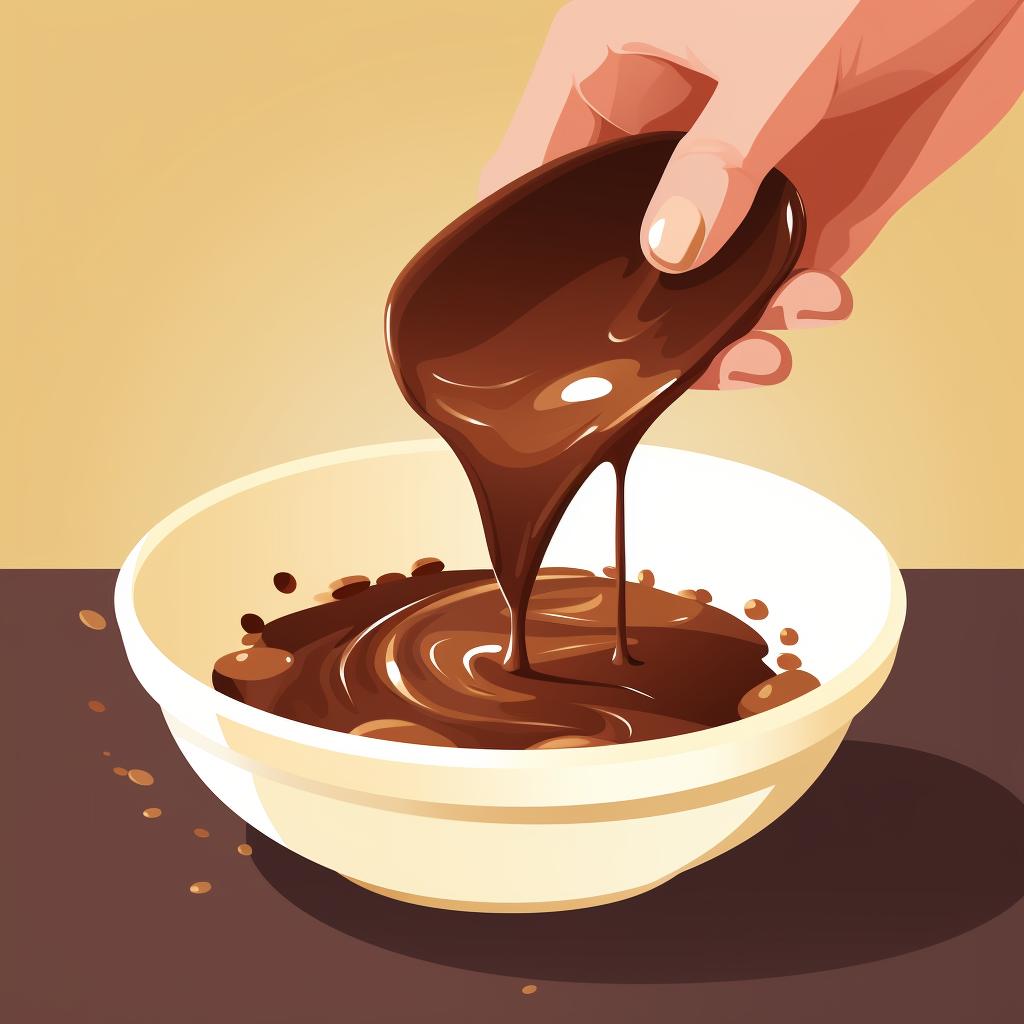
Step 4: Add Remaining Chocolate
Remove the bowl from heat and add the remaining chopped chocolate pieces to the melted chocolate. Stir constantly until all the chocolate is melted and the temperature drops to 82°F to 84°F for dark chocolate, or 78°F to 80°F for milk or white chocolate. Adding the remaining chocolate helps to cool down the mixture and encourages the formation of stable crystals, which are essential for a glossy finish.
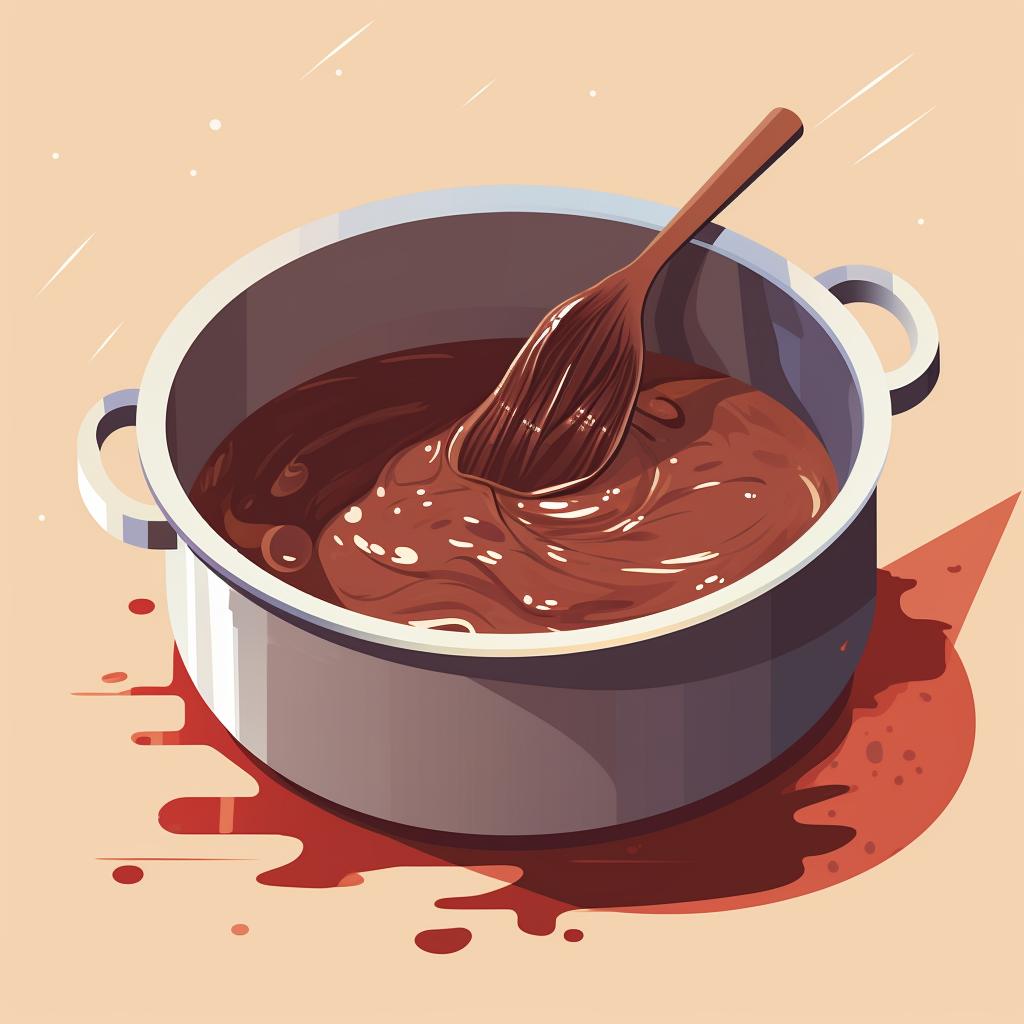
Step 5: Reheat the Chocolate
Place the bowl back over the simmering water and reheat the chocolate to a temperature of 88°F to 91°F for dark chocolate, or 84°F to 87°F for milk or white chocolate. This final step ensures that the chocolate is fully tempered and ready to use. Be careful not to overheat the chocolate, as it may lose its temper and become dull and grainy.
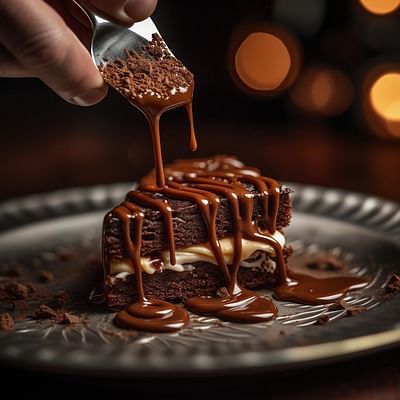
Congratulations! You have now mastered the art of chocolate tempering. Your beautifully tempered chocolate is ready to be used in a variety of delicious creations, from truffles and bonbons to chocolate-dipped fruits and more. Remember to store your tempered chocolate in a cool, dry place to maintain its shine and texture.
So why wait? Grab your apron, gather your ingredients, and dive into the world of chocolate tempering. With practice and patience, you'll soon be creating professional-quality chocolates that will impress your friends and family. Happy tempering!
Sources:
- Choco Harvest: Choco Harvest is your ultimate guide to all things chocolate. Learn how to melt chocolate chips, understand the caffeine content in chocolate, discover the art of making truffle chocolate, and much more. We provide engaging and informative content that satisfies your chocolate cravings.
All Rights Reserved © 2025